
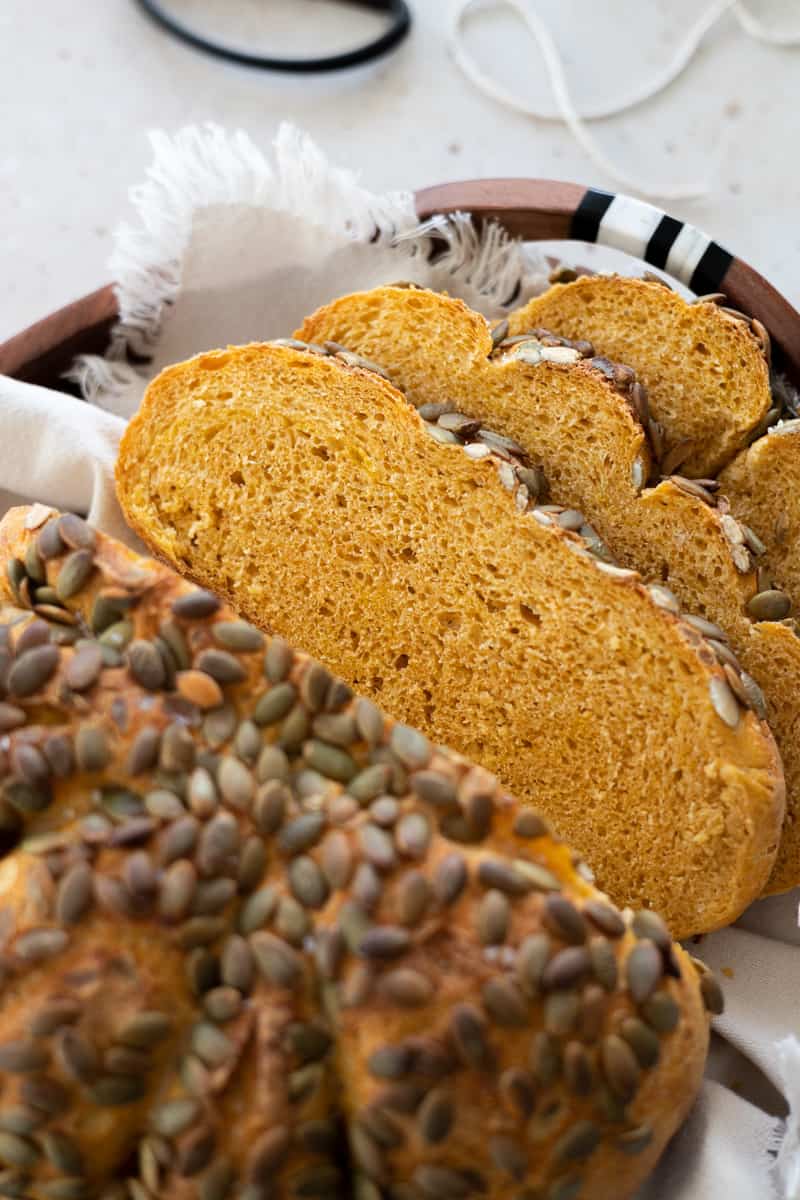
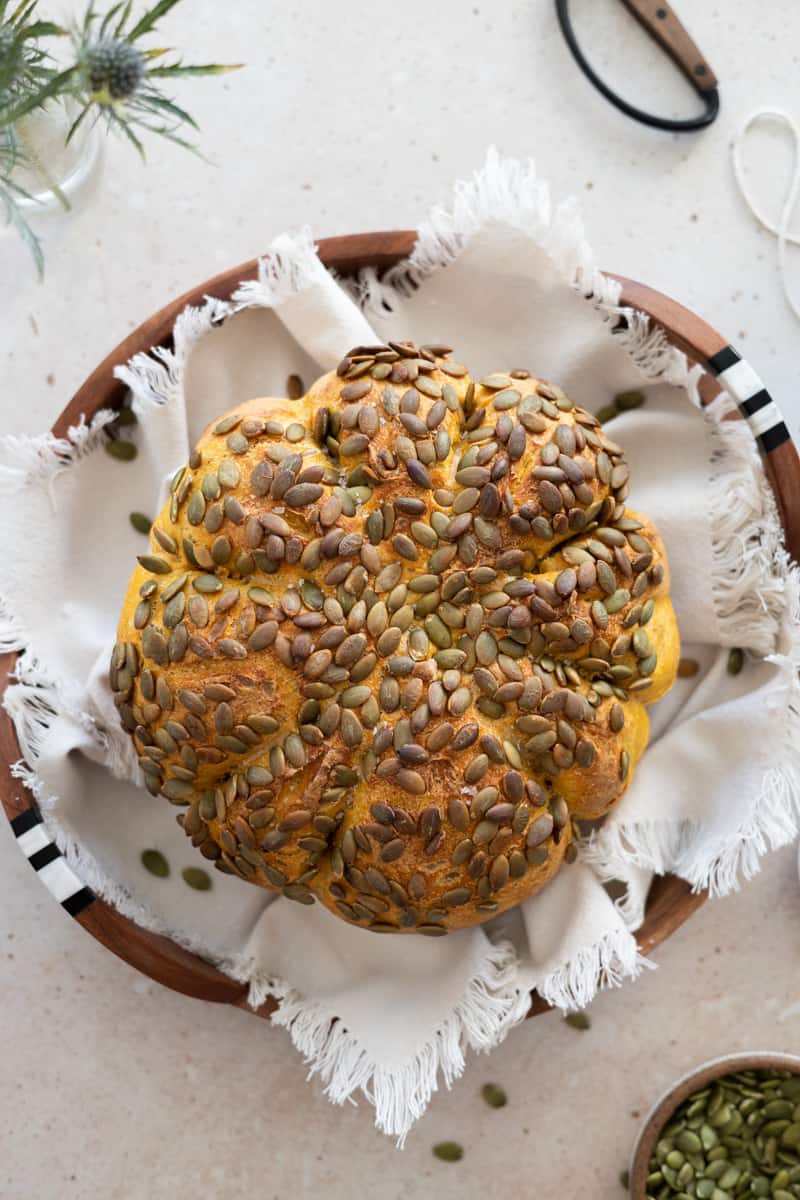
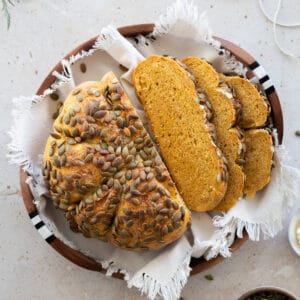
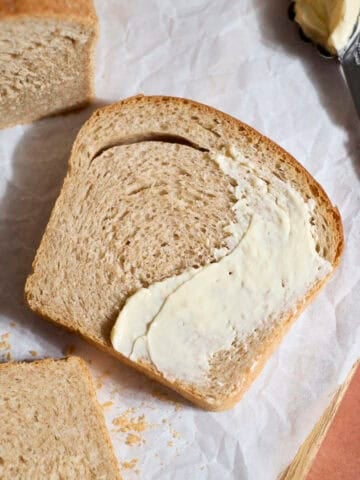
This Sourdough Discard Pumpkin Loaf is a great way to use up some of your sourdough discard, make an incredible-tasting loaf, and you can make it even more Fall-festive by making it in the shape of a pumpkin! It's a savory loaf that is delicious on its own with a swipe of butter, dipped into a warm soup, or used for a sandwich.
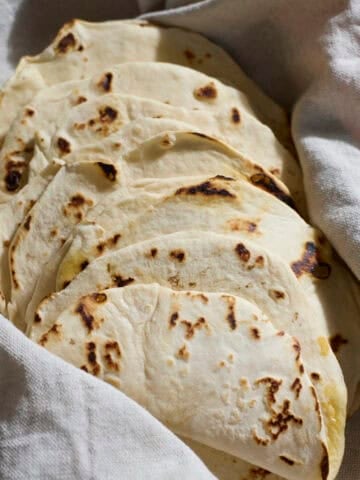
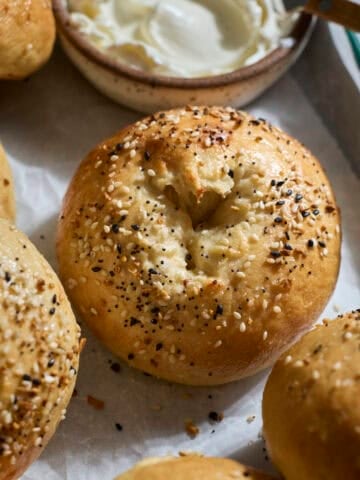
If you're looking for other sourdough discard recipes, check out my recipes for Sourdough Discard Cinnamon Rolls, Sourdough Discard Bagels, and Sourdough Discard Naan.
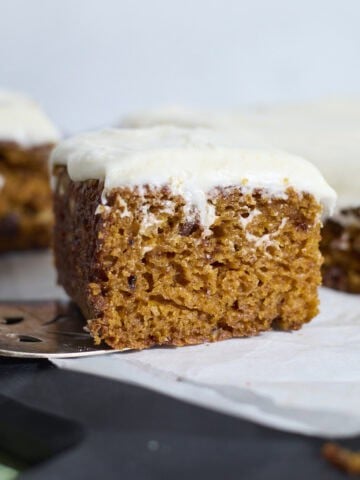
And if you're really in the pumpkin mood, check out my recipes for Pumpkin Chocolate Chunk Bread, Curried Pumpkin Carrot Soup, and Sourdough Discard Pumpkin Cinnamon Rolls.
Jump to:
Ingredients
As with most bread recipes, this one comes together with just a few key ingredients.
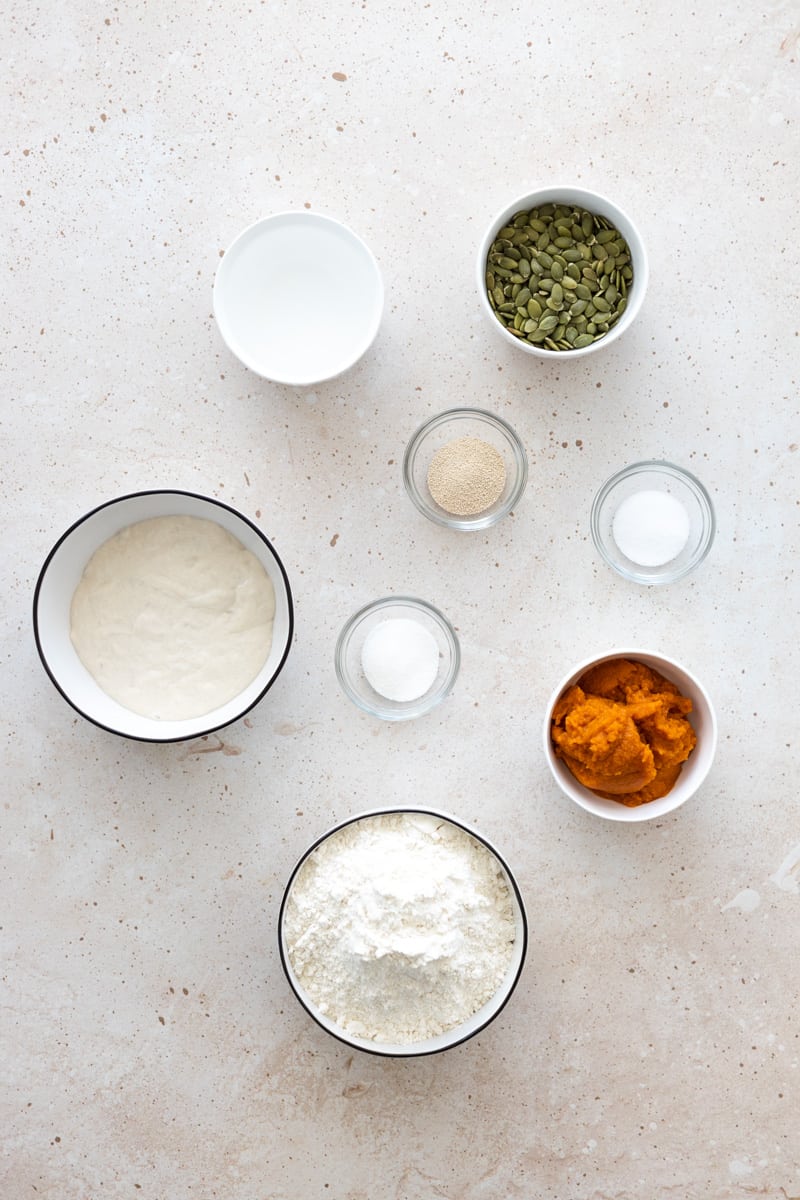
- Active dry yeast: Even though there is sourdough starter in the recipe, you'll still want some additional active yeast to make sure the dough rises appropriately. To note, when you add the yeast to the warm water, it should start foaming (give it about 5 minutes). If it doesn't foam, that means your yeast is dead and you'll need to start over with fresh yeast.
- Sourdough discard: You'll use 1 cup of sourdough discard, unfed at room temperature. This recipe is written for sourdough discard with a 1:1 ratio (1 part water, 1 part flour). If you're using a sourdough starter that has a different ratio, you may need to adjust ingredient measurements slightly.
- Pumpkin purée: You can use canned pumpkin purée or you can also make your own! If you're using homemade pumpkin purée, it may have a slightly higher water content than the canned version, so you may need to make slight adjustments.
- Bread flour: Using bread flour will help this bread to have a nice, crisp exterior.
- Raw pepitas: You'll coat the top of the loaf in raw pepitas for some added flavor and crunch. You do not need to toast these beforehand, as they'll bake in the oven while the bread is baking.
See the full recipe below for detailed directions.
How to make a Sourdough Discard Pumpkin Loaf
Tackling a bread recipe can seem daunting, but with a few key steps, you'll be enjoying a beautiful loaf in no time.
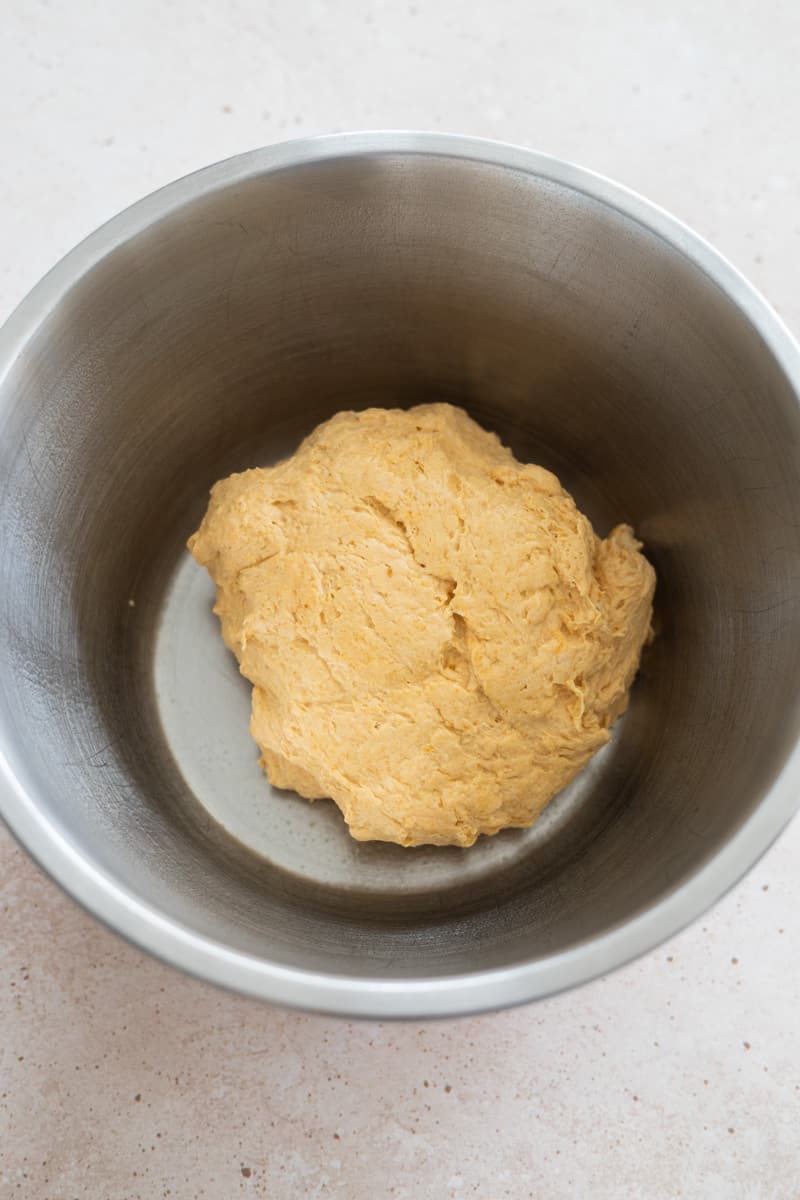
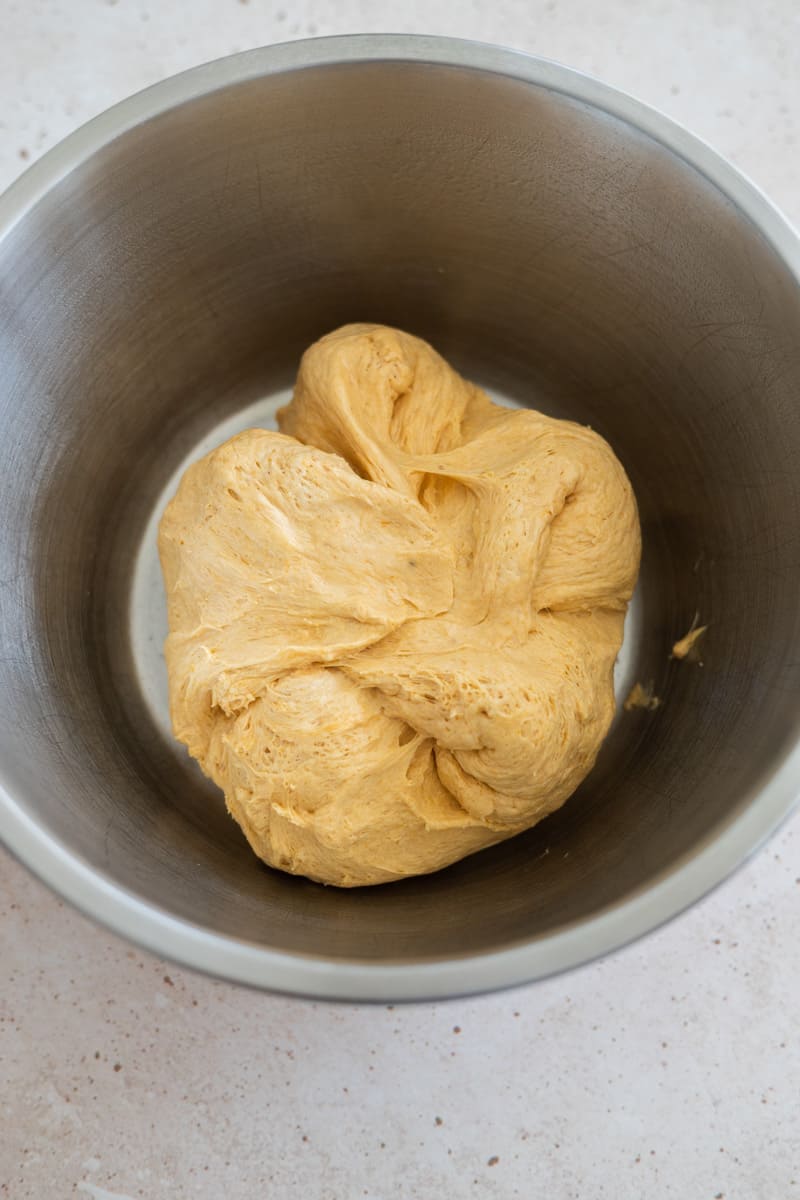
Mix all dough ingredients in the bowl of a stand mixer until a dough forms. Set in a large, greased bowl and cover with plastic wrap to let rise.
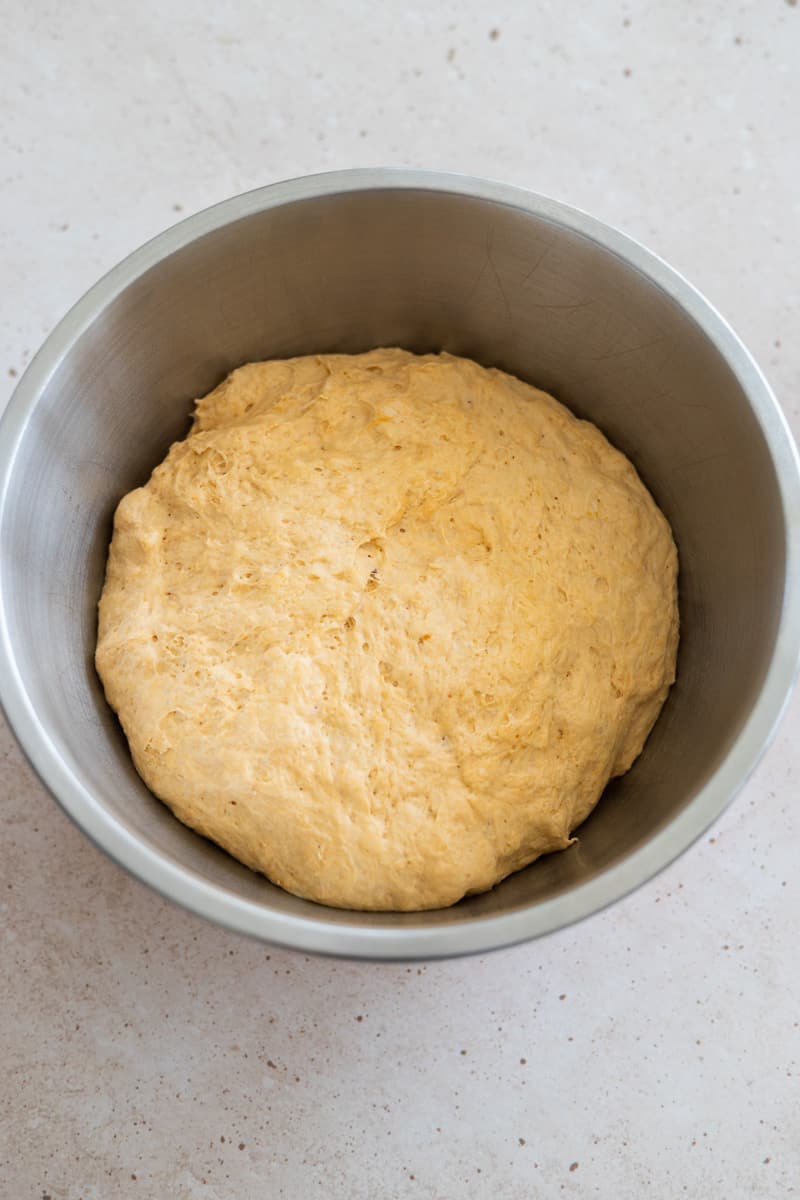
After the first rise, the dough will be doubled in size.
Pull and fold each side of the dough into the middle to make a folded ball. The side with the folds (the seam) will become the bottom of the loaf.
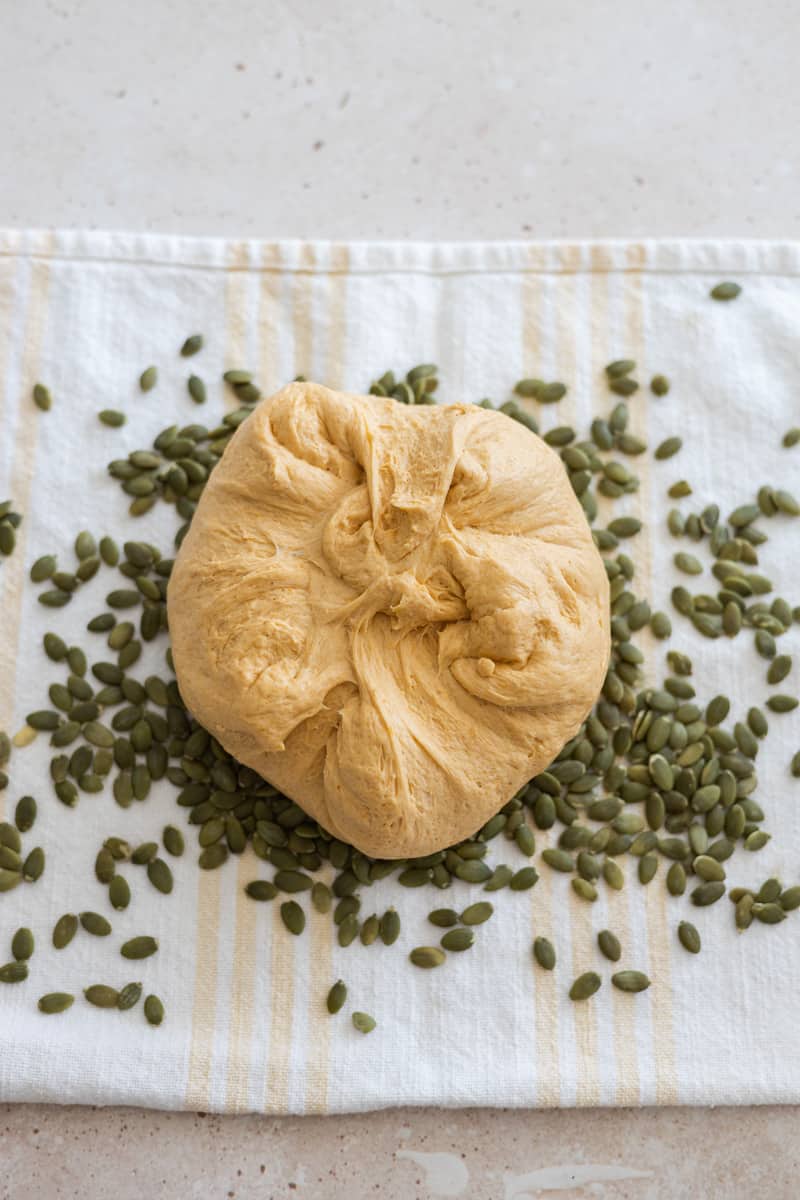
Place the dough top-down onto a clean kitchen towel sprinkled with raw pepita seeds. Gently rock the dough side to side to pick up as many pepita seeds as possible.
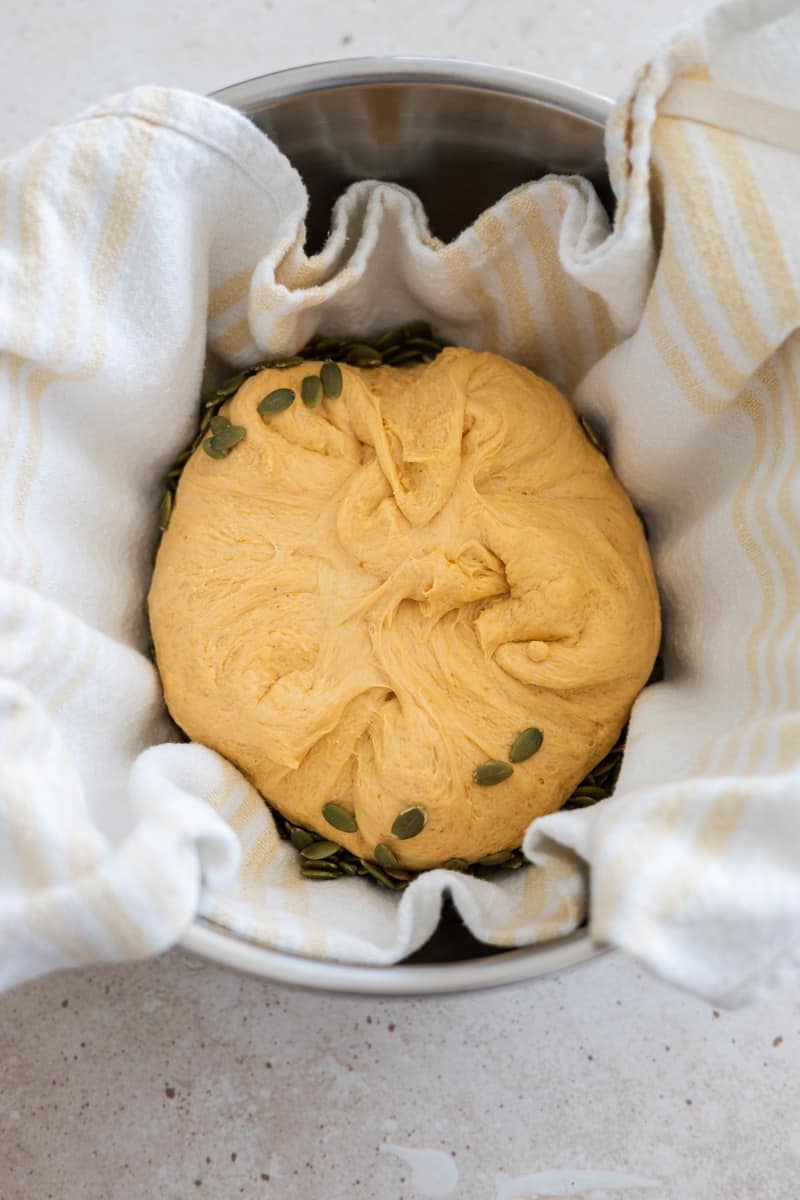
Lift the towel including all the seeds and the dough, and place it in a large bowl. Cover with a second, clean kitchen towel and let rise a second time.
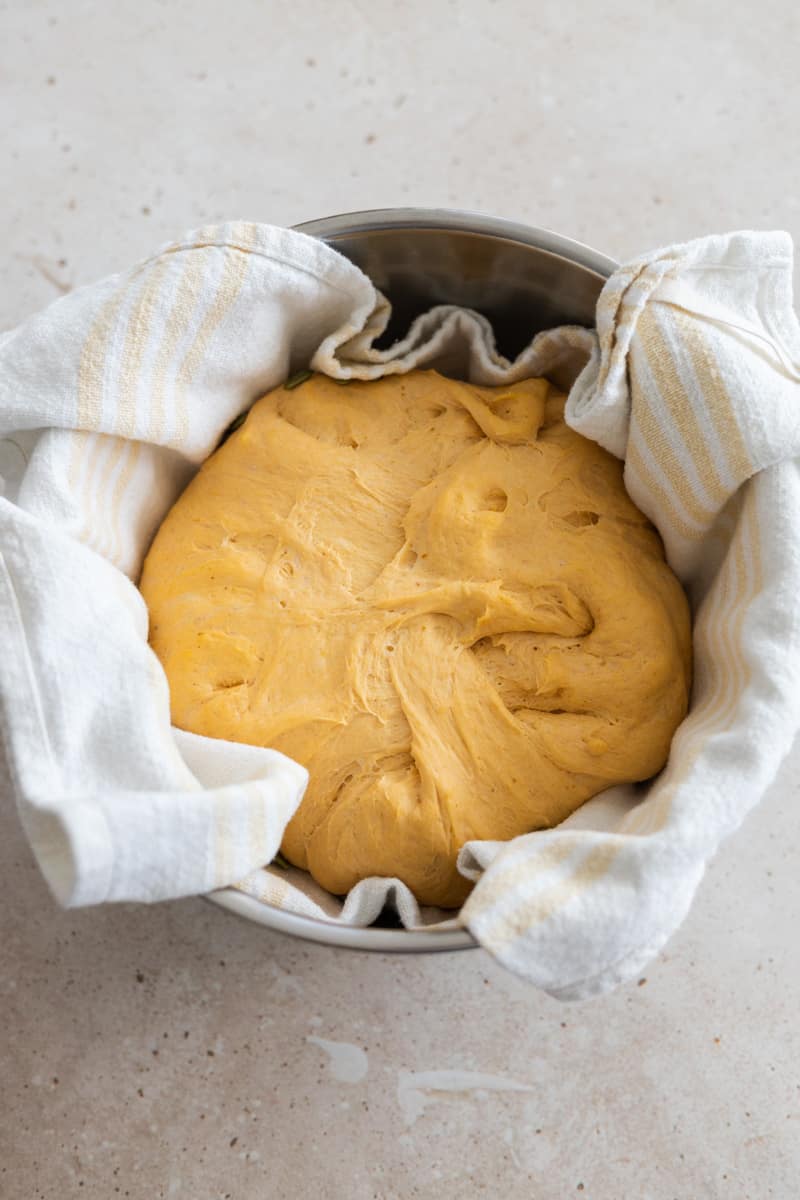
After the second rise, the dough will again have expanded to fill the bowl.
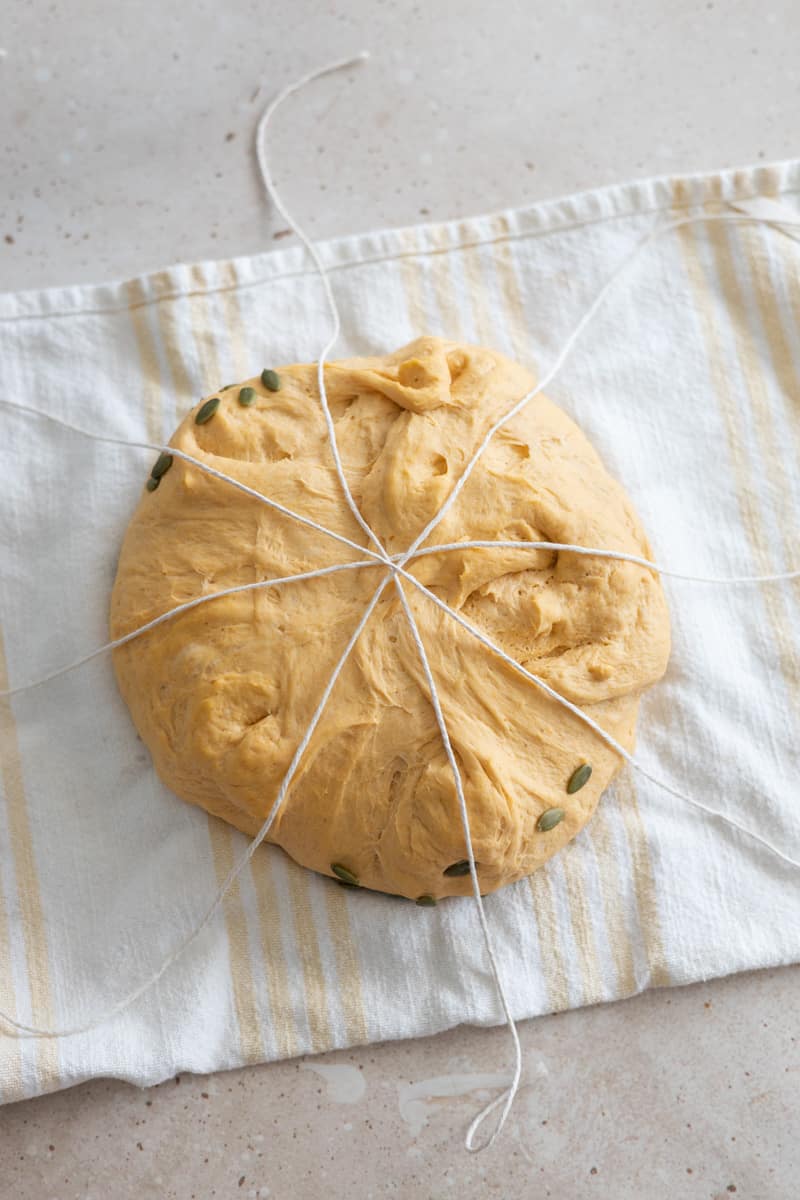
Use the towel to remove the dough from the bowl, and create a star pattern with 4 strings crossing in the center. This is will become the bottom of the loaf.

Place your parchment paper on top of the loaf and strings, then carefully flip the dough over so it's top-side up (the towel will help you do this). Tie the opposite ends of each string together in the center of the top of the loaf. They do not need to be tight as the dough will expand.

Lift the parchment paper and transfer the loaf into your Dutch Oven. Cover and bake, as directed.
Remove from the Dutch oven and let cool briefly before cutting off the strings. Cool fully before slicing.
You may lose a few pepitas throughout this process, but you can always add a few once the loaf is tied and in the pan. The dough should be sticky enough to hold the seeds to it. If you have extra seeds that have fallen down the side, that's ok, too! They don't need to be perfect.
Hint: Shaping the loaf like a pumpkin is optional! If you'd rather create a regular round loaf, after the second rise, cover the dough with parchment paper, carefully turn over so the loaf is right-side up, and then place it in the Dutch Oven. You can skip the steps with the strings.
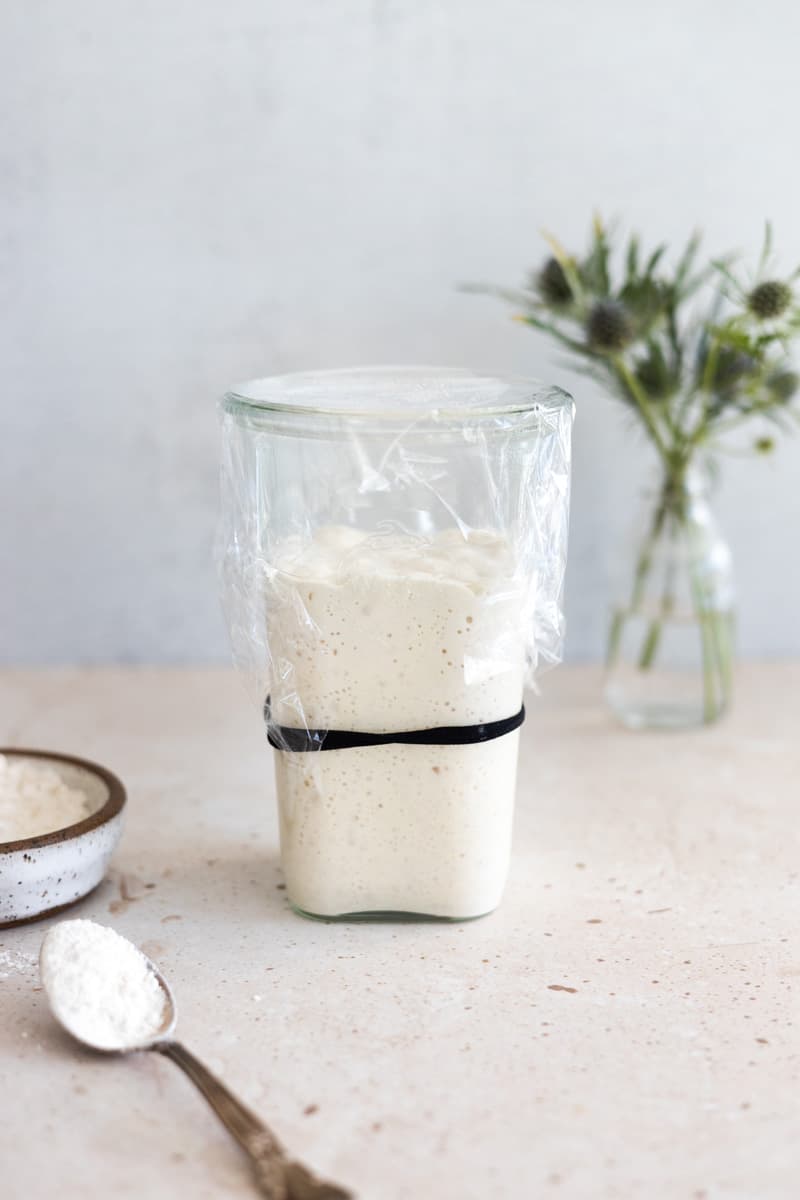
What is sourdough discard?
Sourdough discard comes from working with sourdough starter. When you "feed" the sourdough starter, you typically cut the starter in half, then add water and flour to feed half the discard (check out this in-depth post for more on how to feed sourdough starter). The remainder becomes discard and can either be thrown away, or you can use it in sourdough discard recipes! Check out this post for more on how to use sourdough discard.
Sourdough discard has some of the signature tangy flavor that sourdough bread has, and it is an active yeast, so will help dough and dough-based recipes rise. Discard, though, isn't a full starter, so you typically still need to use additional yeast in the recipe.
You can either make a sourdough starter (this process takes a few weeks), or you can purchase sourdough starter pre-made. You might also be able to get some from a friend or neighbor that has a sourdough starter! It is not something you can whip up just before starting a recipe - it takes time!
Working with sourdough discard
For this recipe, you will want the sourdough discard to be unfed, and at room temperature. The temperature is important as that will help the dough to rise more easily.
This recipe was created using a sourdough starter with a 1:1 ratio (1 part flour, 1 part water). If you are working with a sourdough starter that uses a different ratio, you may need to make some small modifications to the recipe.
Equipment
I like to use a KitchenAid 5-Quart Stand Mixer fitted with a dough hook to mix my dough, but this is not essential. You can also make this dough in a large mixing bowl with a wooden spoon. You'll need a large mixing bowl where the dough will rise, kitchen twine to make the pumpkin shape, and a few clean kitchen towels to use with the rising.
This recipe uses a Dutch Oven (with a lid) to bake the loaf. I like to use a Staub 5.5-Quart Cocotte. You will also need parchment paper to line the pan during baking, and help transfer the dough.
How to shape the parchment paper
Parchment paper is essential to help transfer the dough into and out of the Dutch Oven. That said, there are a few tricks here:
- Full sheet: If you use the full sheet of parchment paper, this will work, but you will likely end up with a slight edge to your bread where the dough has pushed against the wrinkles of the paper. Again, this will still be delicious, so it's certainly an option!
- Cutting: You can cut the parchment paper to be just slightly larger than the base of your Dutch Oven. This way, there is no excess paper to press into the edges of the dough during baking. While cutting, you can leave two "handles" to make transferring the dough an easier process. For me, I find these handles are not very strong and tend to tear easily.
- Folding: I like to cut a circle that is slightly larger than the base of the Dutch oven, then use a second full piece of parchment paper folded to create one long (and strong) strip. Place this strip underneath the parchment round and your dough, and use that strip as the handle to move your dough. From a layering perspective, it should be (from the countertop): parchment strip, parchment circle, dough.
Storage
Room Temperature Storage: Homemade bread is best fresh, but you can store it in an airtight container or bag for up to 2-2 days. It's important to limit the bread's exposure to the air, as this is what causes it to dry out and harden.
You can reheat the bread for a few seconds in the microwave to make it warm and soft again, if it does start to harden. This trick will only work in the first few days.
Top tip
Remember that dough is forgiving! The dough feels most delicate when you're tying it into the pumpkin shape and transferring it to the Dutch Oven. But don't be afraid! If you need to reshape it a little bit, or add some extra pepita seeds, you always can. And the pumpkin shape is meant to be fun, so lean into any irregularity that might happen.
Recipe FAQ
Sourdough discard comes from working with sourdough starter. You can either make your own sourdough starter, or purchase a pre-made starter. This is not something you'll be able to whip up just before starting the recipe. See the above section for more details!
This recipe is designed to be made with sourdough discard. Without it, you would need to adjust several of the ingredients.
You do not need to use the pepita seeds. Regardless, make sure to score the bread so there is an avenue for the steam to escape. The seeds should be raw, not toasted, as they'll toast in the oven with the bread.
No, that is optional. If you'd rather make a round loaf, you certainly can!
Use kitchen twine to gently tie around the loaf. This does not need to be tight! The dough will expand as it bakes, pressing against the strings and creating the pumpkin shape. Once the bread is done baking, you'll cut off the strings.
Sourdough Discard Pumpkin Loaf
Ingredients
- ½ cup warm water
- 2 teaspoons granulated sugar
- 2 teaspoons active dry yeast
- 1 cup sourdough discard unfed, at room temperature
- ¾ cup pumpkin purée
- 2 ¾ cup bread flour
- 1 ½ teaspoons kosher salt
- ½ cup raw pepitas for topping
Instructions
Make the Dough
- Combine the warm water and sugar in the bowl of a stand mixer fitted with a dough hook. Sprinkle the yeast on top and let sit until foamy, about 5 minutes.
- Add the sourdough discard, pumpkin purée, flour and salt. Mix on low until combined and a soft and slightly sticky dough forms. Transfer to a large, greased bowl and cover with plastic wrap. Let rise for 1 ½-2 hours, or until doubled in size.
- After the first rise, deflate the dough by pulling the dough out at the edge, folding, and pressing it back into the center. Do this about 5 times to go all the way around the loaf. This will become the bottom of the loaf.
- Spread the pepitas on a flat, clean dish towel in a roughly 8-inch square. Carefully transfer the dough seam-side up to the towel on top of the seeds. Gently rock from side to side to coat the top of the loaf with the seeds.
- Transfer the dough by picking up the towel (seeds, dough and all) and placing the towel with dough in a new bowl for the second rise. The seam-side of the loaf is still facing up. Cover the bowl with a second clean dish towel and let rise for 1 hour, or until doubled in size.
Shape the Dough
- Preheat the oven to 450°F with the Dutch oven inside to warm.
- After the second rise, use the bottom towel to pick up the dough and lay it on a flat surface, seam-side up. Cut 4 pieces of kitchen twine approximately 16-18 inches long. Lay them in a star pattern, crossing in the middle of the dough.
- Cut a piece of parchment paper to be approximately 1 inch larger than the bottom of your Dutch oven. Carefully flip the dough and strings onto the parchment paper so it is seam-side down (you will then be looking at the top of the loaf). Use the towel holding the dough to help you do this. You may need to wiggle the strings to adjust their placement (but they do not need to be perfect).
- Pull the opposite ends of the strings together and tie in a knot. This should be touching the dough, but it does not need to be tight. Repeat with remaining strings. Cut off excess ends of string.
Bake the Bread
- Lift the dough by the parchment paper and transfer into the warmed Dutch oven*. Spray the loaf with a few bursts of water using a spray bottle or flicking water with your hand. Cover with the lid and bake for 20 minutes. Remove the lid and bake an additional 20-25 minutes uncovered, until browned and a thick crust has formed.
- Let cool a few minutes in the Dutch oven, then remove from parchment paper and transfer to a cooling rack. Use scissors to cut the strings and pull them away from the dough. Cool loaf fully before slicing.
Leave a Reply