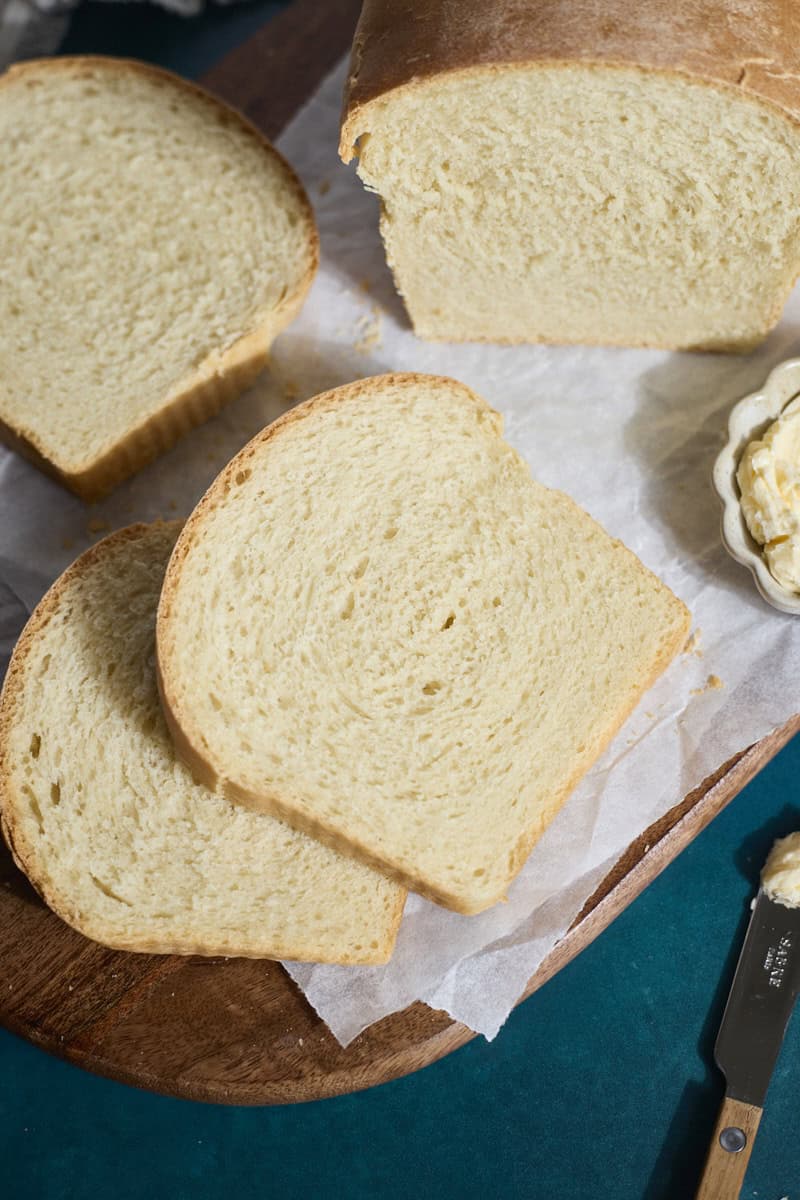
This Sourdough Discard Sandwich Bread is light, fluffy and ready the same day! It's perfect for your morning toast or to make lunch sandwiches. And it's a great way to use up some of your sourdough discard, while still making a loaf of bread!
If you're looking for other sourdough discard recipes, try these Sourdough Discard Rolls, this Sourdough Discard Pizza Dough, and these Sourdough Discard Pretzel Bagels.
If you're new to working with sourdough starter, check out these in-depth posts on how to feed sourdough starter, how to use sourdough discard, and tips for struggling sourdough starter.
Jump to:
Why you'll love this recipe
- This is a same-day recipe, so you'll have a fresh loaf of bread on the table in just a few hours!
- You can easily modify this recipe to use active sourdough starter instead of discard, if you prefer.
- Bread baking is not as hard as you might think it is. Even if you don't have a perfectly shaped loaf, it will still be delicious!
- This is a great base recipe that you can modify with different inclusions (like cinnamon sugar, raisins, nuts, and more!).
Ingredients
You only need a few simple ingredients to make this Sourdough Discard Sandwich Bread.

- Water: It's important that the water is warmed to help activate the yeast.
- Fun fact: Yeast will start to die if the temperature of the water is over 120 degrees (F). You want your warmed water to be around 110 degrees (F) so it's warm enough to activate the yeast, but not too warm!
- Non-dairy milk: This should also be warmed to 110 degrees (F). I use unflavored almond milk, but this recipe will work with regular dairy milk as well.
- Active dry yeast: Even though we are using sourdough discard, we need to use a leavening agent (in this case, yeast) to ensure the dough rises predictably.
- All-purpose flour: AP flour gives us a light and fluffy loaf.
- Sourdough discard: The sourdough discard should be unfed and at room temperature for this recipe. This recipe is designed for a starter with a 1:1 ratio (when you feed your starter, it's with 1 part flour and 1 part water). If your starter uses a different ratio, you may need to adjust some of the ingredients in this recipe.
See full recipe below for detailed directions.
Substitutions & Variations
This is a very adaptable recipe and below are a few easy substitutions and variations you can try.
- Use active sourdough starter - If you'd rather use active sourdough starter instead of discard, you can. To do so, omit the yeast and replace the discard with active starter (1:1 substitution). You will also need to increase the rise times. You'll want to look for those visual cues of the dough doubling, etc.
- You will still add the sugar if you are using active starter in the recipe.
- Add inclusions - This is a great base loaf to add inclusions. After you roll out the dough, spread or sprinkle with your inclusions, then roll into your loaf shape. If your inclusions contain moisture (for example, cheese), you may need to bake the loaf longer. I'll be doing some testing with different inclusions, so there is more to come here!
- Use different flours - This is something I'm going to be testing further (looking at you, whole wheat sandwich bread) and will report back!
- Interested in a whole wheat version of this recipe? Try my Sourdough Discard Whole Wheat Sandwich Bread.
I have not tested this recipe with other variations, but if you do, let us know how it turns out in the comments! I always love to hear how you're adapting these recipes and use those as ideas for future recipes as well!
How to make Sourdough Discard Sandwich Bread
There are only a few steps to making your own fresh sandwich bread!
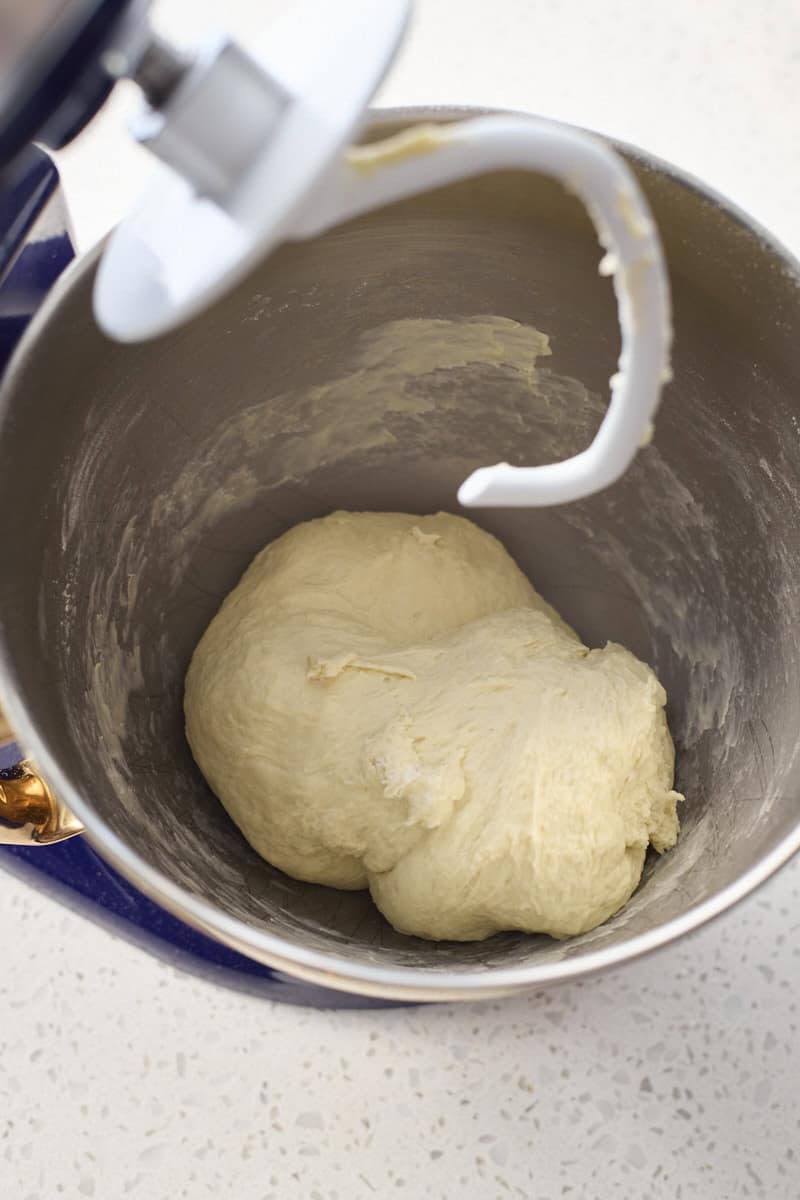
- Step 1: Combine all ingredients in the bowl of a stand mixer or in a large mixing bowl. Mix until a rough dough forms.
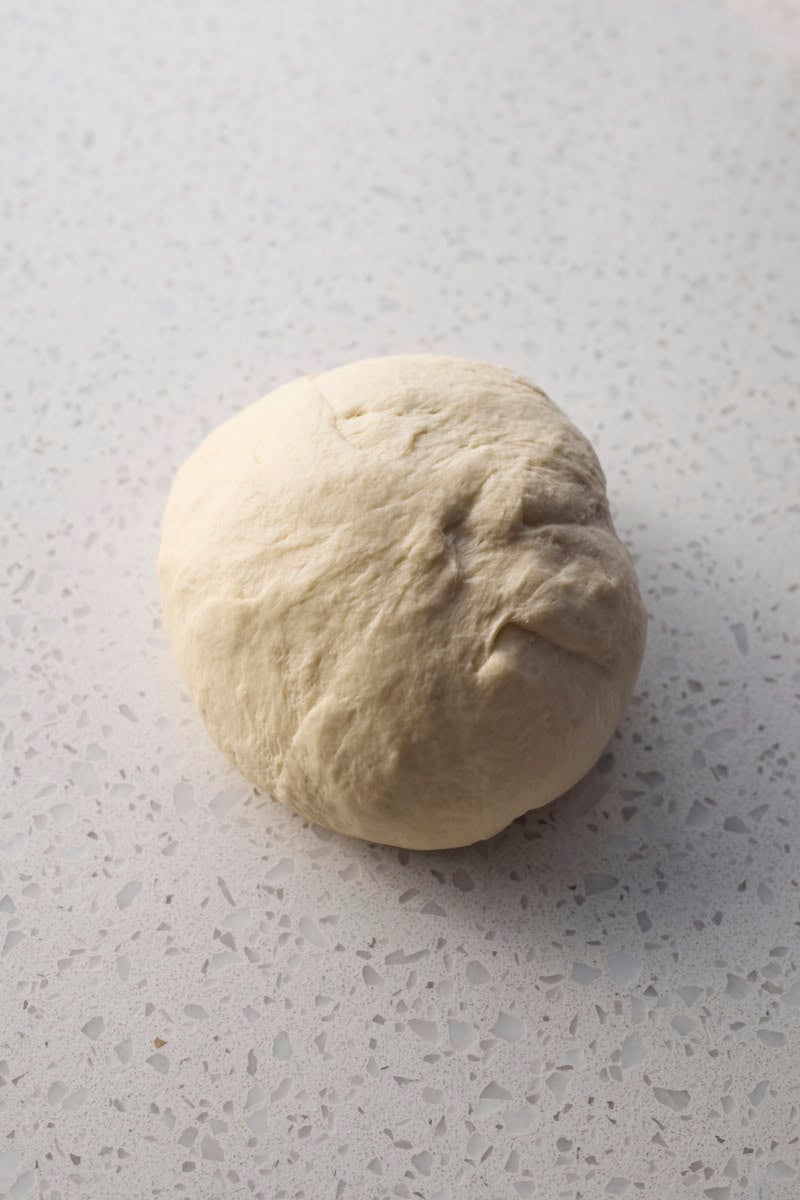
- Step 2: Transfer the dough to a smooth work surface and knead until smooth and soft.

- Step 3: Place the dough in a large oiled bowl. Cover and let rise 1 ½ - 2 hours, or until doubled in size.

- Step 4: Roll the dough out into a 9x18-inch rectangle. Roll the dough into a log from the short side of the rectangle.
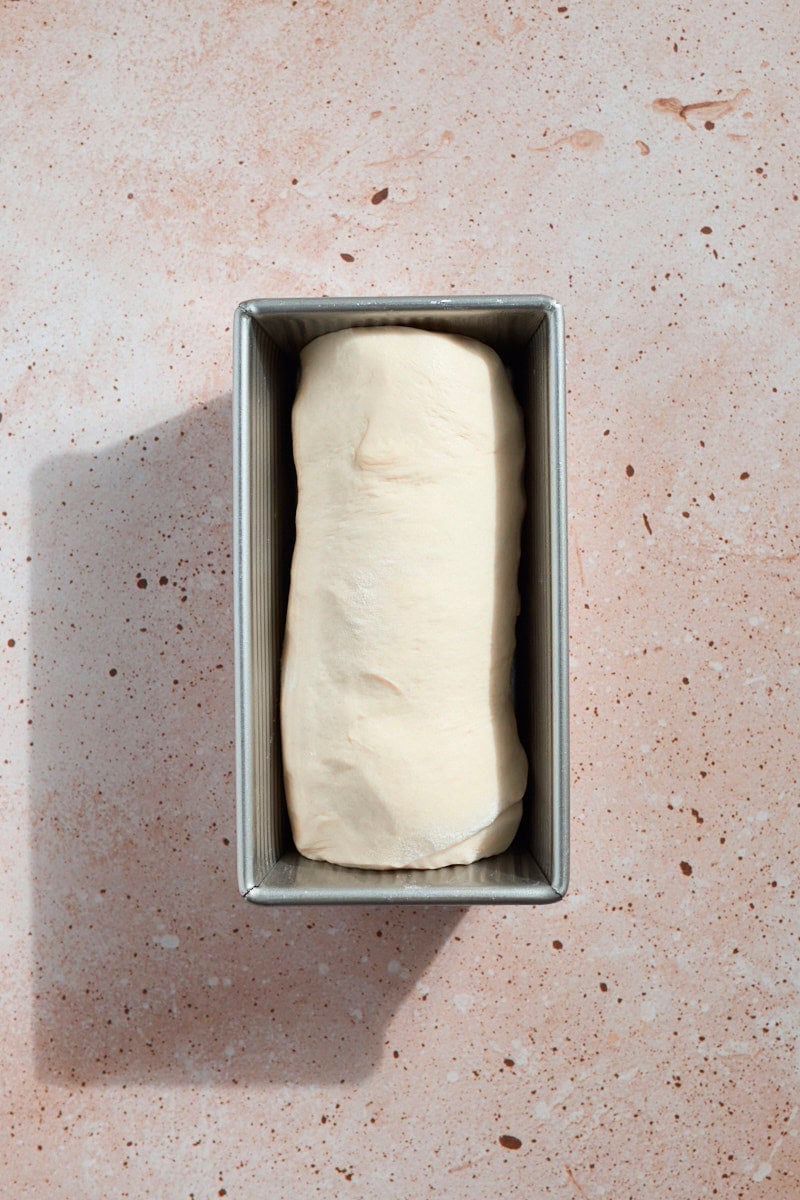
- Step 5: Place the dough log into the baking pan, seam-side down.
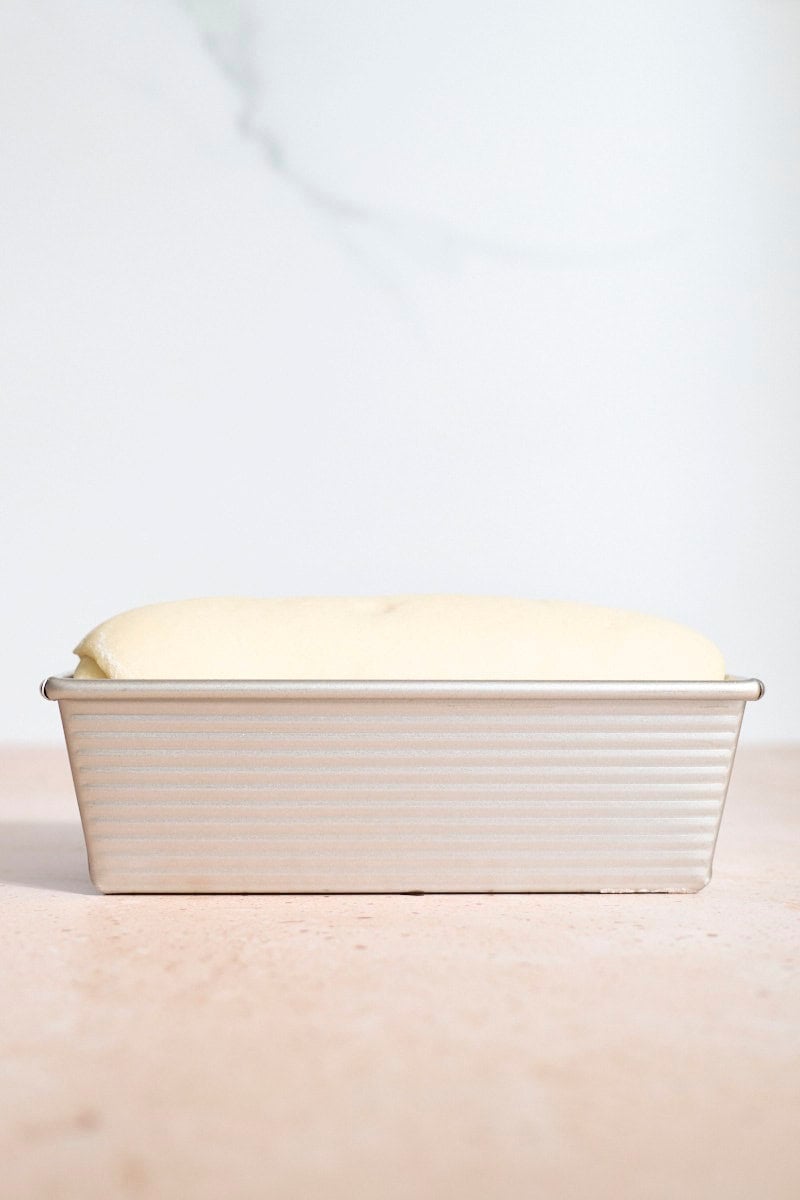
- Step 6: Cover with greased plastic wrap and let rise until the dough is about 1 inch above the edge of the pan.

- Step 7: Bake until golden brown and the internal temperature of the loaf reaches 190 degrees F.

- Step 8: Let the loaf cool for at least an hour before slicing.
Expert Baking Tips
- You don't need a stand mixer for this recipe. They're convenient, but you can also make the dough in a large mixing bowl with a wooden spoon, then knead by hand.
- Make sure to knead the dough long enough. It's important the dough is completely smooth and soft before the first rise. Really, don't worry about kneading too long. If in doubt, knead a bit more!
- The dough should not be sticky, or hard. After kneading, the dough will be soft and smooth. If it's sticky or tough / hard, add more flour or water (1 Tablespoon at a time) to reach your desired consistency.
- When rolling out the dough, make sure it's not wider than the width of your loaf pan. If it's too wide, you'll end up with an unevenly shaped final loaf.
- When shaping the loaf, roll it up like a burrito. You don't need to do anything fancy. It doesn't need to be tight (but you don't want it to be too loose, either). Just make it a solid roll and set it seam-side down in your loaf pan.
- Very loosely cover the loaf for the second rise. Grease your plastic wrap so it doesn't stick to the dough, but also place it very loosely. You don't want to restrict the dough in any way while it is rising so you get a consistent shape.
- Bake until the internal temperature of the loaf reaches 190 degrees (F). It can be hard to tell from the outside when a loaf is finished. Take the internal temperature and you'll be certain!
Shaping the Loaf
When it comes to shaping your loaf, we want it to be as even end-to-end as possible. We don't want it to be leaning to one side, big on one side and small on the other, or anything else in between! There are a few things to keep in mind:
- Keep in mind the width of your pan - You don't want to roll your dough to be wider than the width of your pan, otherwise your dough won't easily fit.
- Roll it like a burrito - The dough doesn't need to be tight, but we also don't want it to be too loose. Think about it like rolling a burrito. You want it to be tight enough to keep the fillings in there, but not so tight as to tear your tortilla!
- Place the dough seam-side down - Place the dough seam-side down in your loaf pan. You don't need to do anything with the ends. They'll press against the ends of the pan and seal up on their own!
- Cover loosely for the second rise - Cover the dough loosely with greased plastic wrap (or a kitchen towel). You don't want this to stick to the dough, but you also don't want it to restrict your dough in any way while it's rising. This will help to give you an even final loaf shape after baking!
Equipment
I like to use a KitchenAid 5-Quart Stand Mixer to mix the dough, but this is optional. You can also make the dough in a large mixing bowl with a wooden spoon, then knead by hand. Use a kitchen scale to measure your sourdough discard and flour (at least).
You'll also need a 9x5-inch loaf pan (an 8.5x4.5-inch pan will work, too!), a rolling pin, and a cooling rack. I also highly recommend using a kitchen thermometer to measure the internal temperature of your baked loaf.
kitchen essentials
My Favorite 9x5-Inch Loaf Pan
The perfect loaf pan for sandwich bread, pull-apart bread, and more!
Storage
Room Temperature Storage: Once the bread has cooled completely, store this sandwich bread in an airtight bag or container at room temperature for up to 3 days.
Freezer Storage: Once the bread has cooled completely, place it in a freezer-safe plastic bag or container and remove as much air as possible. Freeze for up to 2 months. This will work for either the whole loaf, or with individual slices.
- Thawing the whole loaf: When you're ready, let the bread thaw at room temperature until no longer cold. You can refresh the bread by reheating it in an oven at 350 degrees F until it's warmed through. Slice and serve.
- Thawing individual slices: You can let the slices thaw at room temperature until no longer cold, or you can pop them in the toaster to warm them up.
Recipe FAQ
Sourdough discard is what is leftover after you feed your sourdough starter. You can either literally discard it (in the trash or compost), or you can use it to make sourdough discard recipes like this one!
If you're new to working with sourdough starter, check out these in-depth posts on how to feed sourdough starter, how to use sourdough discard, and tips for struggling sourdough starter.
Yes. To do so, omit the yeast and replace the sourdough discard with active starter (1:1 substitute). You'll also need to increase the rise times.
There are a lot of methods to this as well, but I'd recommend visually looking for the dough to have risen about 1 inch over the edge of the loaf pan. Once it reaches that height, it's generally ready to bake. King Athur has a great article with other tips, if you're interested.
There are a lot of different techniques here, but I'd recommend measuring the internal temperature of your loaf with a thermometer. A finished baked loaf should reach an internal temperature of 190 degrees (F). King Arthur Baking also has a great article on other techniques here.

Sourdough Discard Sandwich Bread
Ingredients
- ½ cup water warmed to 110℉
- ¼ cup + 1 Tablespoon non-dairy or regular dairy milk warmed to 110℉
- 1 Tablespoon granulated sugar
- 1 ¼ teaspoons active dry yeast
- 3 cups + 1 Tablespoon all-purpose flour
- 200 grams (about ¾ cup) sourdough discard unfed, at room temperature
- 1 ½ teaspoons kosher salt
- 4 Tablespoons unsalted butter melted
Instructions
- Combine warm water and milk in the bowl of a stand mixer fitted with a dough hook attachment*. Add the granulated sugar, then sprinkle the active dry yeast on top. Let sit for 5 minutes until the yeast is foamy. If the yeast does not foam, the yeast is dead, and you will need to start over with fresh yeast.
- Add the flour, sourdough discard, and salt. With the mixer on low speed, slowly pour in the melted butter. Mix until a rough dough forms. It should wrap around the dough hook and pull away from the sides of the bowl.
- Transfer the dough to a smooth work surface. Knead for 4-5 minutes until a soft, smooth dough forms. If the dough seems sticky or stiff, add more flour or water (1 Tablespoon at a time) to reach your desired consistency. Place the dough in a large oiled bowl and cover with plastic wrap or a clean kitchen towel. Let rise for 1 ½-2 hours until doubled in size.
- Grease a 9x5-inch loaf pan. Set aside.
- Place the dough on a lightly floured work surface. Use a rolling pin to roll the dough into a 9x18-inch rectangle. It's important that this is only as wide as the width of your loaf pan (9 inches wide for a 9x5-inch loaf pan). From the short side of the rectangle, roll the dough into a log. Think about this like rolling a burrito. Not too tight, not too loose, and the same thickness all the way across (not bigger on one side, etc.). Transfer the dough log into your prepared baking pan, seam-side down.
- Loosely cover the pan with a greased piece of plastic wrap or a kitchen towel. Let rise about 1 hour, until the dough has risen 1 inch above the edge of the pan.
- Preheat the oven to 350℉. Bake the loaf for 40-45 minutes until golden brown and the internal temperature of the loaf reaches 190℉.
- Let the loaf cool in the pan for about 10 minutes, then transfer to a cooling rack to cool fully (about an hour) before slicing.


Lindsey says
This is definitely a family favorite recipe! Last night, i shaped and put the dough in my loaf pan for the second rise around 10pm. I ended up falling asleep but this morning baked it like normal. Do you think its okay ? I typically let my sourdough BF overnight but this was accident and since theres different ingredients i wasn't sure if it would still be okay to eat ??
Jessica Vogl says
It should be fine to eat! I'll be curious how it turned out!
Sarah says
All your recipes are so great! Have you considered creating a recipe book?
Jessica Vogl says
Thank you so much! It's definitely on the dream board (and I might do a small ebook later this year, just to dip my toe in the water). We'll see! 🙂
J. Renee Hyzy says
My family loved this! I made it without the yeast, forgot to add the dairy, and used an oat based butter substitute and it still came out! I was wondering if you could sub olive oil for a heart healthier version? Thank you! Your recipies saves my compost pile from turning white lol.
Jessica Vogl says
Hi there! Glad this worked out for you! Olive oil is generally considered to be heart healthy, but yes, I imagine you could switch it out for another type of oil if you liked.
Patti Smith says
I love this recipe. I have used it so many times to gift loaves to friends, and they almost always tell me what they did with it. Grilled cheese sandwiches and French toast are common favorites.
I'm looking forward to trying this with active starter and mixing and kneading it with my machine instead of the tedious stretch and fold method.
I do have a question, though. Why, when making this recipe, do you roll it out, then roll it up, instead of just forming it with your hands for the loafpan like other recipes?? I'm looking forward to your answer. Thanks!
Jessica Vogl says
Glad to hear it! Rolling the dough vs. stretch and folds will give you different textures in your final bread. A rolled bread (like this one), will have a tighter crumb, which is perfect for sandwiches. A bread that has used stretch and fold will have larger air pockets and a more open crumb - fitting for more artisan breads (which are also great for sandwiches, just a different bread!).
Patti Smith says
Thank you. I'm constantly learning new things about what works for the desired result! ❤️
Eve says
Wonderful! This will be on my collection of recipes tested and tried. Even my picky mom and daughter love this sandwich bread .. I even made some to rolls w crunchy exterior,so lovely. I used half all purpose, half bread flour and water from boiled potatoes to ensure a good rise ❤️
Also Jess says
Turned out great! What’s your recommendation for storing? Thanks!
Jessica Vogl says
You can store this at room temperature in an airtight bag or container for up to 3 days, or you can freeze the full loaf (or slices) if you want to save them for later!
Joe M Barkley says
This looks like a great recipe, I'm going to substitute my discard for my active starter since I have quite a bit Peaking. How much more of a rise time do you think I should give it? Thanks a bunch
Jessica Vogl says
So glad you love it! Unfortunately I don't have the rise times for you when using active starter, since this was designed to be a discard recipe. I'd go by visual cues (dough doubling in size, etc.).
Annna says
Great recipe! Made first and outlined, second time in bread machine on dough cycle (remove after first rise, final proof in bread pan). Both turned out perfectly!
Shauna says
I made this for my first time today. It turned out perfect! It's the right amount of fluffy but dense. The test is balanced well. Everything was so good. Your instructions are simple to follow. I appreciate it, thank you! Also your bagels are my family's favorite. This will also be a favorite too.
Cari says
Love this recipe! After collecting so much discard, was looking for a simple sandwich bread option. Super easy and bread came out light and fluffy. Loved how easy it cut! Made great toast and for sandwiches. Thanks Jess!
P says
This sandwich bread recipe was very easy to follow and turned out great. Tasted delicious, I’ve got plans to make it again and triple the recipe.
Jessica Vogl says
Love to hear it and so glad this worked well for you!
Christina says
My go to sandwich bread recipe! Comes out perfectly delicious everytime. I even forgot to let it do the second rise in the loaf pan and it still baked up great.
Jessica Vogl says
I love to hear that! Thank you!
Becky says
Beautiful loaf but mine was not light and fluffy. Will be great for toast but too heavy for sandwiches.