

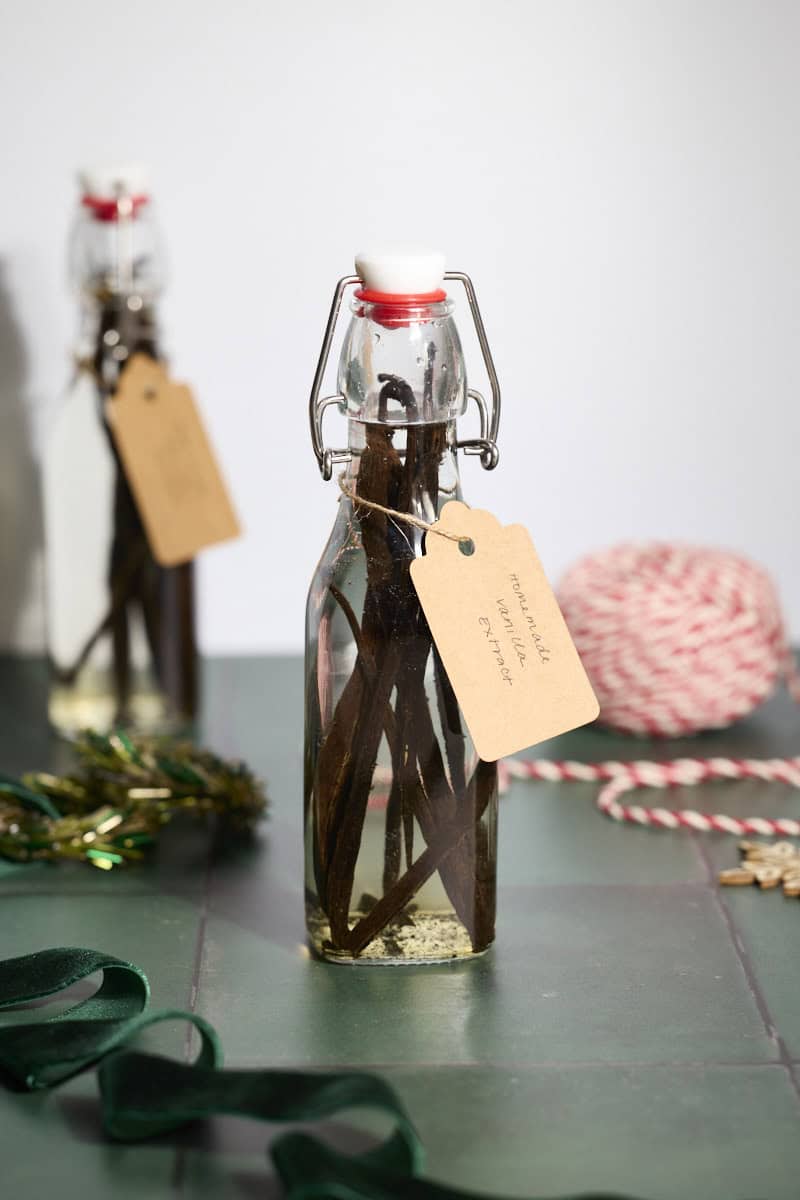
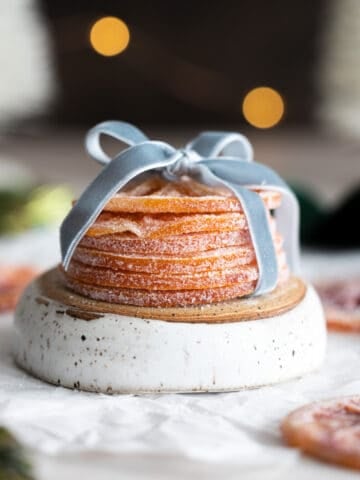
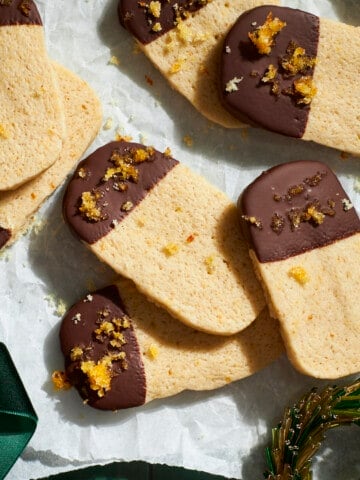
Homemade Vanilla Extract is easy to make, absolutely delicious, and makes a great gift! Pair a bottle of homemade vanilla extract with some holiday cookies, candied fruit, a new cookbook, or a few kitchen linens for the perfect gift any time. And once you have homemade vanilla extract in your pantry, you won't want to go back to store-bought vanilla... it's that good (and easy)!
Why you'll love this recipe
- Homemade vanilla extract comes together in just a few minutes and is a great gift to give! It needs to sit for at least 8 weeks before use, but you can always give it to someone and label with a "ready to use" date!
- The flavors get better the longer the vanilla extract sits, so this will only get better with time.
- You can make this recipe with vodka or bourbon, for a different flavor.
- Once you've started a homemade vanilla extract, you can keep it going for a very long time by continuing to refresh and refill the bottle!
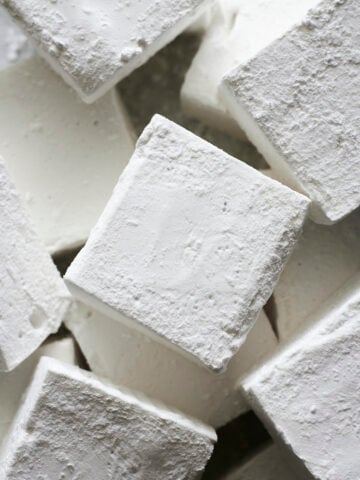
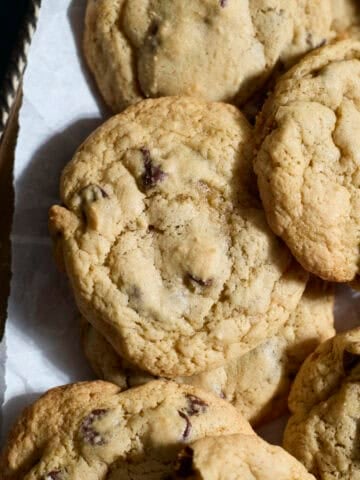
- Use homemade vanilla extract in your favorite baked goods, like these Sourdough Discard Chocolate Chip Cookies, Sourdough Discard Blueberry Muffins, and these Classic Vanilla Marshmallows.
Ingredients & Supplies
There are just a few things you'll need to make Homemade Vanilla Extract.
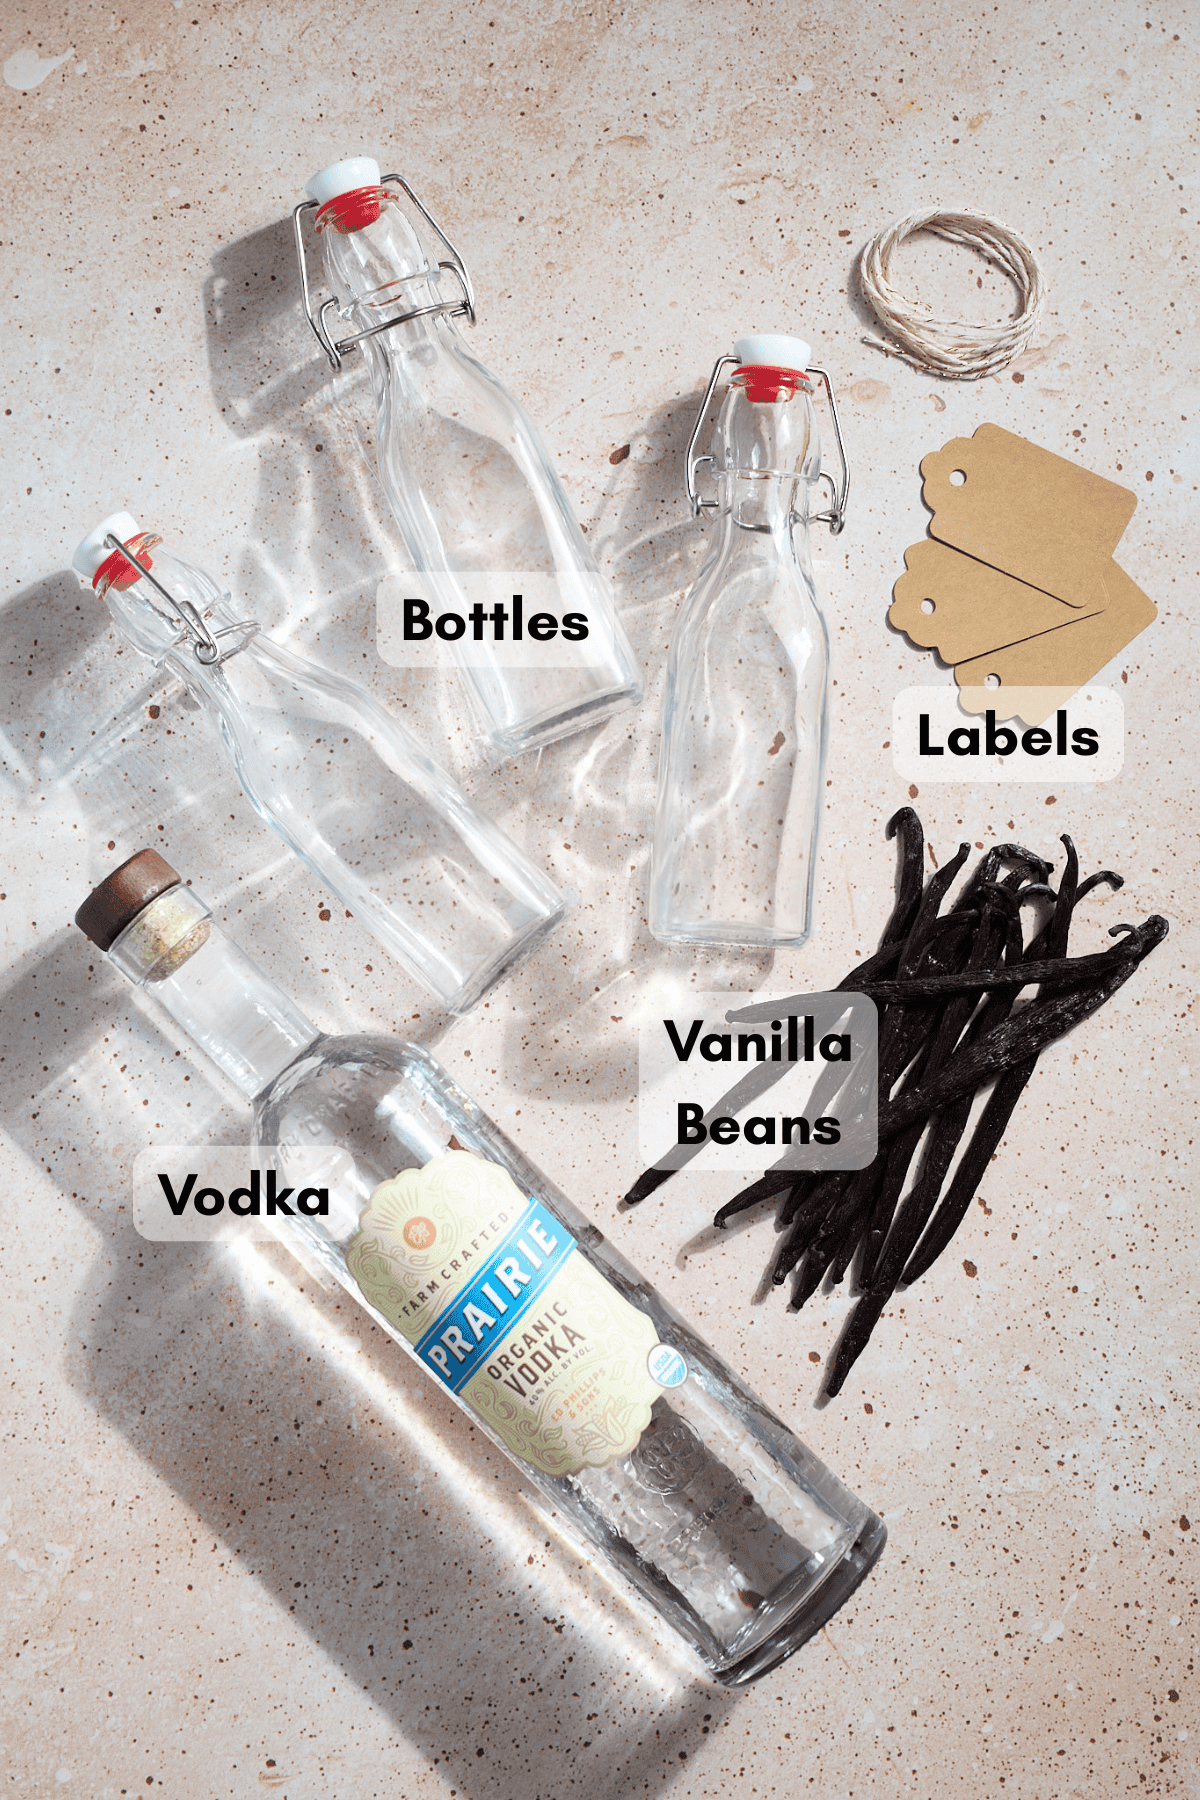
- Vodka - Choose a vodka that is fairly neutral (not flavored) and 80-proof. I like to use Prairie Organic Spirits vodka because it's a nice, smooth, organic vodka that isn't too expensive.
- Vanilla beans - You can use any kind of vanilla beans that you like. I love these Native Vanilla beans.
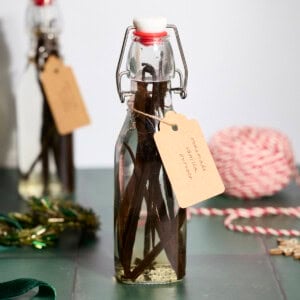
- Glass bottles - I recommend using 8-ounce bottles, but you can do this with any size or type of bottle. Even a recycled bottle works great (one of my vanilla extracts is in an old maple syrup bottle!). I like to use these 8-ounce swing top bottles.
- Labels or tags - It's nice to be able to put a label or tag on the bottle, especially if you're gifting it, to say what it is, and when the vanilla extract can be used. I like to use these kraft paper gift tags.
See full recipe below for detailed directions.
Substitutions & Variations
Classic vanilla extract is made with vodka, but you can also make this recipe with different spirits for a different flavor!
- Use bourbon: You can make bourbon vanilla extract by using bourbon instead of vanilla. Choose a bourbon that is unflavored, and that you like to drink (but it doesn't need to be anything fancy). You'll taste the bourbon when you're baking with this flavored vanilla extract, so consider that when you're baking!
- Use brandy or rum: Similarly, you can make this recipe with an unflavored brandy or rum. You'll also taste the flavor of the brandy or rum in your final baked goods, so consider that when you're baking!
I have not tested this recipe with other variations, but if you do, let us know how it turns out in the comments!
How to Make Homemade Vanilla Extract
This recipe comes together in just a few minutes! The full recipe with detailed directions is at the bottom of this post.
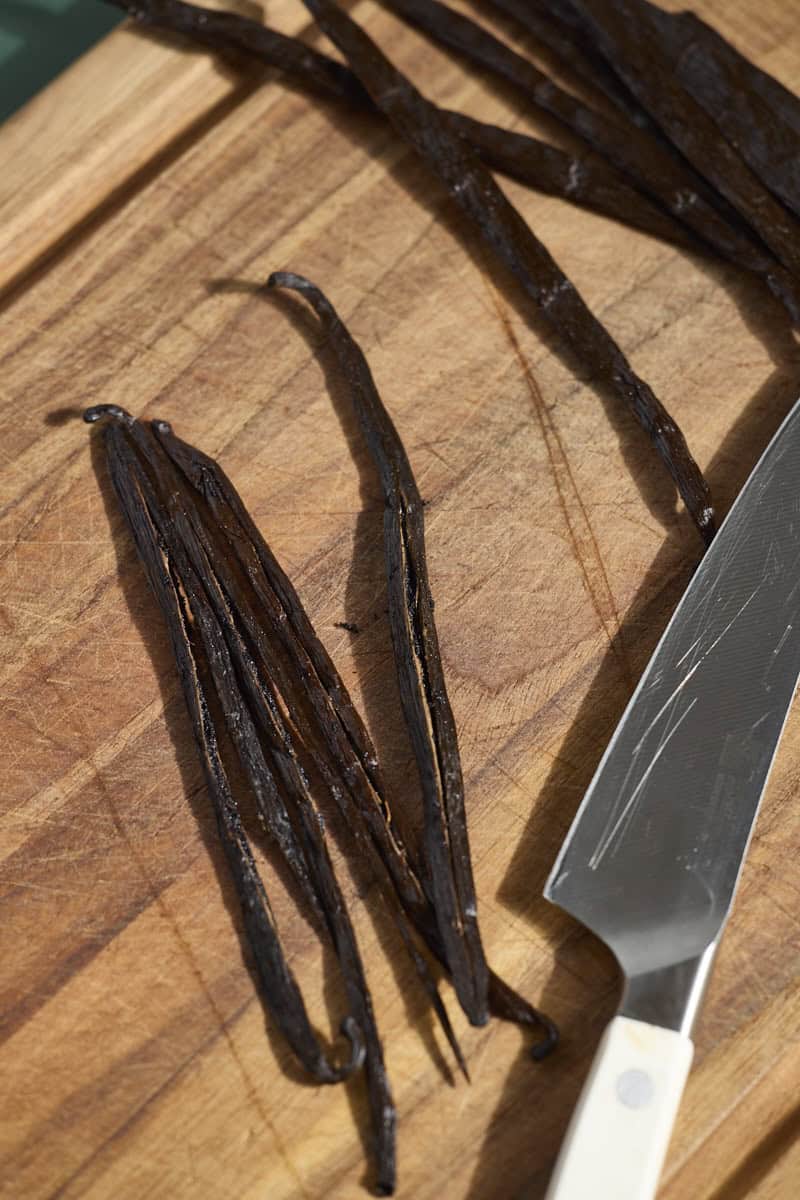
- Step 1: Cut the vanilla beans in half lengthwise to expose the vanilla bean seeds inside. You want to expose these to the vodka.

- Step 2: Place the vanilla beans into a clean glass bottle.

- Step 3: Fill the bottle with vodka. You want the vanilla beans to be fully submerged.

- Step 4: Shake the bottle, and you're done! Let this sit for at least 8 weeks, shaking the bottle weekly to help distribute the vanilla bean seeds.
Expert Baking Tips
- Make sure to cut the vanilla beans in half lengthwise to expose the vanilla bean seeds. This helps the flavor infuse into the vodka more easily.
- Cut your vanilla beans in half if they are too tall for your bottle.
- Store in a cool, dark place. The pantry cabinet is a great spot.
- Shake at least once each week (or when you remember) to help disperse the vanilla bean seeds in the bottle.
- Label your vanilla extract with a "use after" date so you remember when it's ready to use! This is also great if you're giving the vanilla as a gift.
How to Refill Homemade Vanilla Extract
As you are using your vanilla extract, you'll want to refill it once the bottle is about ⅓ empty. If you let it get lower than that, your vanilla extract will be too diluted when you refill, and you'll need to wait a few weeks again before you use it to get that strong vanilla flavor.
To refill your homemade vanilla extract:
- Step 1: Add a vanilla bean or two (whatever you have on hand) to the bottle, cut in half length-wise. You don't have to add a lot of fresh beans every time you're refreshing.
- Step 2: Top off the bottle with vodka (or your chosen spirit) and shake.
- Step 3: You can use the vanilla extract right away if you refilled less than ⅓ of the bottle.
Do I ever need to take out the vanilla beans?
No! The alcohol preserves the beans, so you can continue adding beans to the bottle without ever removing them (until at some point you can't fit any more beans in the bottle). I've heard stories of people who have had their vanilla extract going for ten years!
- If your bottle does become so full with vanilla beans that you can fit in any more, you can either start a new bottle from scratch or remove a few vanilla beans and keep it going.
An important note is that the alcohol will only preserve the beans while the beans are fully covered. This is another reason to refill your vanilla before it gets to be ⅓ empty so you're preserving the vanilla beans that you have in your bottle.
Storage
Room Temperature Storage: Vanilla extract should be stored in a cool, dry place (like your kitchen pantry). During the first 8 weeks, shake the extract at least once per week, or whenever you remember. When you're ready to use your vanilla extract, shake it and then pour into your measure or recipe.
Recipe FAQs
Don't sweat it! Shake them whenever you think about it. Once per week is a good goal, but sometimes that just isn't realistic, so shake them whenever it comes to mind.
This is normal. The floaters are the seeds from the vanilla beans - this is a good thing and means the vanilla is mixing well with the spirit!
When stored properly, homemade vanilla extract will keep indefinitely.
Holiday Baking Recipes
If you tried this Homemade Vanilla Extract or any other recipe on my website, please leave a ⭐ star rating and let me know how it went in the comments below. I'd love to hear from you! Happy Baking!
Homemade Vanilla Extract
Equipment
Ingredients
- 6-8 vanilla beans
- 8 ounces unflavored vodka
Instructions
- Clean and dry your glass bottles.
- Cut your vanilla beans in half lengthwise to expose the vanilla bean seeds. Make sure the vanilla beans are short enough to fit into your bottle (cut them in half, if needed!)
- Add the beans to the bottle. Pour vodka into the bottle to cover the vanilla beans completely.
- Close the bottle and shake! Store in a cool, dry place, shaking once per week to distribute the vanilla. They're ready to use after at least 8 weeks, but you can always let them sit longer for a stronger flavor!
Jane Tollett says
After making the recipe I was so happy with how cute and professional the bottles looked! Kept them on the counter for awhile just to admire them. I found similar bottles online and made 6 for Holiday gifts. Well I gifted myself one. By cutting the vanilla beans in half lengthwise it was easier ti split them and then keep them submerged. Everyone loved the bottles which was of course a great opportunity to talk about your blog.
Jessica Vogl says
Aw thank you, Jane! So glad you liked it! Sending big hugs.
Kelly says
These are so easy and popular, I was gifted 3 for the holidays from this recipe!
Els Porta says
$20 of raw materials gets you $70 worth of high quality vanilla extract. And it takes very little time!
Meghan says
Used this recipe and made teacher Christmas gifts! They loved it and made one for myself.
Jennifer S says
This is a classic recipe that never fails. I like to make a few bottles of this in the spring/summer so that they’re ready for gift giving during the holidays.