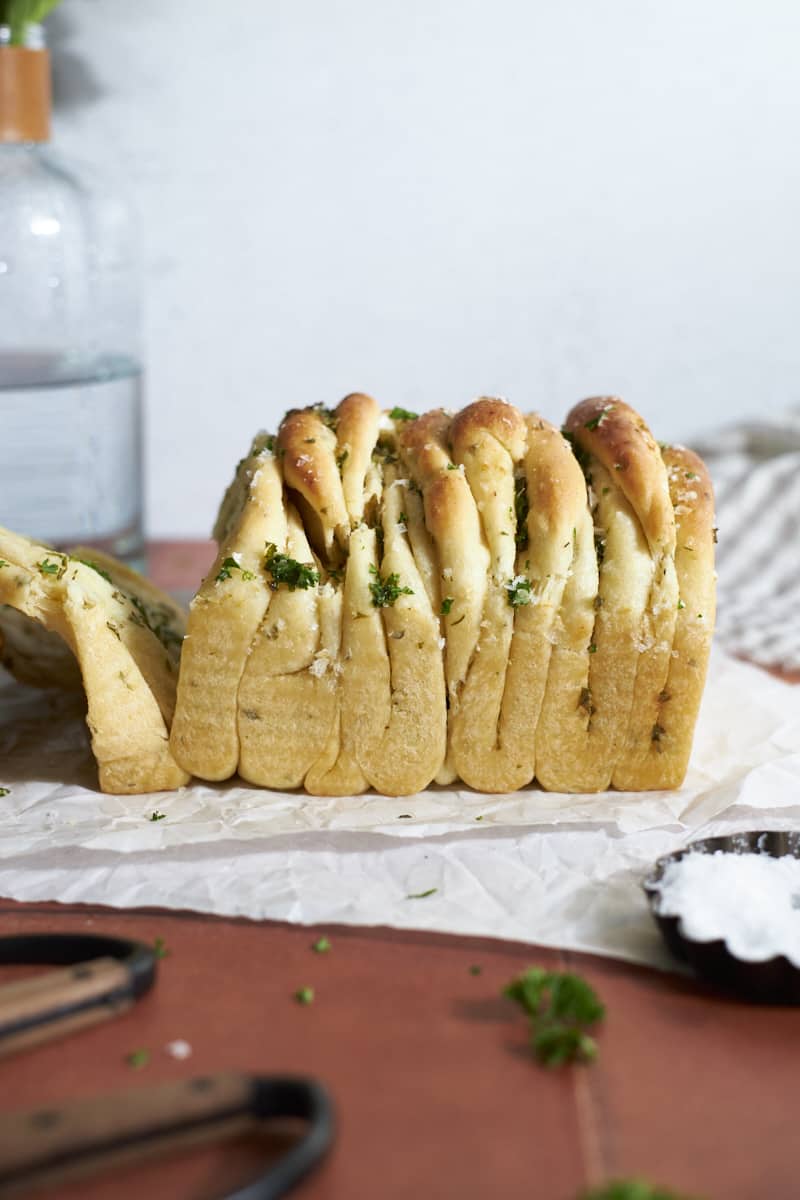
This Sourdough Discard Garlic Pull Apart Bread is delicious and fun to eat (and make!). Peel off a buttery, garlicky layer to enjoy on its own, as an appetizer, or as a side dish with a meal. It's a fun twist on classic garlic bread that you can make with sourdough discard or active sourdough starter, if you prefer!
And if you're really in the mood for a sweet pull-apart bread, try my Sourdough Discard Cinnamon Roll Pull Apart Bread, or my Sourdough Discard Apple Pull Apart Bread!
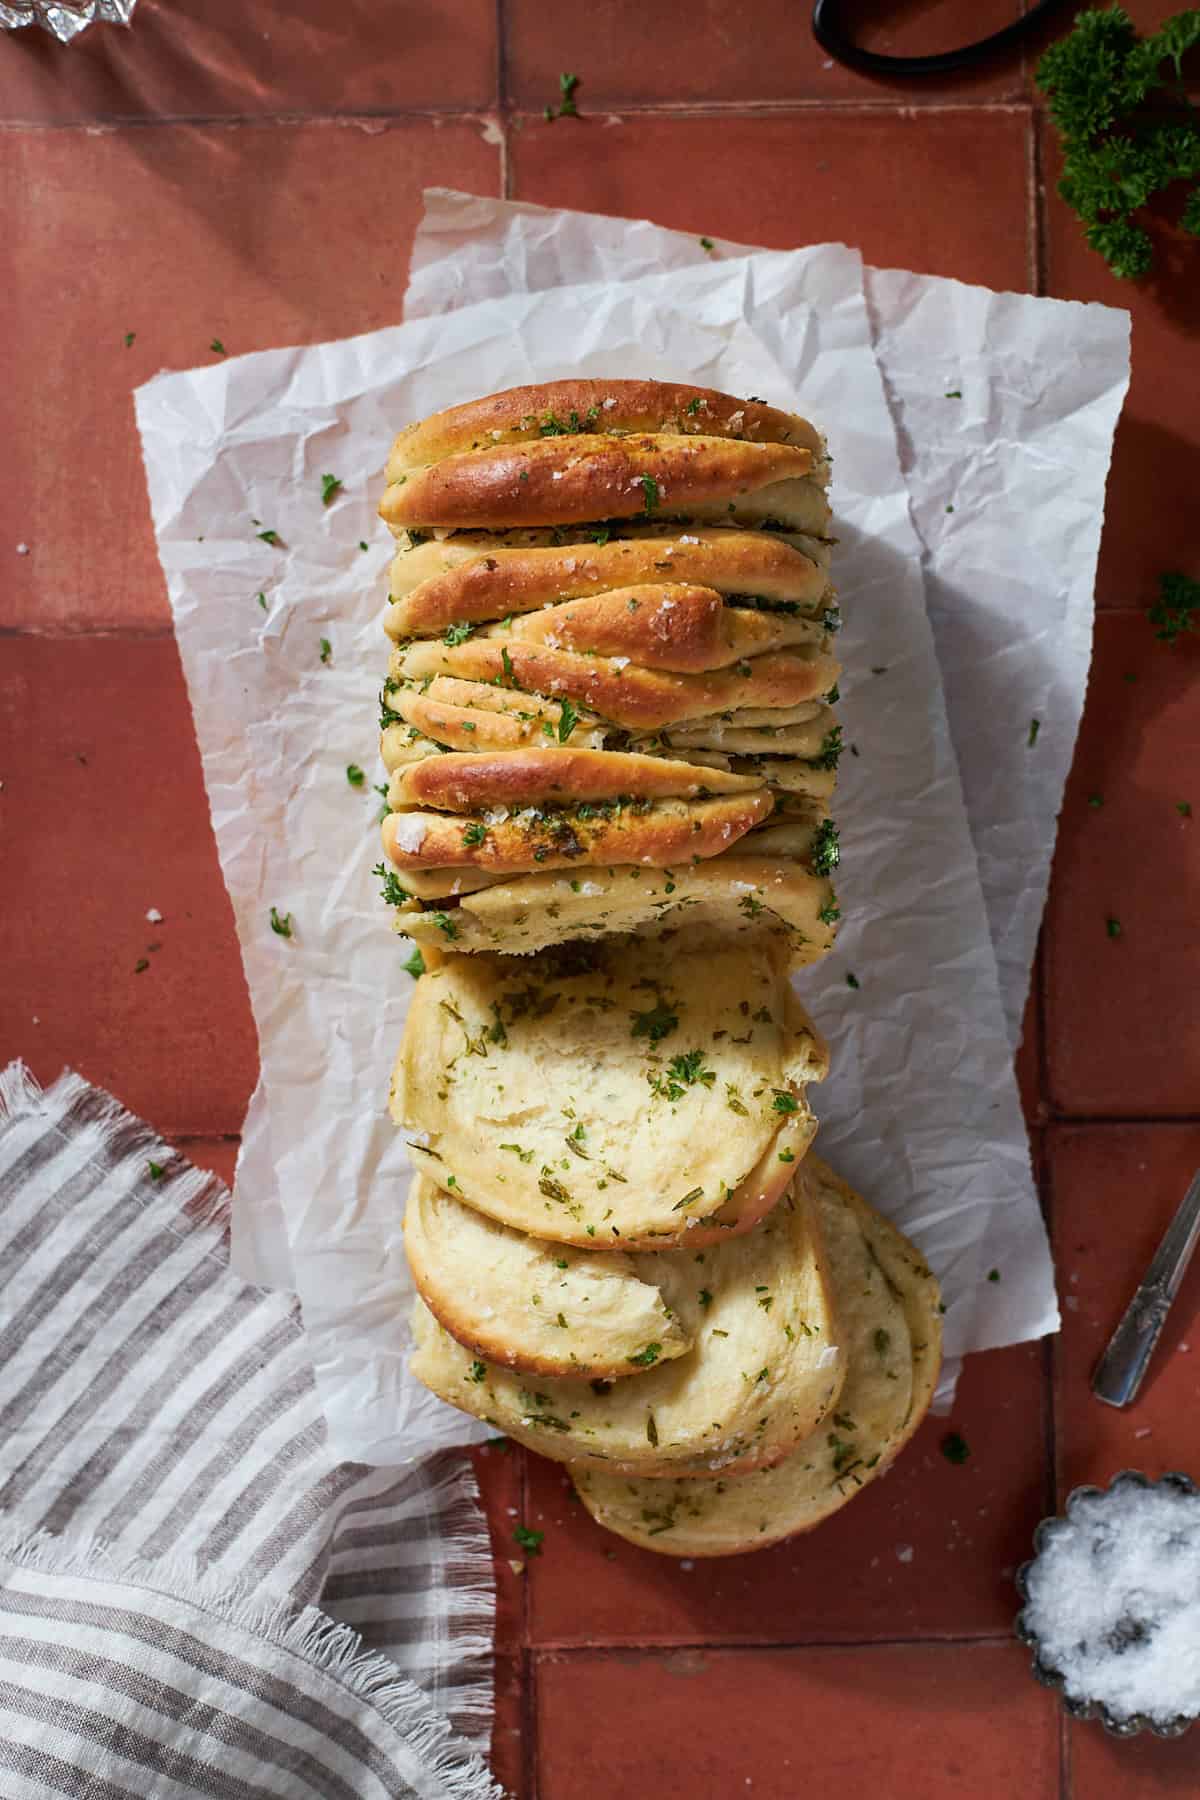
This was so good and fun to make - came out perfect. Thank you for the recipe!
- Mary
Why you'll love this recipe
- The irregularity is part of the charm of this recipe, so you don't need to worry about dividing the dough perfectly, or shaping the pieces into perfect shapes!
- It also makes this a great recipe to make with young or inexperienced bread bakers - it's very forgiving!
- The garlic bread layers are buttery, garlicky, and delicious - and very fun to peel and eat! And if you're in a garlic mood, try these Sourdough Discard Garlic Rolls!
- This recipe is best served warm, while the layers are still soft and fragrant!
- You can easily modify this recipe to use active sourdough starter instead of sourdough discard, if you prefer.
- You can change up the herbs to suit your tastes. Only rosemary? Only parsley? A mix? Something else entirely? Go for it!
Jump to:
Ingredients
There are only a few key ingredients you'll need to make this pull-apart bread.
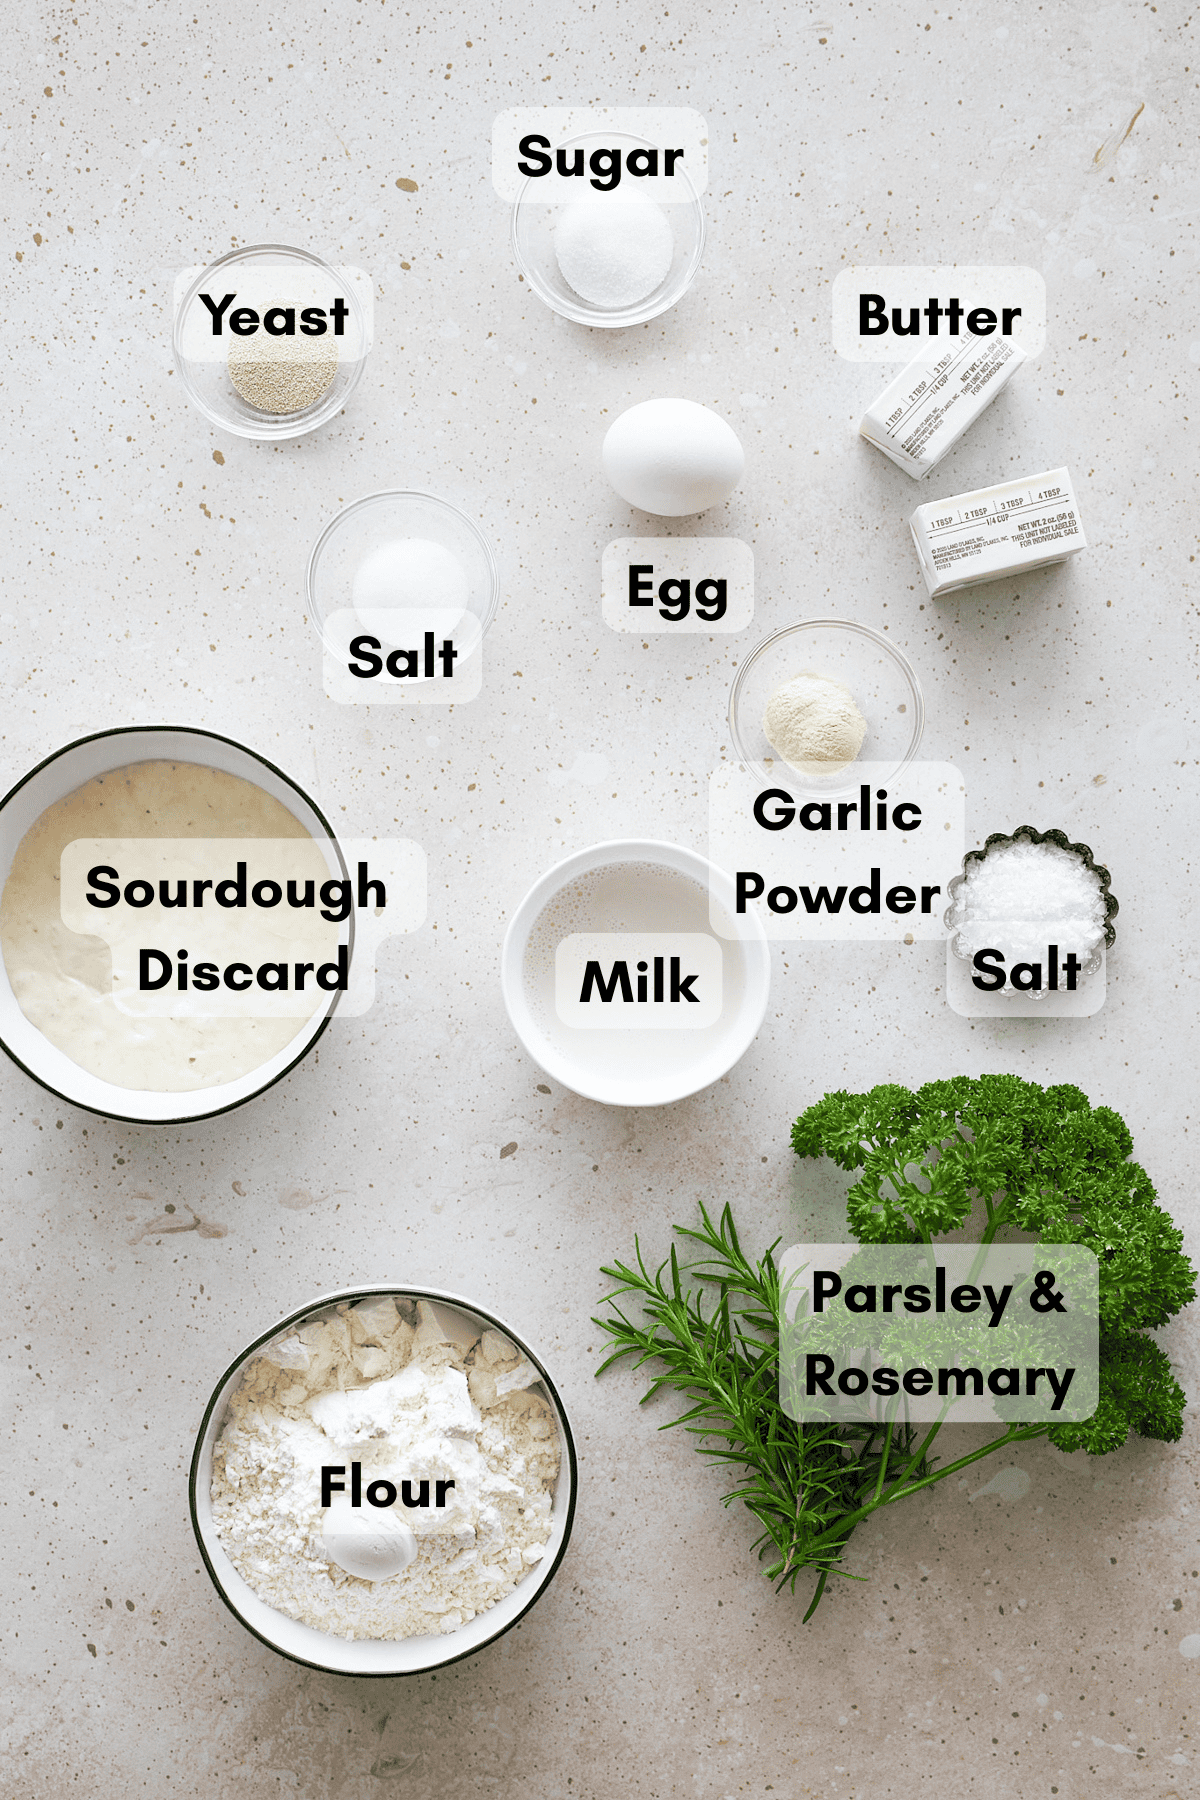
- Sourdough discard: The sourdough discard should be unfed and at room temperature for this recipe. This recipe is designed for a sourdough starter with a 1:1 ratio (when you feed your starter, it's with 1 part water and 1 part flour). If your starter uses a different ratio, you may need to adjust some of the ingredients in this recipe.
- Learn more about how to make a sourdough starter.
- Garlic powder: Make sure you're using garlic powder and not garlic salt! This helps give that great garlicky taste.
- Fresh parsley or rosemary: You can use either fresh parsley or rosemary (or a combination of both!) for this recipe. I highly recommend using fresh rather than dried herbs.
- If you're in a rosemary mood, try these Sourdough Discard Rosemary Salt Bagels!
- Flaky sea salt: Finishing the bread with flaky sea salt gives it a perfect flavor kick. I like to use Maldon Sea Salt.
See full recipe below for detailed directions.
Substitutions & Variations
This is a very adaptable recipe and below are a few easy substitutions and variations you can try.
- Use active sourdough starter - If you'd like to make this recipe with active sourdough starter instead of discard, you can. Omit the yeast, and you'll also need to adjust the rising times (I have not tried this with active starter, so do not have those rise times currently).
- Use different herbs - You can use either parsley or rosemary for this recipe (or a combination of both!). If you like, you can also mix up the herbs and use something else - sage would be wonderful here!
- Add cheese - If you're interested, you can sprinkle ¼ cup of shredded parmesan cheese in between the dough layers as you're building the bread. Spread each piece with the butter mixture, then sprinkle with cheese and fold as directed.
- Use fresh garlic - If you'd like to use fresh garlic instead of garlic powder, you can! One clove of garlic is equal to ¼ teaspoon of garlic powder.
- Looking for a different garlic bread option? Try these Sourdough Discard Garlic Rolls, or these Sourdough Discard Garlic Knots!
I have not tested this recipe with other variations, but if you do, let us know how it turns out in the comments! I always love to hear how you're adapting these recipes and use those as ideas for future recipes as well!
How to Make Sourdough Discard Garlic Pull Apart Bread
There are just a few steps and the most involved part (but also the most fun part!) is the assembly. The full recipe with detailed directions is at the bottom of this post.
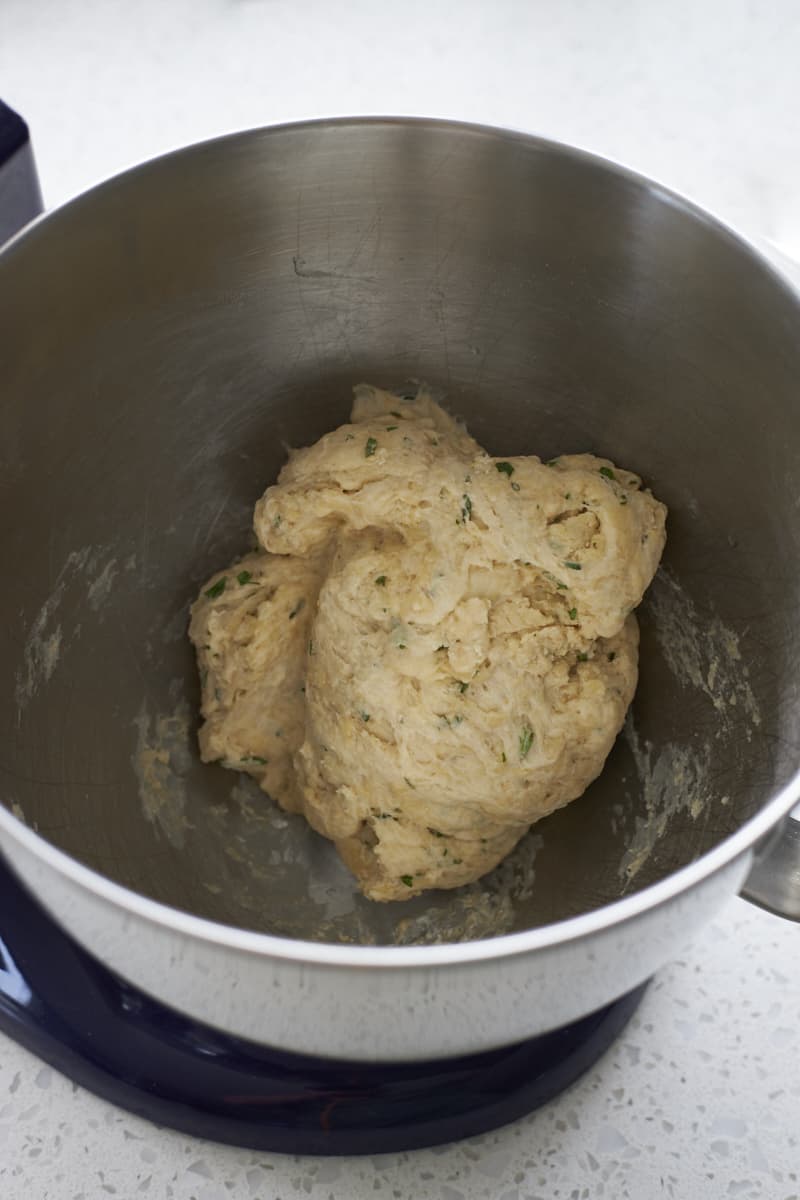
- Step 1: Combine all ingredients except butter in the bowl of a stand mixer. With the mixer on low, slowly pour in the melted butter until a shaggy dough forms.
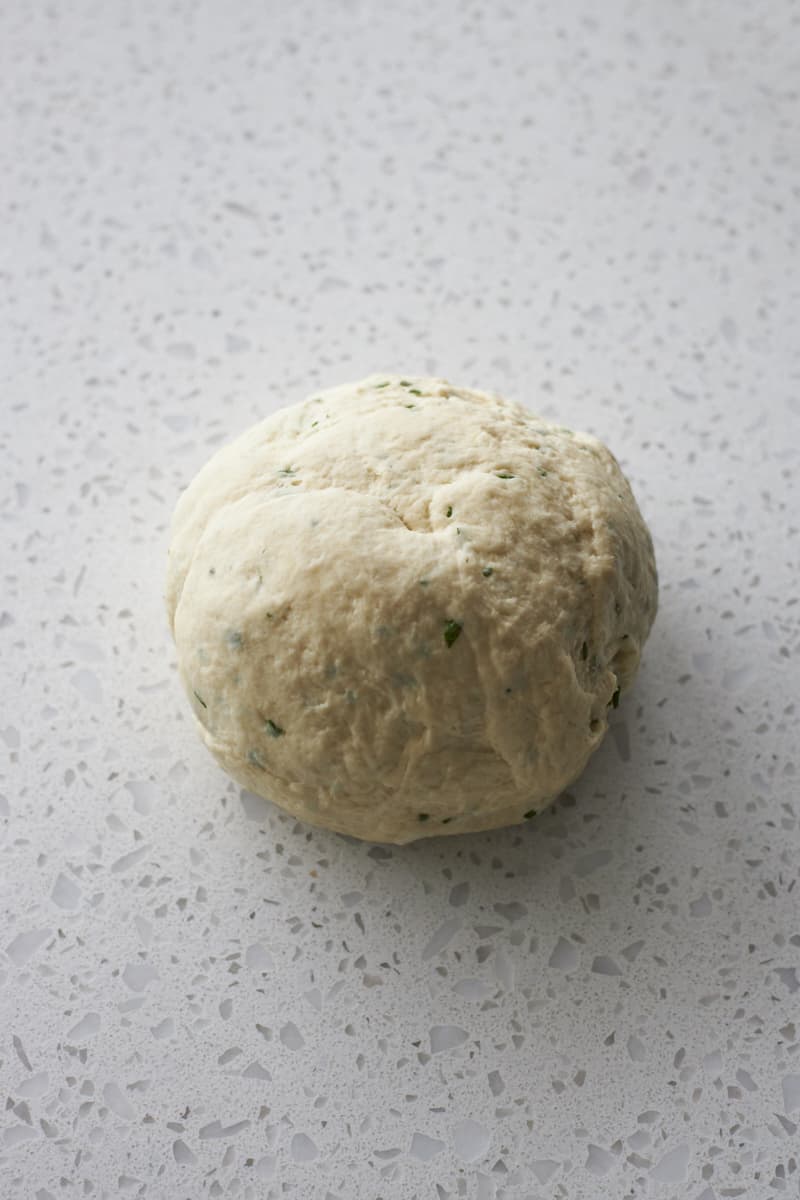
- Step 2: Knead the dough on a work surface for 3-4 minutes until smooth. The dough should be soft, smooth, and not sticky. If needed, add more flour or milk (1 Tablespoon at a time) to reach your desired consistency.
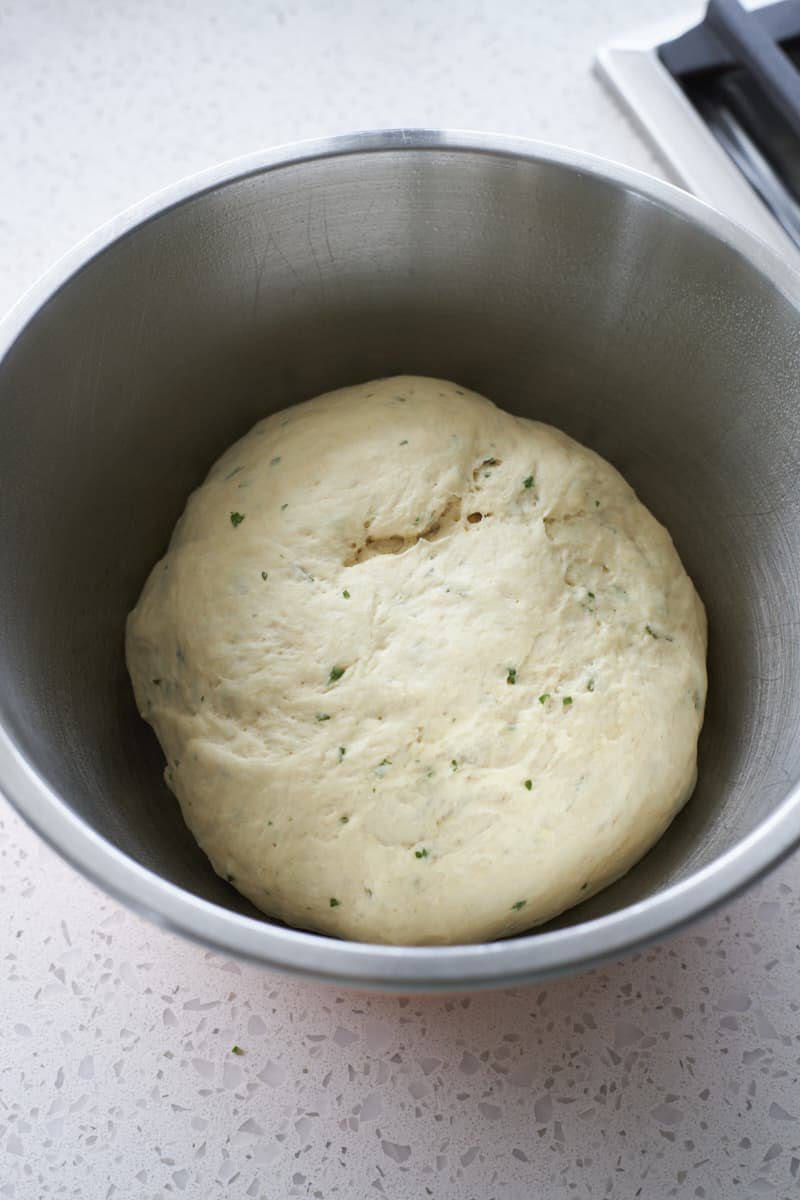
- Step 3: Transfer the dough to a large, oiled bowl. Cover with plastic wrap and let rise for 60-90 minutes until doubled in size.
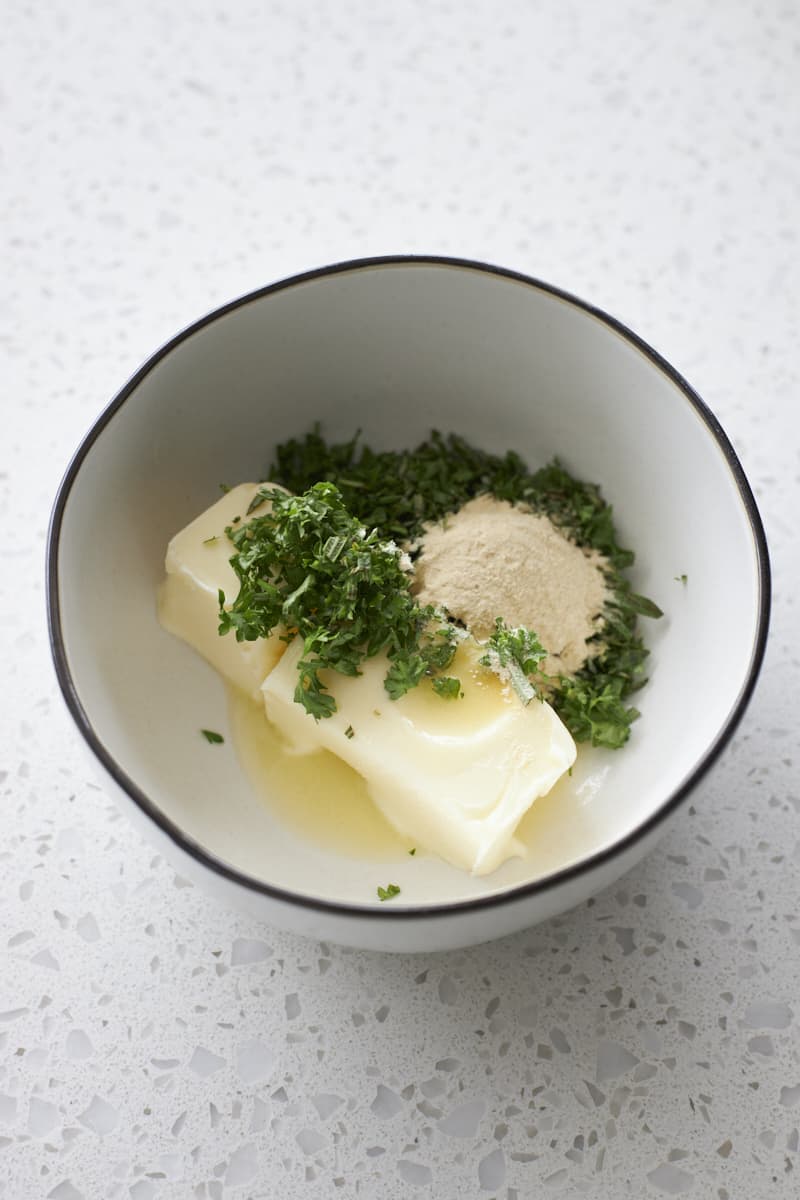
- Step 4: In a small bowl, mix together the softened butter, chopped herbs, garlic powder and salt for the topping. Make sure the butter is very soft to make for easier mixing.
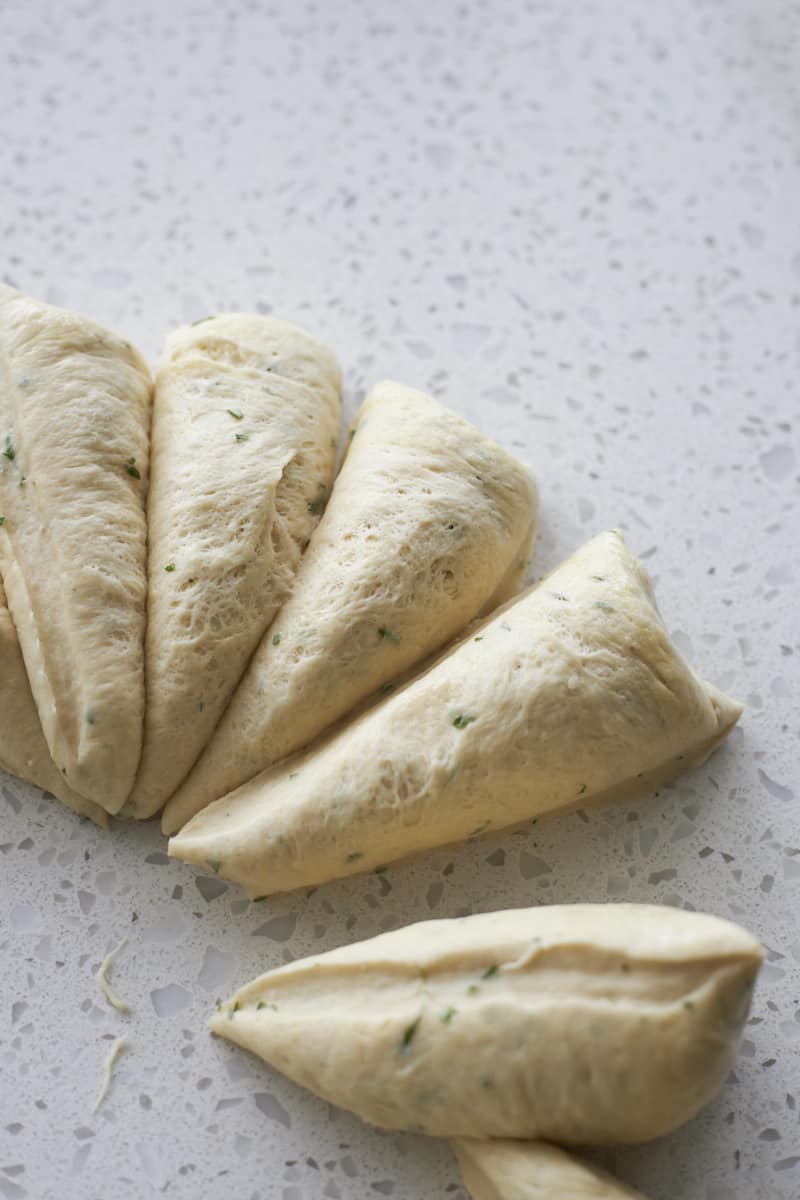
- Step 5: Transfer the dough to a work surface and divide into 12 equal-sized pieces. I recommend using a kitchen scale to measure perfectly even pieces.
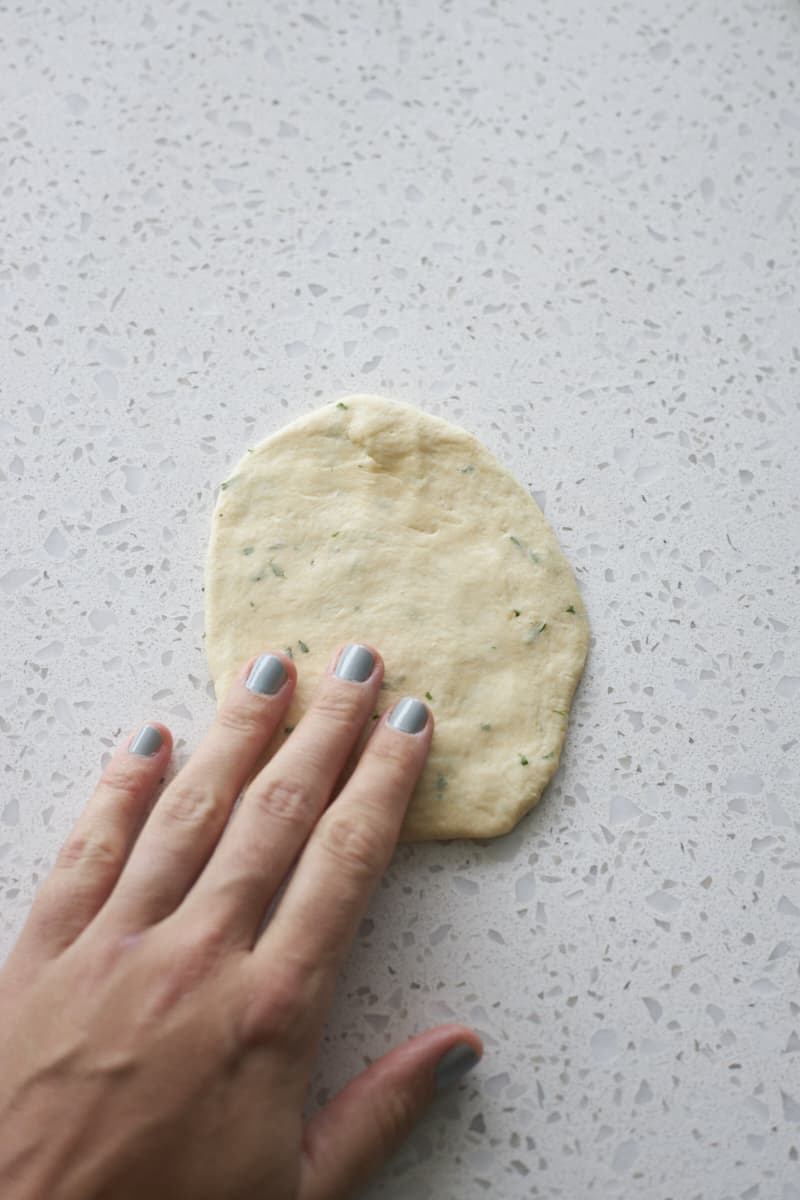
- Step 6: Press and flatten the dough with your hand (you can use a rolling pin if you prefer) into an oval about 4 inches wide (this is the about the width of your pan). This doesn't need to be exact; the irregularity is part of this recipe!
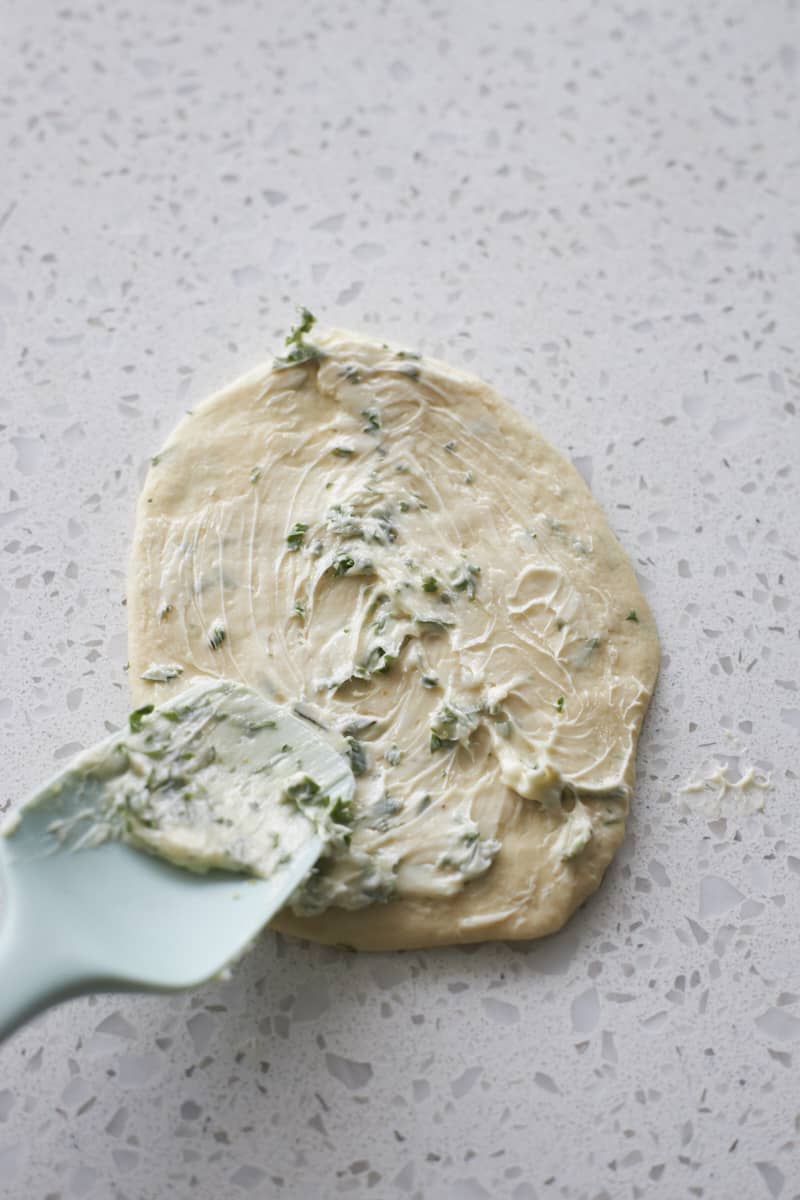
- Step 7: Generously spread each flattened piece with the butter mixture. You'll use about 1-2 teaspoons of the butter mixture on each piece.
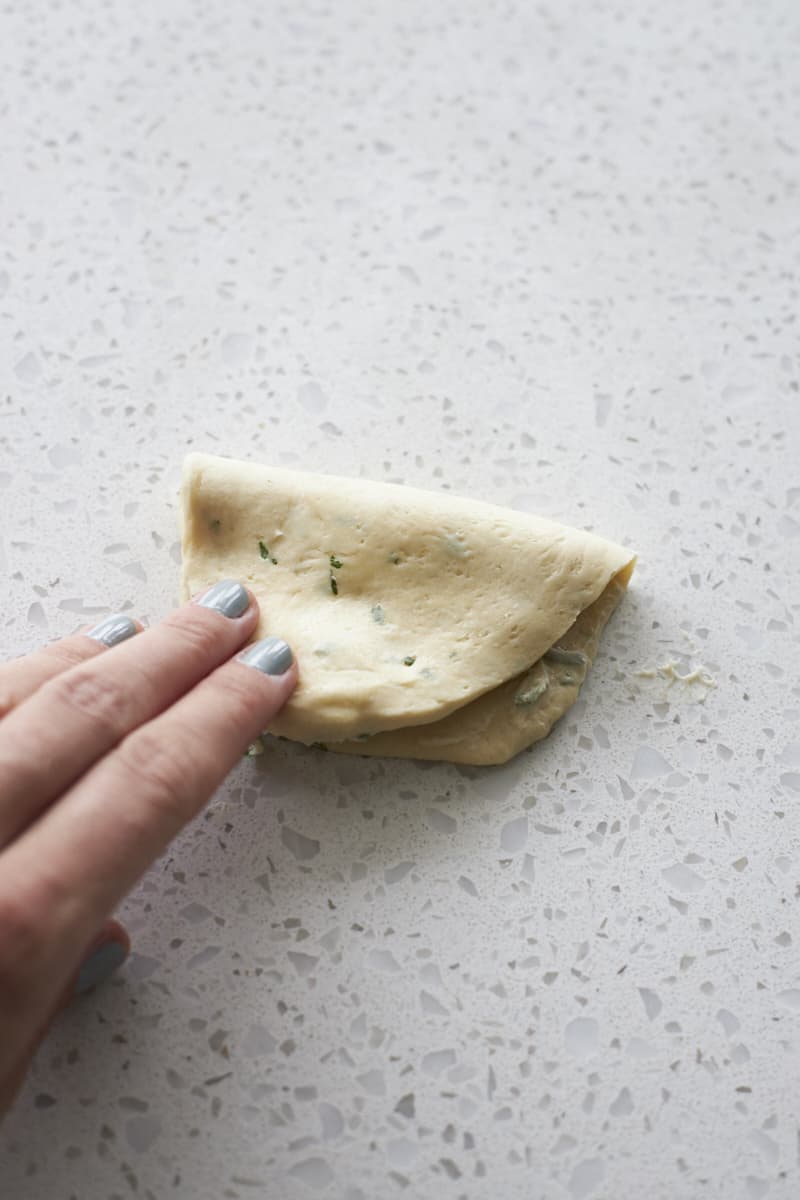
- Step 8: Fold the buttered piece in half like a taco.
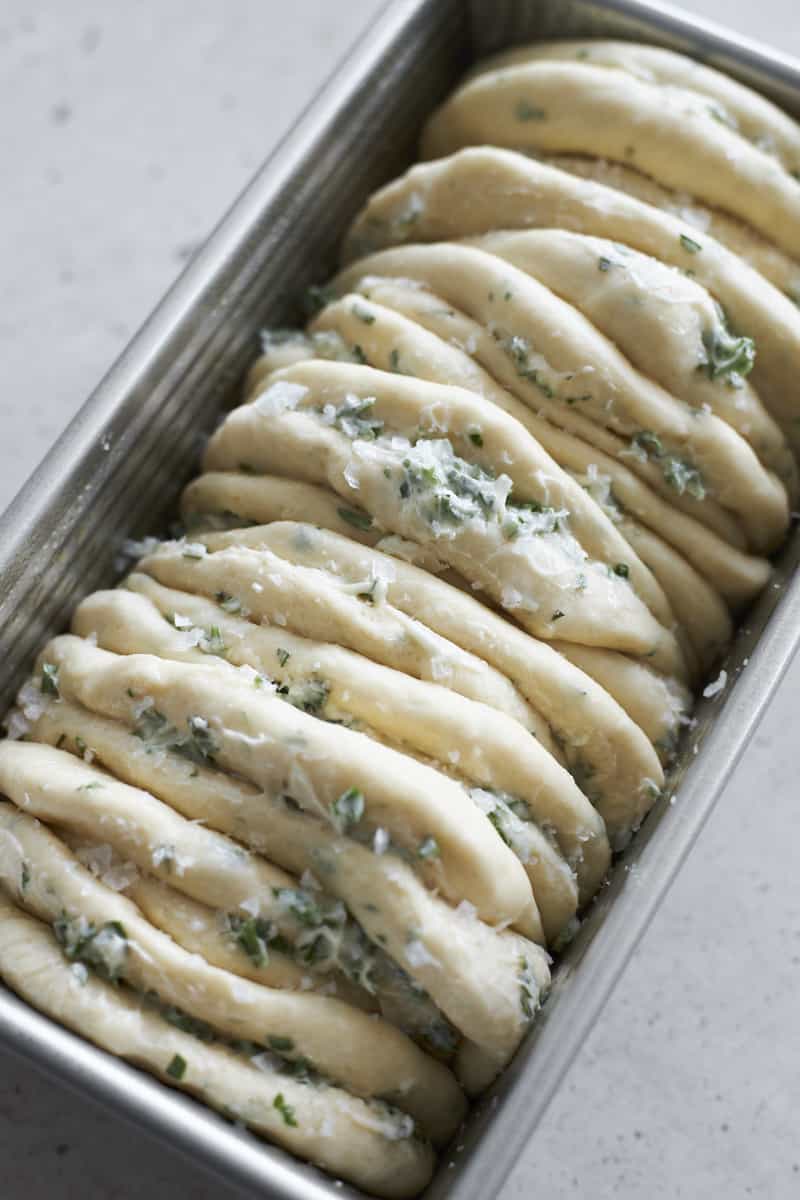
- Step 9: Place the piece fold-side-down in a greased 9x5-inch loaf pan. Repeat with the remaining pieces until the bread pan is full.
- Step 10: Cover with plastic wrap and let rise 30-45 minutes until puffed. The dough should not rise above the top of the bread pan.
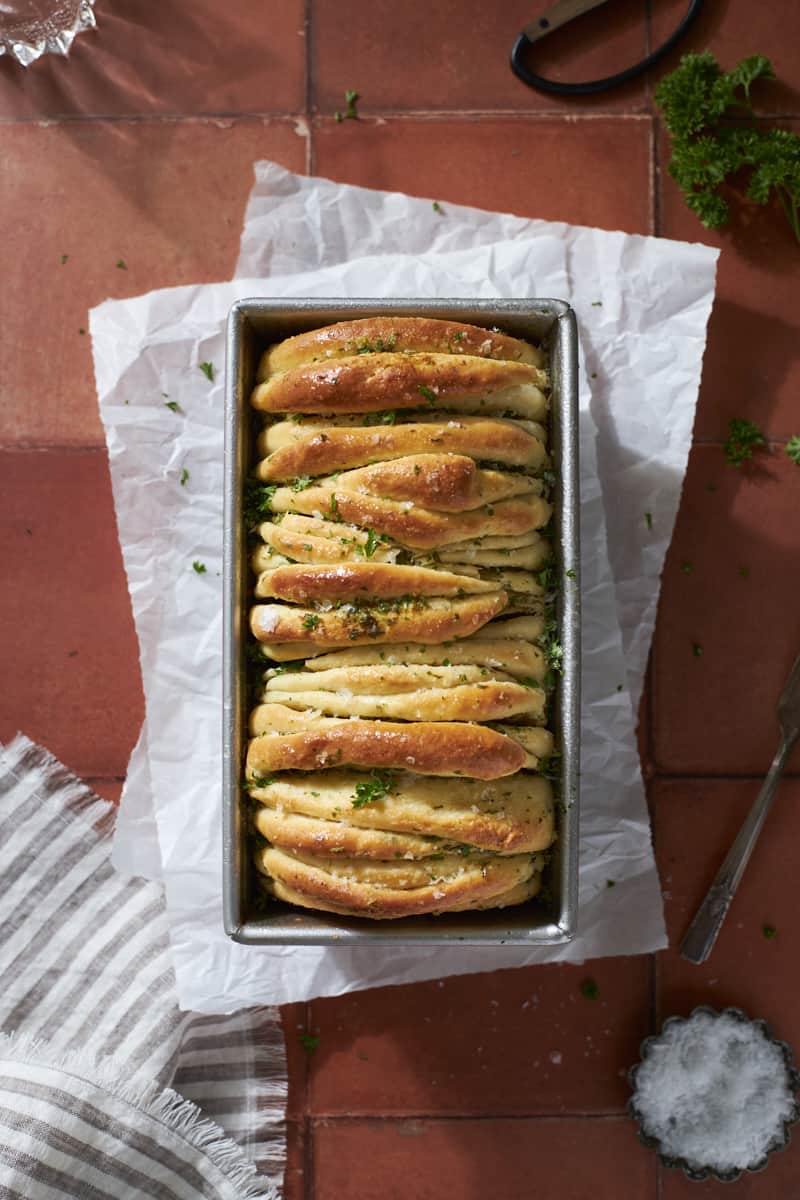
- Step 11: Bake until golden brown and the internal temperature reaches 200 degrees (F) on a kitchen thermometer. While warm, brush with any remaining butter mixture and sprinkle with flaky sea salt. Let cool slightly, then serve while still warm.
Expert Baking Tips
- Make sure to knead the dough long enough. The dough should be smooth and not sticky. If needed, add more flour or non-dairy milk (1 Tablespoon / 10 grams at a time) to reach your desired consistency.
- Let the dough rise long enough. Dough will rise quicker in a warmer room, and slower in a cooler room. If it needs more time, give it more time!
- Shaping the dough does not have to be perfect. Part of the fun of this recipe (and others like my Sourdough Discard Pretzel Bites) is the irregularity of the garlic bread layers. Embrace it and shape the dough pieces by hand, let them be irregular shapes, and don't worry about them being the same size.
- Be generous with the butter mixture on each piece of dough. You'll also want to keep a little bit of the butter mixture to brush on the warm bread when it comes out of the oven!
- Do not let the dough rise past the top of the bread pan during the second rise. If it does, it will still be delicious, but you'll run the risk of the dough folding and falling over the edge of the pan as it bakes.
- Use a kitchen thermometer to make sure the loaf is fully baked. When finished, the loaf will reach an internal temperature of 200 degrees (F).
Can you add cheese to this recipe?
Yes! If you want to add cheese to this recipe, spread each piece of dough with the butter mixture, then sprinkle with shredded Parmesan. You'll need about ¼ cup of shredded Parmesan for the full loaf.
Storage
Room Temperature Storage: This Sourdough Discard Garlic Pull Apart Bread is best eaten fresh, while it's still slightly warm. You can store the bread in a sealed plastic bag or airtight container for up to 3 days. If needed, reheat in the microwave for about 30 seconds to make the bread soft and warm again.
Freezer Storage: If you want to store this bread to enjoy later, let it cool fully, then transfer to an airtight, freezer-safe container or bag. Freeze for up to 3 months. To reheat, let the bread thaw in the refrigerator overnight, then warm in the microwave for 30-60 seconds. You can also reheat the full loaf in the oven at 350 degrees F for about 10 minutes.
Recipe FAQs
Yes. If you'd like to use active sourdough starter rather than discard, you can. To do so, omit the yeast and replace the sourdough discard with active sourdough starter (1:1 substitute). You'll also need to adjust the rise times.
Yes. You can sprinkle shredded parmesan cheese on each dough piece after you spread it with the butter mixture. You'll use about ¼ cup of shredded cheese for the full loaf.
I highly recommend using fresh herbs, but if you're in a pinch, dried herbs will work, too. Use 1 teaspoon of dried herbs in place of 1 Tablespoon of fresh herbs. And if you prefer using dried herbs, check out these Sourdough Discard Breadsticks, too!
Yes! Keep in mind that 1 garlic clove is equal to ¼ teaspoon of garlic powder as you're making the conversion.
There are times and visual cues listed in the recipe below, but the foolproof way is to measure the internal temperature of the loaf with a kitchen thermometer. When it's fully baked, the loaf will reach an internal temperature of 200 degrees (F).
More Sourdough Discard Recipes
If you tried this Sourdough Discard Garlic Pull Apart Bread or any other recipe on my website, please leave a star rating and let me know how it went in the comments below. I'd love to hear from you! Happy Baking!
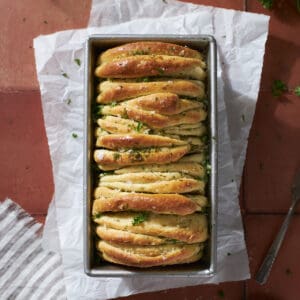
Sourdough Discard Garlic Pull Apart Bread
Equipment
- Kitchen thermometer optional
Ingredients
For the bread
- ¼ cup non-dairy or regular dairy milk warmed to 110℉
- 1 ½ teaspoons instant yeast
- 2 teaspoons granulated sugar
- 2 cups + 1 Tablespoon all-purpose flour
- 200 grams (about ¾ cup) sourdough discard unfed, at room temperature
- 1 egg lightly beaten
- 1 Tablespoon fresh parsley or rosemary chopped
- 1 teaspoon kosher salt
- 1 teaspoon garlic powder
- 2 Tablespoons unsalted butter melted
For the topping
- 7 Tablespoons unsalted butter softened
- 1 Tablespoon fresh parsley or rosemary chopped
- 1 Tablespoon garlic powder
- ½ teaspoon kosher salt
- flaky sea salt for topping
Instructions
- Combine the warmed milk, instant yeast, and sugar in the bowl of a stand mixer fitted with a dough hook*. Add the flour, sourdough discard, beaten egg, chopped herbs, salt, and garlic powder. With the mixer on low speed, slowly add 2 Tablespoons of melted butter. Increase speed to medium and mix until a shaggy dough forms.
- Transfer the dough to a smooth work surface and knead until a smooth dough forms, about 3-4 minutes. The dough should be smooth and slightly tacky (but not sticky). If needed, add more flour or milk (1 Tablespoon / 10 grams at a time) to reach your desired consistency.
- Transfer the dough to a large greased bowl and cover with plastic wrap. Let rise for 60-90 minutes, or until doubled in size.
- While the dough rises, make the topping. In a small bowl, combine the softened butter, chopped herbs, garlic powder, and ½ teaspoon salt. Mix until combined. Set aside 1 Tablespoon of this mixture to brush on the loaf when it comes out of the oven. Grease a 9x5-inch loaf pan and set aside**.
- After the rise, turn the dough onto a smooth work surface and divide into 12 equal-sized pieces. I recommend using a kitchen scale to divide the dough evenly (for me, each piece was about 55 grams).Flatten each piece with the palm of your hand into a rough circle about 4 inches in diameter, then spread with 1-2 teaspoons of the butter mixture. Fold the piece in half like a taco, then transfer to the prepared baking pan with the fold-side down on the bottom of the pan. Repeat with the remaining pieces of dough, using all but the 1 Tablespoon of the butter mixture you've kept for brushing on the loaf when it comes out of the oven.
- Cover the pan with plastic wrap or a clean kitchen towel and let rise 30-45 minutes until the dough is puffed. The dough should not rise above the edges of the loaf pan.
- Preheat the oven to 350℉.
- Bake for 30 minutes, then cover with aluminum foil and bake an additional 5-10 minutes. The final loaf will be golden brown, and if you use a kitchen thermometer, the internal temperature will reach about 200℉. While the loaf is still warm, brush with the remaining butter mixture and sprinkle with flaky sea salt. Let the loaf cool in the pan for 10 minutes, then serve.




Shannon says
Hi! Can you make this ahead of time?
Jessica Vogl says
You could let the first rise happen in the fridge overnight, then bake the next day.
Anthony Zaccaro says
Turned out awesome first time I tried it. I used bread flour bc that's what I had, and subbed while milk for non-dairy. Yeast was straight from the freezer into the warm milk for a few minutes first. Starter was out of the fridge, but actually pretty fresh. It didn't have any brown liquid on it yet. Mixed it by hand, kneeded it until smooth. Rise until almost doubled, 90 minutes. Shaped it and let it rise in a warm oven for an hour - probably a little too long, but it turned out great. It was pillowy and well above the pan edges when it went in. Baked it for about 25 minutes and brushed it with garlic butter when it came out. Kids wouldn't touch it bc they're weird, but wife and I loved it. Awesome recipe, Thank you!
Jessica Vogl says
The kids comment so real! Glad you loved it though!
Kassie says
Can this be reheated?
Jessica Vogl says
Sure! I’d pop it in the microwave (a few slices, or the whole loaf) to make it warm and soft again! If you use the oven, I’d be worried about it drying out as it bakes longer.
Elise says
I reheat all my breads in a cold oven. Set to 375 and as they approached the temperature you are preheating to, they are usually perfectly warmed up without over baking them.
Jessica Vogl says
How old is your yeast? Wondering if fresh yeast might help. Also, is your house fairly cold? That will affect rise time (may need longer in a colder environment).
Jenn says
My starter is fed with 1:5:5. In your notes you say to adjust if the ratio is not 1:1:1, how do I adjust?
Jessica Vogl says
Your flour to water ratio is still 1:1 so you should be ok to use the recipe as written!
Jennifer says
Whole family loved this recipe!!! Easy to follow and make!! Thank you!!
Debbie says
I made this yesterday and it was delicious! I’m going to try using the base mix, then make a spread with brown sugar, cinnamon, maybe pecans or raisins to do in between! Can’t wait!
Jessica Vogl says
I have an apple variation of this bread, but I like your idea! Might have to try it
Kristen says
I’m so confused…. I have great starter, plenty of discard, and I make beautiful boule. But 2 tries with this recipe and both times were terrible. I followed the recipe to the “T” and it didn’t rise (yes, I used yeast per the instructions gave it almost twice the amount of time to rise.) and it tasted terrible. What am I missing? This recipe is a big NO for me.
Jessica Vogl says
It's hard to say without seeing your loaf what is going wrong here! I'd be curious what kind of pan and the size of pan you're using. Sorry to hear this didn't work out for you!
Mary says
This was so good and fun to make - came out perfect- thank you for the recipe! Can’t wait to try more!
Kristina says
Is your yeast active or expired? If it hasn’t been properly stored too it could have weakened. Lots of variables but I suspect a yeast issue if you’re not having a rise.
Stefanie says
This recipe was delicious! Thank you for sharing! I was out of garlic powder and sugar so I replaced those with roasted garlic and honey and it turned out so well. My whole family enjoyed.
Tina says
Have you use parchment paper to line the pan instead of oil to grease the pan?
Jessica Vogl says
I have not. You could, but I’d still recommend greasing the pan and parchment paper.
Meera says
Can we replace the garlic powder with fresh chopped garlic? If yes, what would be the appropriate quantity. If no, why?
Jessica Vogl says
You could! 1 clove of fresh garlic = 1/4 tsp of garlic powder
Linnea says
Hi Jess! Can I let the dough rise in the fridge with the double time and let it rise 30 min outside of the fridge before baking it so I can make the dough in the morning and cook the bread for dinner time?
Jessica Vogl says
Hi! The rise in the fridge will take longer than that (a fridge rise can take 10x as long as a room temp rise). For example, you could let it rise overnight in the fridge!
Kate says
Loved this! Super easy to make and it turned out perfect. It’s a great recipe to add to my repertoire for my lactose intolerant husband. I used Earth Balance butter and almond milk.
Carol says
This is my first use of sour dough ànd it's quite tasty I did use part whole wheat flour and I was alittle .light on my fresh rosemary but All in all I'm pleased
Amy says
Agreed, using grams would make it easier for baking. Sounds so good!!
Abby says
I also prefer grams- especially for flour!
Tj says
I ended up looking up the gram conversion for the flour. I found that I ended up needing 230 grams or so of flour to get a good consistency! I’m in the south with lots of humidity