Homemade marshmallows are an absolute treat, and these Chocolate Marshmallows are an entire dessert on their own. You can eat them on their own, roast them for a s'more, add them to a cup of hot chocolate, and more!
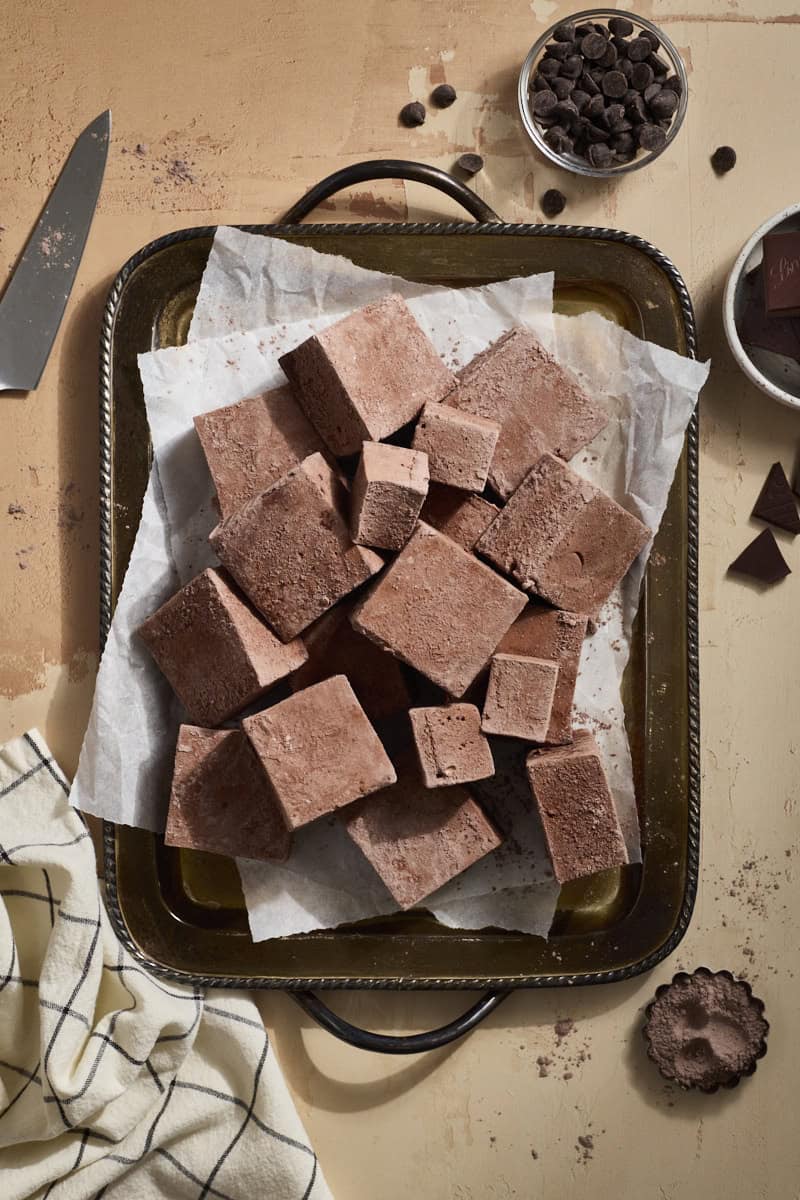
If you're looking for other dessert options, try these Candied Orange Slices, Sourdough Discard Brownies, and this Sourdough Discard Strawberry Galette. And if you'd like to try these marshmallows in other flavors, try these: Classic Vanilla Marshmallows, Strawberry Pink Marshmallows, and Candy Cane Marshmallows.
Jump to:
Why you'll love this recipe
- Homemade marshmallows are delicious and nothing like store-bought marshmallows! Once you try them, you'll never go back!
- You can eat these on their own, roast them for a s'more, add them to a cup of hot chocolate, and more!
- You won't even need to turn on the oven to make this delicious dessert.
- This is not a beginner recipe, but as long as you have a candy thermometer, a stand mixer, and can follow directions, you can make this candy!
Ingredients
There are a few key ingredients you'll need to make these Chocolate Marshmallows.
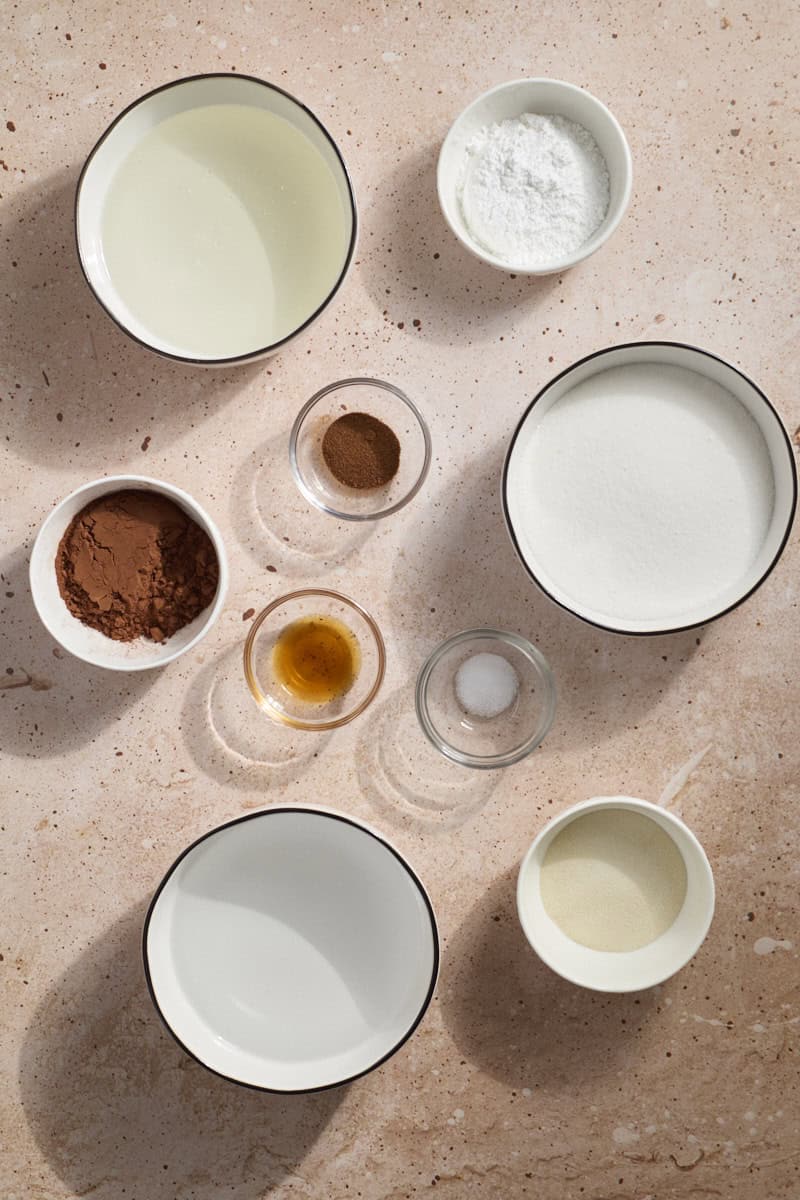
- Dutch-process cocoa powder: This is what gives our marshmallows their chocolate flavor. It's important to note that Dutch-process cocoa powder is not the same as natural cocoa powder. The Dutch process neutralized the cocoa's acidity, and gives it a smoother, more chocolatey flavor. If you want to dig into it, this Serious Eats article will give you all the details!
- Espresso powder: Just a little espresso powder helps bring out the chocolate flavor even more.
- Granulated sugar: This is the base of the marshmallow.
- Light corn syrup: Corn syrup adds additional sweetness, but also prevents the crystalization of the sugar as it's melted.
- Unflavored powdered gelatin: This is what helps the marshmallows set up to be firm.
- Powdered sugar: You will need a little powdered sugar mixed with some cocoa powder to coat the marshmallows so they don't stick together.
See full recipe below for detailed directions.
Substitutions & Variations
This is a very adaptable recipe and below are a few easy substitutions and variations you can try.
- Substitute for corn syrup - If you'd rather not use corn syrup, you can use agave nectar, honey or maple syrup in a 1:1 substitute for the corn syrup. Keep in mind, you will taste those agave nectar, maple syrup or honey flavors in the final marshmallow.
- Substitute for espresso powder - If you don't like the flavor of espresso (you won't taste it much here, and it really heightens the flavor of the chocolate), you can omit it from this recipe.
- Add a chocolate chip topping - Before the marshmallows set, you can add any toppings you like, pressing them into the warm marshmallow. Sprinkle the warm marshmallow with ¼ cup miniature chocolate chips, pressing them in slightly.
- A note on gelatin - There is not an easy substitute for gelatin to make these marshmallows vegan, so unfortunately I won't recommend one here!
I have not tested this recipe with other variations, but if you do, let us know how it turns out in the comments! I always love to hear how you're adapting these recipes and use those as ideas for future recipes as well!
How to make Chocolate Marshmallows
These steps will move quickly, so it's best to have your ingredients and equipment set out so you're ready to go!
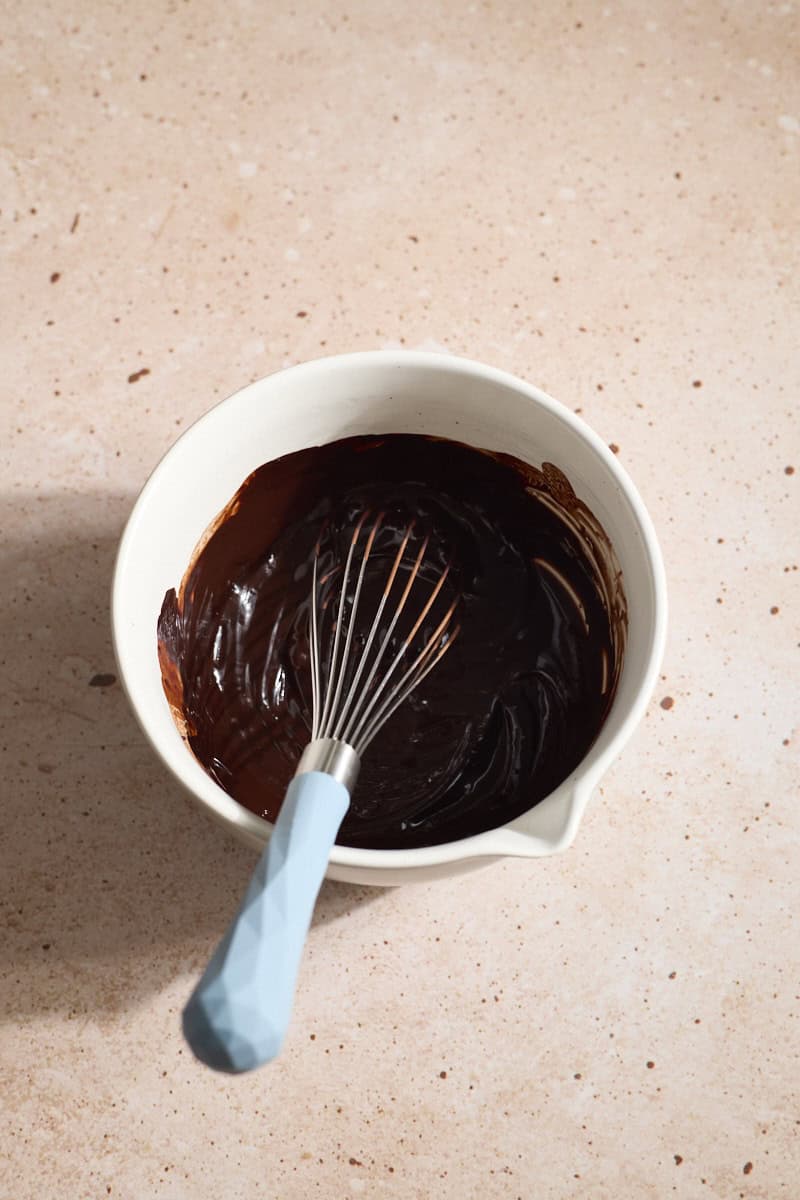
- Step 1: Combine the cocoa powder, espresso powder and boiling water in a small bowl. Whisk until smooth.
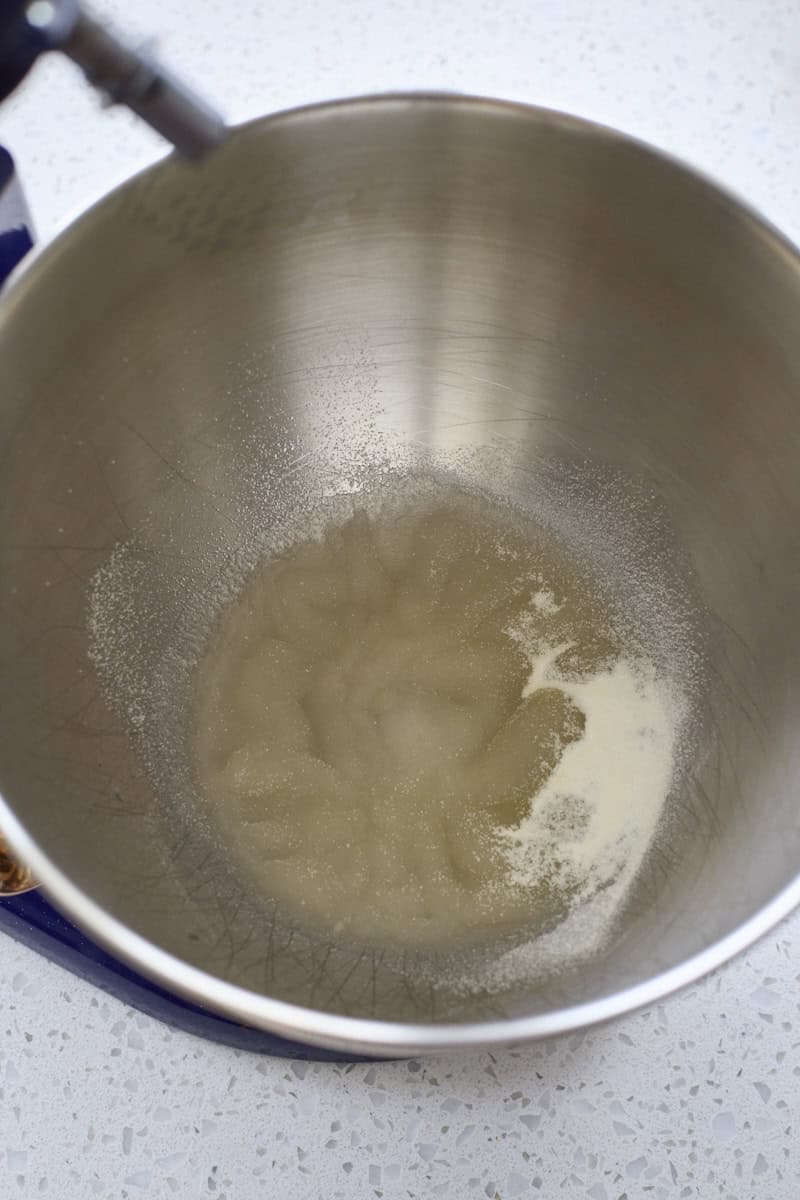
- Step 2: Bloom the gelatin on cold water in the bowl of a stand mixer.
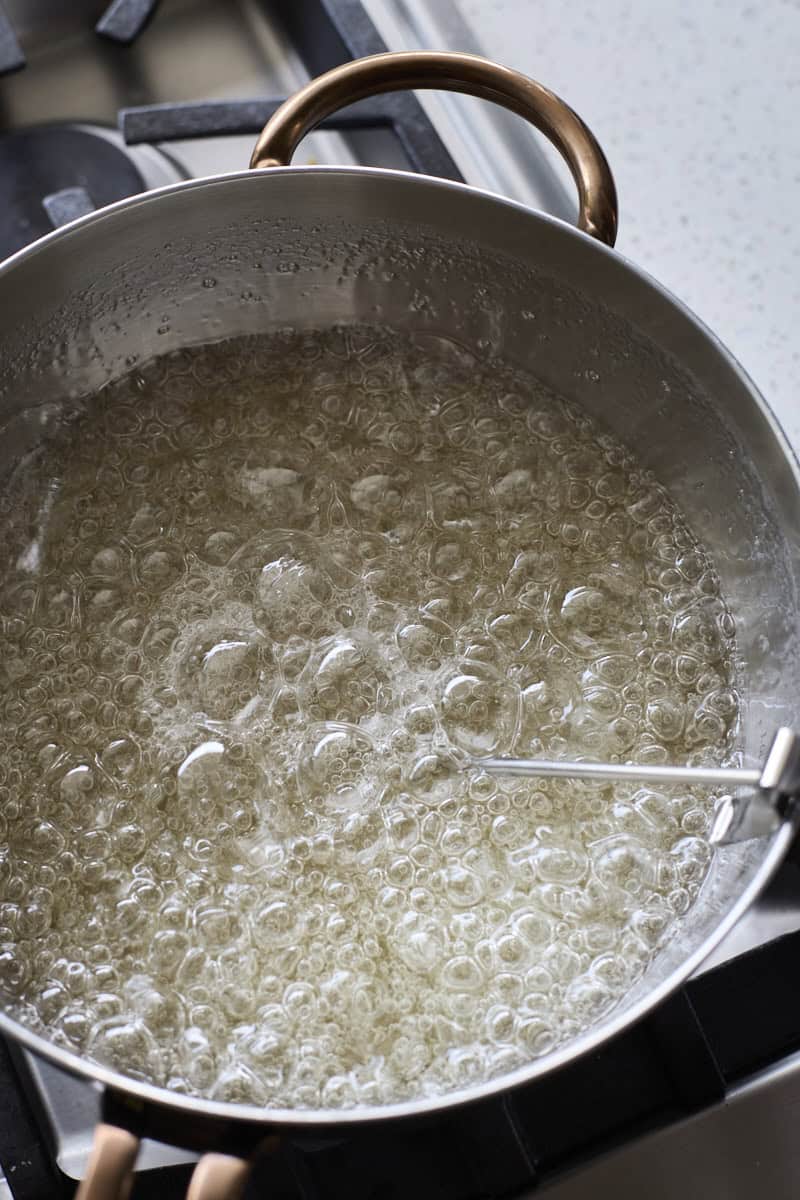
- Step 3: Combine the granulated sugar, corn syrup and water in a saucepan and bring to a boil. Swirl the pan gently and continue boiling until the mixture reaches 240 degrees F on a candy thermometer.

- Step 4: While the sugar is boiling, add the chocolate mixture to the stand mixer with the gelatin and mix.
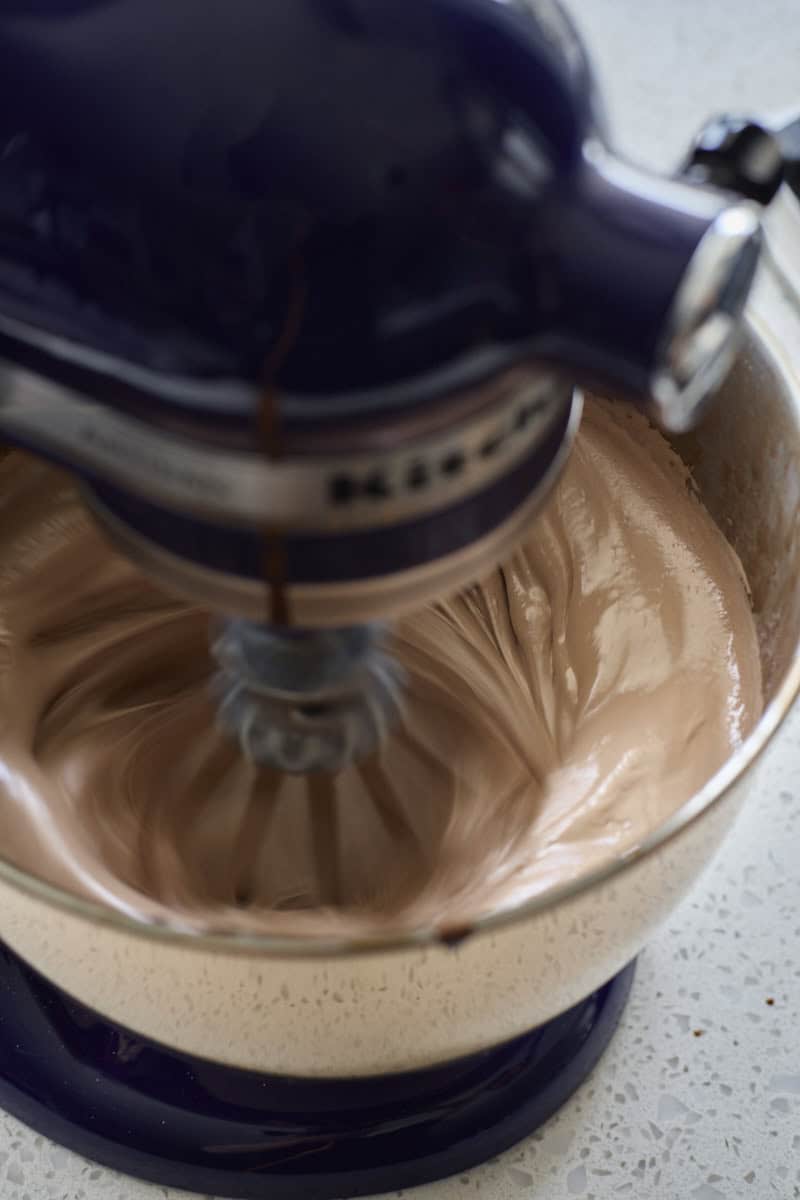
- Step 5: With the mixer running on low, slowly and carefully pour the boiling sugar mixture into the stand mixer. Slowly increase speed to high (to avoid splashes) and whip until the mixture is stiff and holds its shape for a few seconds before falling, about 12-14 minutes.
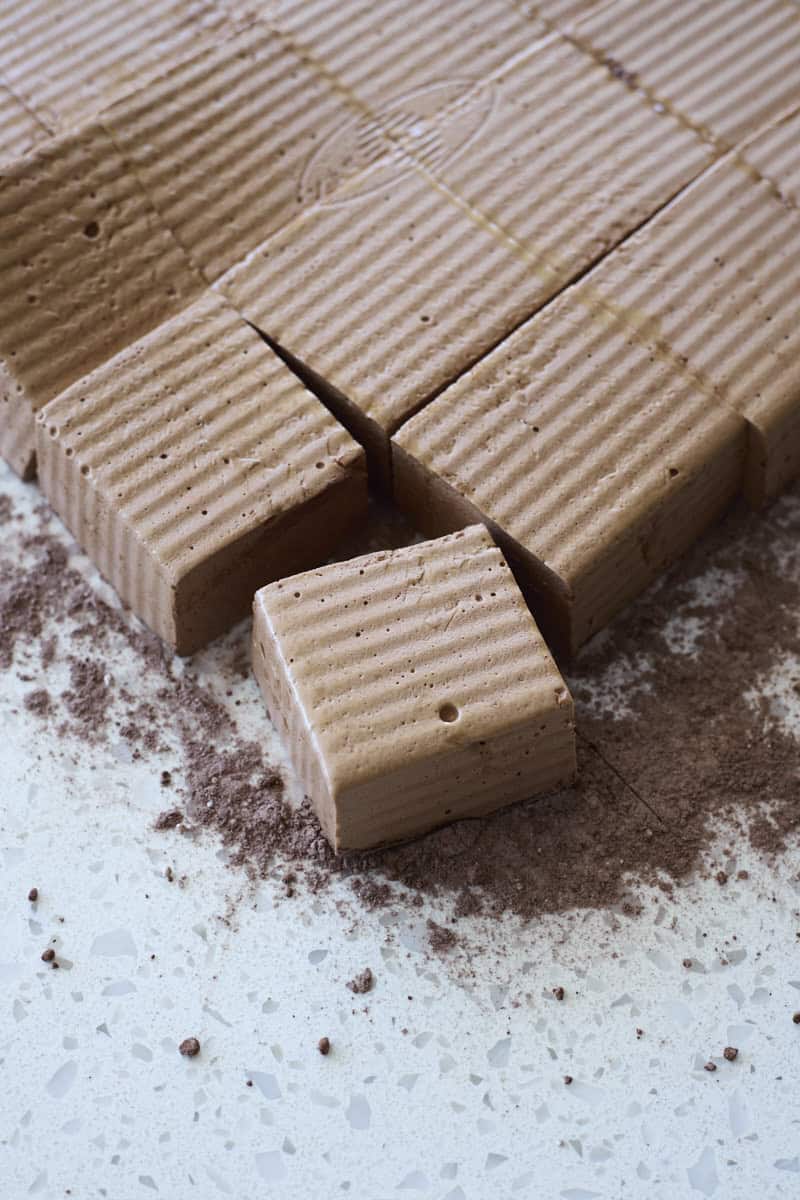
- Step 6: Transfer the mixture to the 9x9-inch pan, then let set. Once set, cut into 16 equal-size pieces.
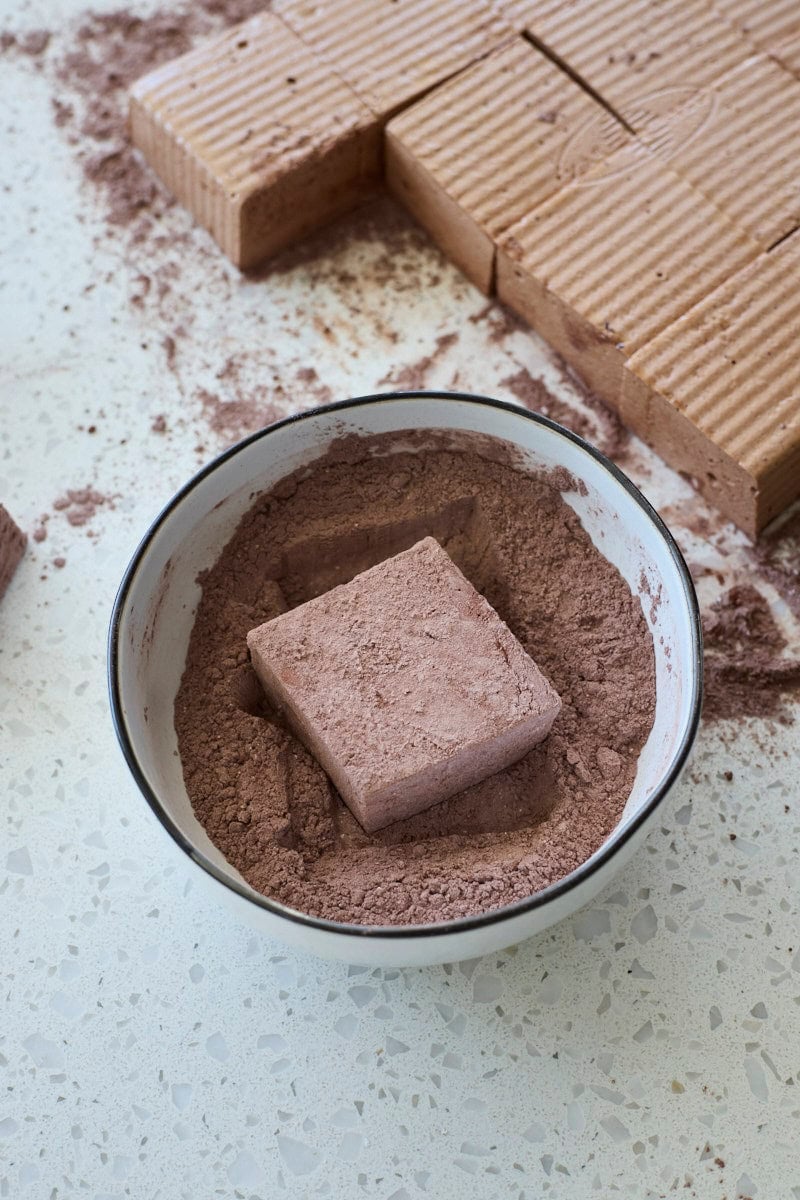
- Step 7: Roll each marshmallow in the powdered sugar mixture to prevent them from sticking together.
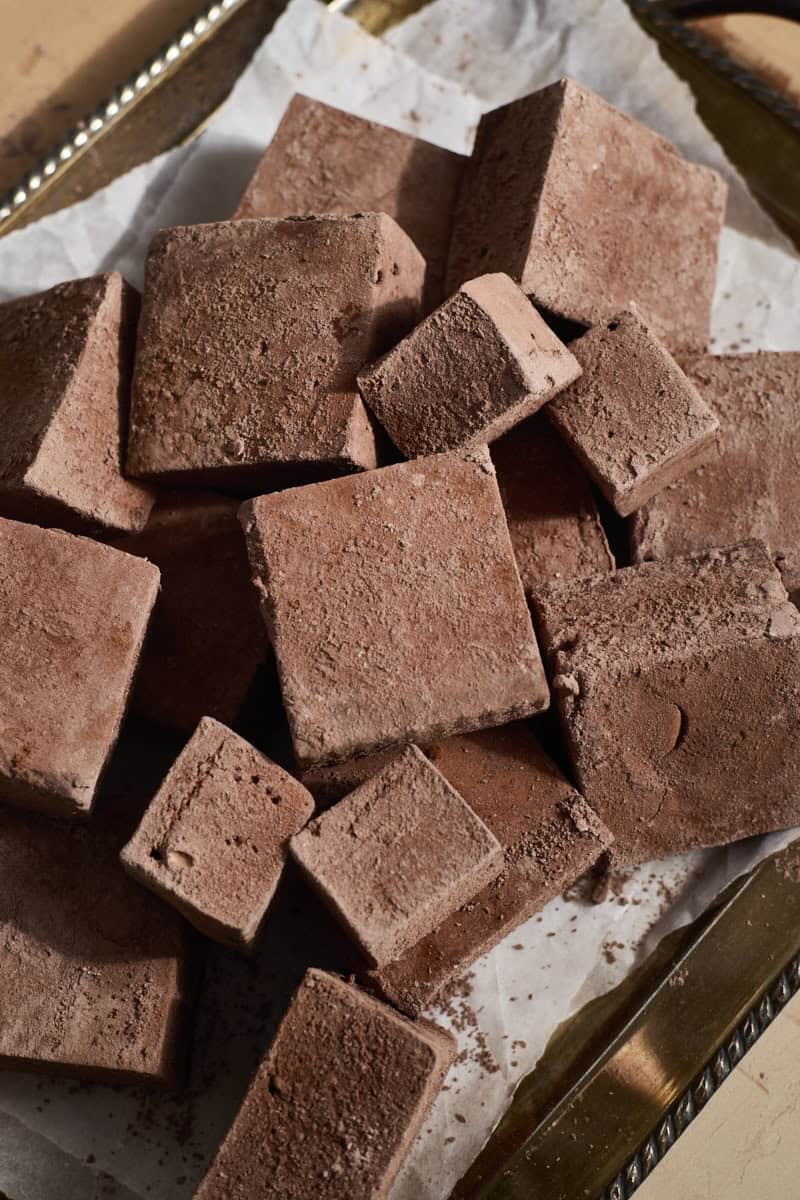
- Step 8: Eat them on their own, roasted for a s'more, in a cup of hot chocolate, and more!
Expert Baking Tips
- Water temperature really matters with this recipe! The gelatin needs cold water to bloom, and the espresso powder needs boiling water to dissolve.
- Use a candy thermometer and a stand mixer for this recipe. Without those two tools, it will be very hard to make these marshmallows correctly!
- Bring the sugar mixture to exactly 240 degrees F. If you miss this temperature by a few degrees in either direction, your marshmallows either won't firm up, or they'll be a rock-hard mess.
- Be careful when pouring the hot sugar mixture and increasing the speed of the mixer. You want to avoid any splashes as this is very, very hot and could lead to burns! It might take you 2 minutes to get the mixer up to high speed, but that's better than splashes all over your kitchen (and you)!
- Give the marshmallows enough time to whip. This is what will give you a nicely firm marshmallow that is not too wet or soft. When in doubt, whip a little longer.
- Give the marshmallows enough time to set. Whether you're letting the marshmallows set in the refrigerator or at room temperature, make sure they set for long enough. If you cut into them too early, they may still seem wet.
Common Marshmallow Challenges
Below are a few common marshmallow challenges and how to avoid them.
- Marshmallows are too soft: If your marshmallows are not setting up, there are a few possibilities:
- The sugar did not reach 240 degrees Fahrenheit. If your sugar was under that temperature, the marshmallows will not set correctly.
- The marshmallows need to whip longer. If they did not whip long enough, they will not set correctly.
- The marshmallows need to set longer. Let them sit overnight, if possible, to see if this helps them set up more firmly.
- Marshmallows are too hard: If your marshmallows turned into a rock-hard sugar mess, this is because the sugar mixture was heated to over 240 degrees Fahrenheit and unfortunately isn't recoverable.
- Marshmallows are too sweet: Firstly, be aware that this is a marshmallow recipe and they are going to be sweet. One option, though, is to coat the marshmallows in corn starch rather than powdered sugar. This will keep the marshmallows from sticking to each other without adding any additional sugar.
- The knife is sticking to the marshmallows: An easy fix! Spray your knife with cooking spray to easily cut the marshmallows. You can dab off any excess cooking spray on the marshmallows with a paper towel.
How to Clean Up After Making Marshmallows
Making marshmallows is going to be a bit messy. Melted sugar turns rock hard when it cools, and the whipped marshmallow has a tendency to somehow get on everything. Good news, though: remember that sugar dissolves in warm water. Don't spend time scrubbing your pans, spatulas or stand mixer bowl. Fill them with warm water, let them sit for 10-15 minutes, and the sugar will melt right out so you can easily wash them.
How to Eat Chocolate Marshmallows
There are many ways to eat Chocolate Marshmallows; below are a few of my favorite options!
- Eat them plain: Once they've been rolled in the powdered sugar (or cornstarch) mixture, they are finished and ready to eat!
- Roast them to make a s'more: These marshmallows roast well for s'mores. The marshmallows will be a bit softer than storebought, so you may have better success using a double-pronged roasting stick for some extra support.
- Floating in hot chocolate: These are great to add to a cup of hot chocolate or your other favorite warm dessert beverage.
- Dipped in chocolate: Add marshmallows to a dessert board to dip into melted chocolate!
- Use for other baking projects: Homemade marshmallows are also great to use for other baking projects like these Molasses Marshmallow Stuffed Cookies.
Equipment
I highly recommend using a stand mixer (I use a KitchenAid 5-Quart Stand Mixer) to make marshmallows. Yes, you can do this with a hand-held mixer, but it will be challenging and you will be mixing for a very long time.
You will also need a medium-sized saucepan (I use The Saucy from Great Jones). Use a pan that has some extra space so you can easily swirl the sugar and it has a bit of room to grow as it bubbles. You'll need a candy thermometer (this is not optional!), a few spatulas, and a 9x9-inch baking pan. If you don't have a 9x9-inch baking pan, an 8x8-inch baking pan also works well!
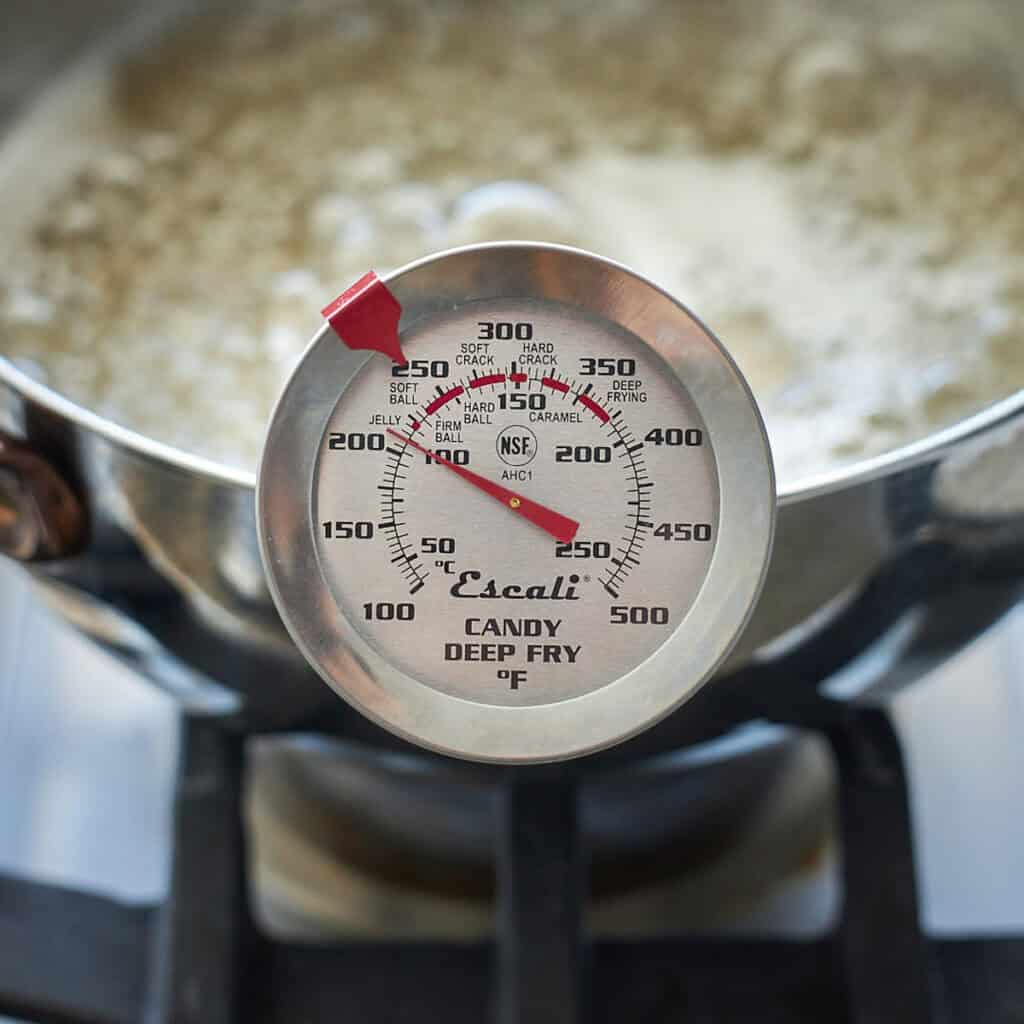
kitchen essentials
My Favorite Candy Thermometer
A candy thermometer is an absolute must for making marshmallows!
Storage
Room Temperature Storage: Store these Chocolate Marshmallows in an airtight container at room temperature for up to several weeks. Use a piece of wax paper or parchment paper between layers to keep the marshmallows from sticking to each other.
You can also leave them out in the open (not in a container) at room temperature if you like your marshmallows a bit hard / dry. If you've ever left Peeps out on the countertop to let them harden, it's the same idea!
Recipe FAQ
Use honey or agave nectar in a 1:1 substitute for corn syrup.
Unfortunately, there is not an easy substitute for gelatin to make these marshmallows vegan. Agar agar can not be used in a 1:1 replacement for gelatin.
No. Homemade marshmallows should be stored in an airtight container at room temperature. Do not store them in the refrigerator.
Yes, you can, but it will be challenging. Using a hand-held mixer, you will be mixing for a very long time. I highly recommend using a stand mixer if possible!
I do not recommend making marshmallows without a candy thermometer. Getting the sugar mixture to the exact right temperature is very important to this recipe being a success.

Chocolate Marshmallows
Ingredients
- 1 ⅓ cup water divided
- ⅓ cup Dutch-process cocoa powder
- 1 teaspoon espresso powder
- 3 envelopes unflavored powdered gelatin about 7 ½ teaspoons
- 1 ½ cups granulated sugar
- 1 cup light corn syrup
- 2 teaspoons vanilla extract
- ¼ teaspoon kosher salt
For Coating
- ¼ cup powdered (confectioner's) sugar or cornstarch
- ¼ cup Dutch-process cocoa powder
Instructions
- Grease a 9x9-inch baking pan with cooking spray and set aside.
- Combine the Dutch-process cocoa, espresso powder, and ⅓ cup boiling water in a small bowl. Whisk until smooth (should be the texture of a ganache or a thick icing). Set aside to cool.
- In the bowl of a stand mixer, add ⅔ cup cold water. Sprinkle gelatin on top and let bloom.
- In a medium saucepan over medium-high heat, combine granulated sugar, corn syrup and ⅓ cup water. Stir until sugar is dissolved. Bring the mixture to a boil, swirling the pan occasionally, until the mixture reaches exactly 240°F on a candy thermometer, about 10-12 minutes. Immediately remove from heat.
- Add the chocolate mixture to the bloomed gelatin in the bowl of the stand mixer. Mix briefly to combine.
- With the stand mixer on low speed, slowly and carefully pour the melted sugar mixture into the stand mixer. Add the vanilla extract and salt.
- Slowly (to avoid splashes) increase the speed to high. This is also a great time to use a splash guard for your stand mixer, if you have one! Whip until the mixture is stiff and lightened in color, about 12-14 minutes. When you remove the whisk, stiff threads should form that take a few seconds to fall back into the marshmallow mixture. Working quickly, pour the mixture into the prepared baking pan and use a spatula to help spread evenly.
- Let the marshmallows sit and firm for at least 4 hours at room temperature or 2 hours in the refrigerator.
- In a small bowl, whisk together ¼ cup powdered sugar and ¼ cup Dutch-process cocoa powder for coating the marshmallows.
- Lightly dust your work surface with the powdered sugar mixture. Use a butter knife to slice around the edges of the pan, then turn the marshmallow out onto the work surface. You may need to pry it out at a corner. Use a sharp knife to cut the marshmallow into 16 pieces. If needed, spray the knife with cooking spray to help prevent sticking. If there is excess cooking spray on your marshmallow, dab with a paper towel to remove.
- Roll each marshmallow in the powdered sugar mixture on each side to prevent sticking, then serve.

Jessica Vogl says
These are always fun to make and they make a great gift (and ship well, too!).