

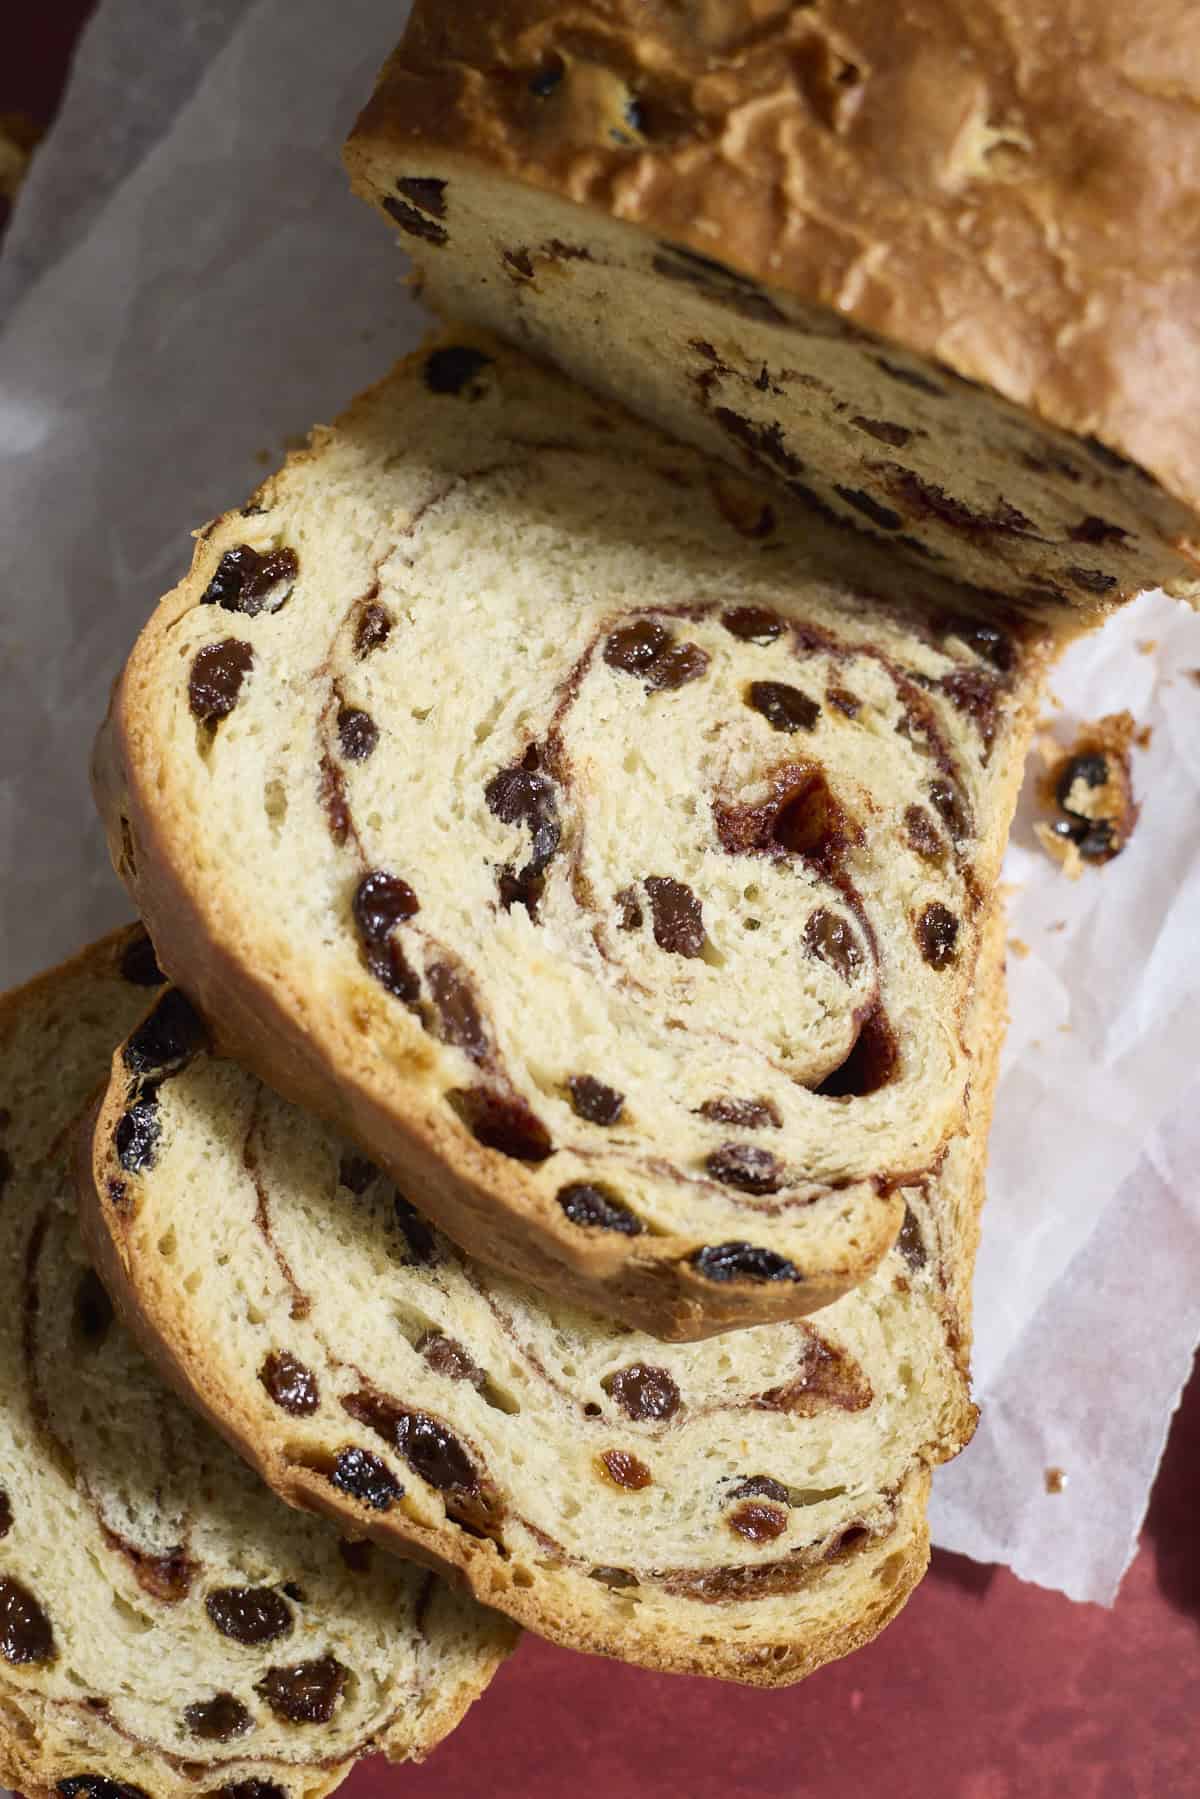
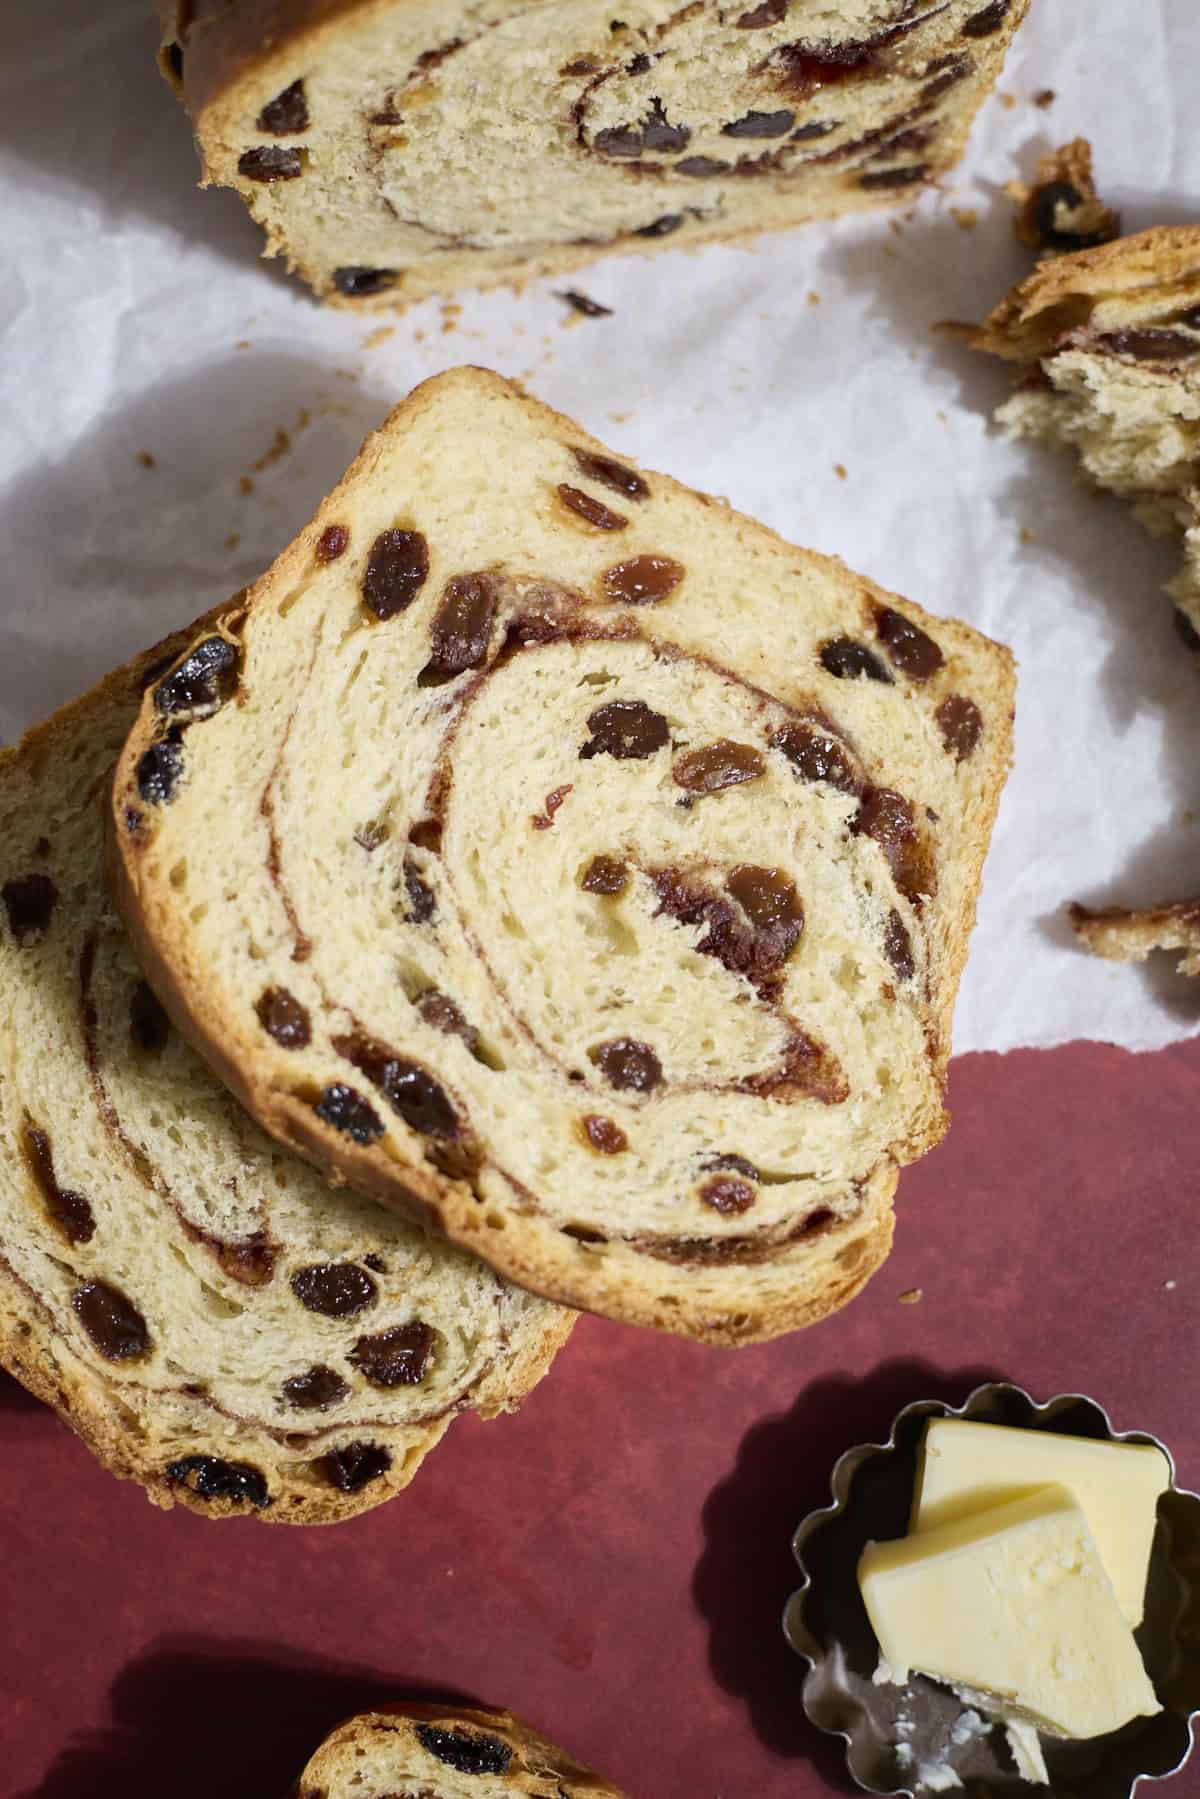
This Sourdough Discard Cinnamon Raisin Bread is light and fluffy, and a delicious sweet treat that is ready same-day! It's perfect for morning toast or to make sandwiches, and is a great way to use up some of your sourdough discard to make a loaf of bread. In this loaf, the raisins are mixed into the dough, and the bread is finished with a cinnamon sugar swirl.
This recipe is a variation of my Sourdough Discard Sandwich Bread recipe, which you might love, too!
Why you'll love this recipe
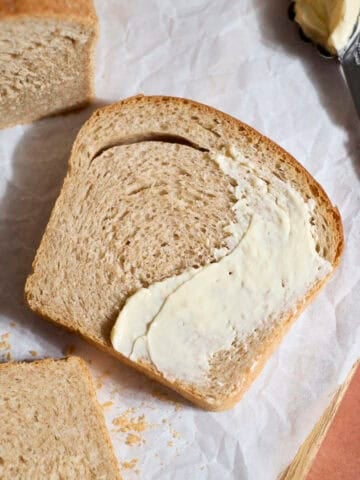
- This Sourdough Discard Cinnamon Raisin Bread is a beautiful, fluffy, sweet loaf that is perfect spread with a bit of butter, or used for toast or a sandwich!
- In a cinnamon raisin mood? Try these Sourdough Discard Cinnamon Raisin Bagels, too!
- This is a same-day recipe that uses sourdough discard, plus added yeast.
- You can easily modify this recipe to be made with active sourdough starter, if you prefer.
- This is an easy bread recipe that is perfect for beginner bakers, or those new to bread-baking! You might also love my Sourdough Discard Whole Wheat Sandwich Bread.
- Looking for other easy sourdough discard bread recipes? Try my Easy Sourdough Discard Bread and this Sourdough Discard Focaccia.
Jump to:
Ingredients
There are only a few key ingredients you'll need to bring this loaf together.
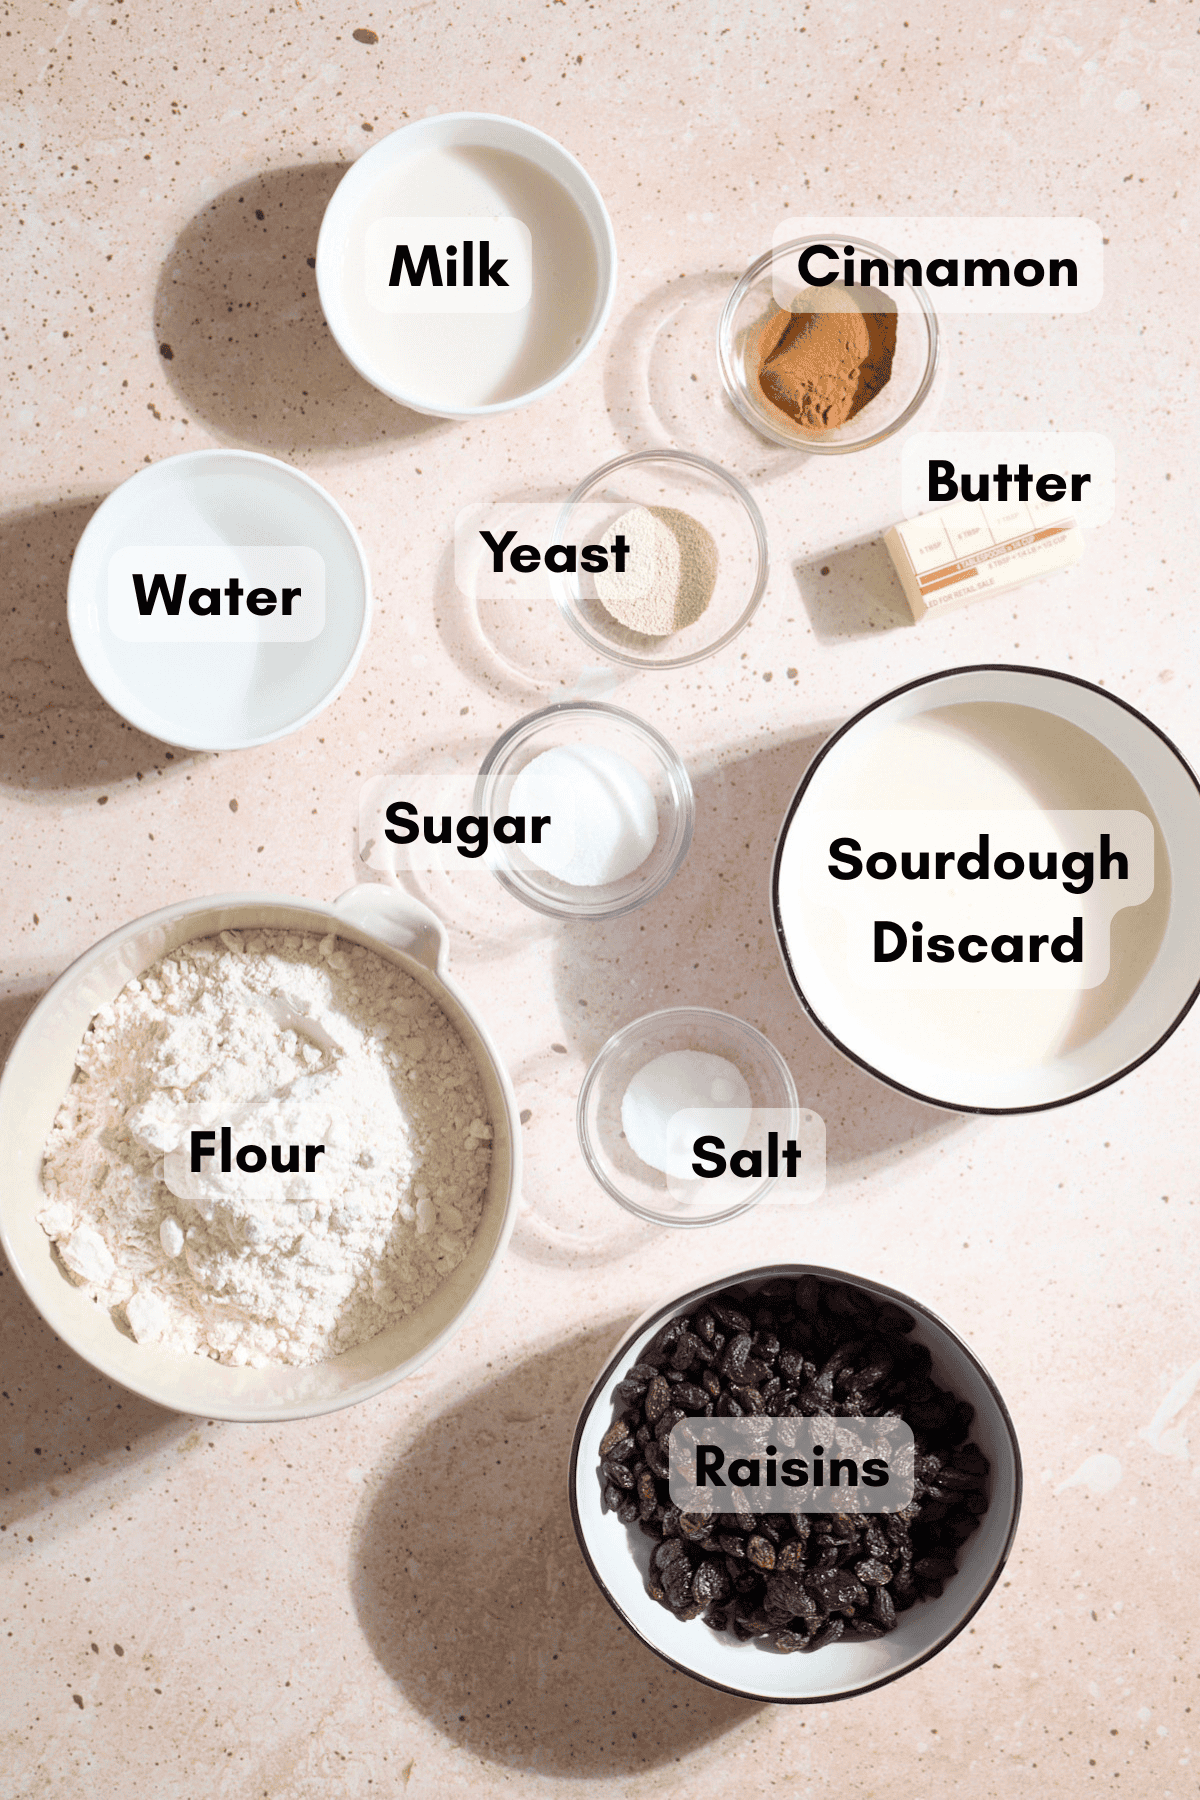
- Sourdough discard: The sourdough discard should be unfed and at room temperature for this recipe. This recipe is designed for a sourdough starter that uses a 1:1 ratio (when you feed your starter, it's with 1 part flour and 1 part water). If your starter uses a different ratio, you may need to adjust some of the ingredients in this recipe.
- Learn more about how to make a sourdough starter.
- Raisins: Raisins are the star of the show here! Working with fresh raisins (not the ones that have been in the back of your pantry for two years...) will make a big difference. If you are using back-of-the-pantry raisins (no judgement!), soaking them in warm water will help them plump up again.
- If you're a raisin fan, try my Sourdough Discard Cinnamon Rolls and Sourdough Discard Zucchini Cake, too!
See full recipe below for detailed directions.
Substitutions & Variations
This is a very adaptable recipe and below are a few easy substitutions and variations you can try.
- Use active sourdough starter - If you want to make this loaf with active sourdough starter, you can! To do so, omit the yeast and replace the sourdough discard with active starter (200g). You will also need to increase the rise times.
- Make a classic sandwich bread - Try my Sourdough Discard Sandwich Bread and Sourdough Discard Whole Wheat Sandwich Bread for classic loaf options!
- Try different inclusions - Interested in different inclusions? Fold them in with the raisins (or in place of the raisins)! This is a great recipe for experimenting.
How to Make Sourdough Discard Cinnamon Raisin Bread
There are only a few key steps to bringing this loaf together. The full recipe with detailed instructions is at the bottom of this post.
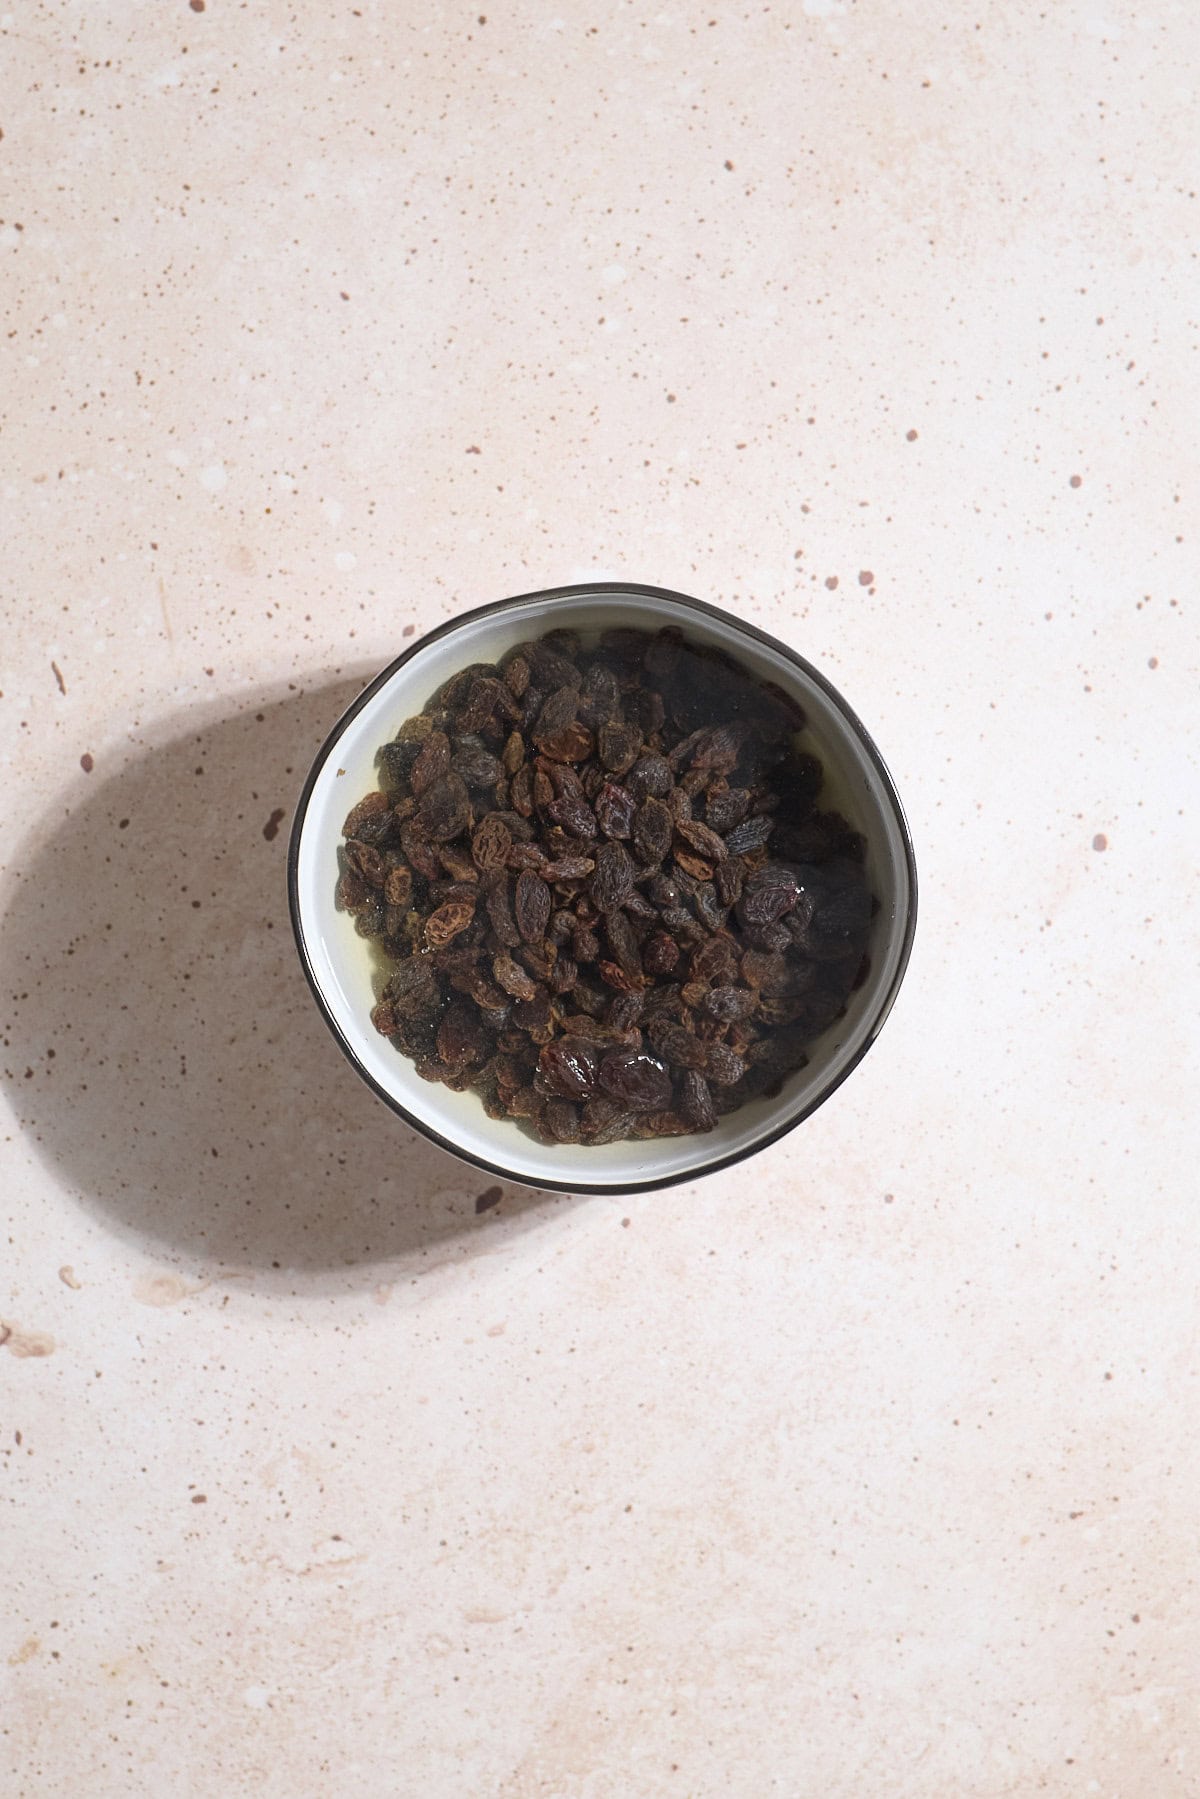
- Step 1: (Optional) Soak the raisins in warm water to make them plump.
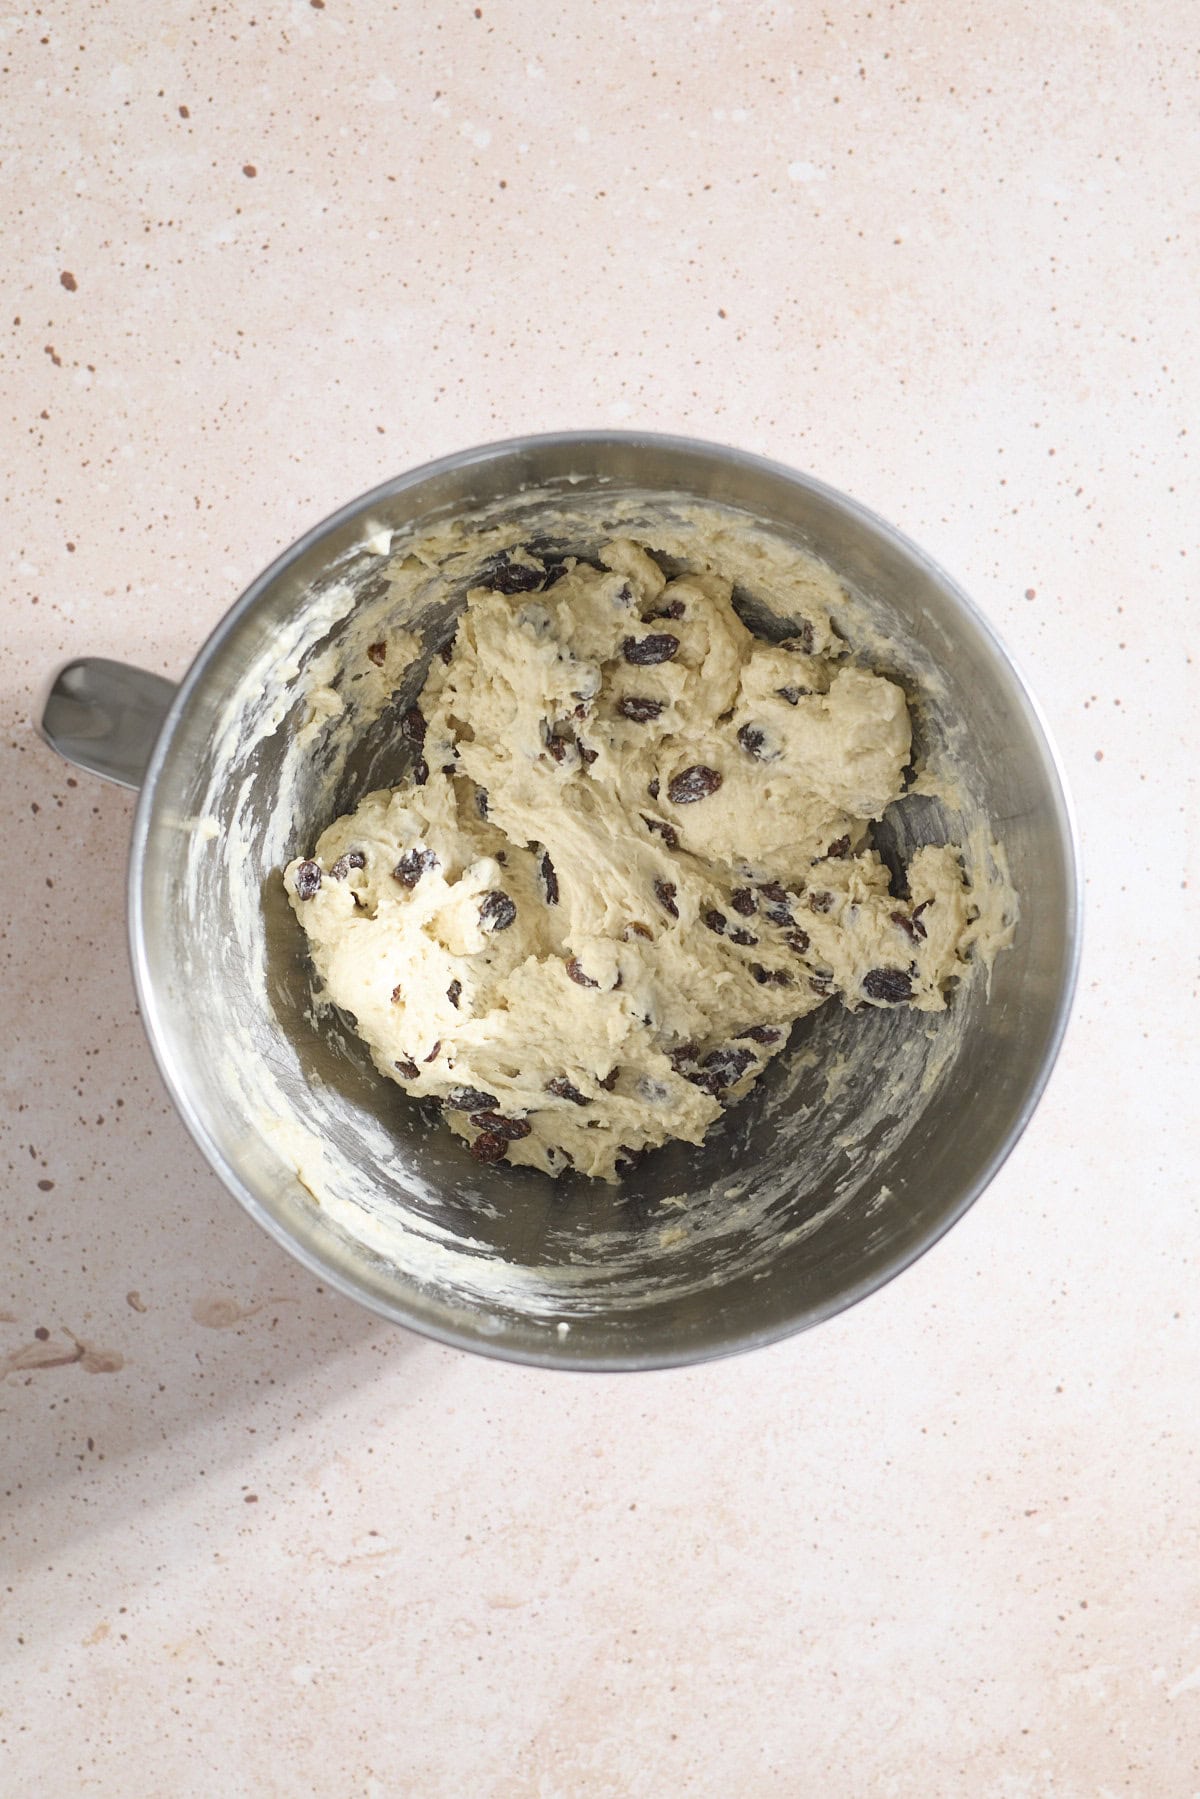
- Step 2: Combine all dough ingredients in the bowl of a stand mixer or a large mixing bowl. Mix until a shaggy dough forms.
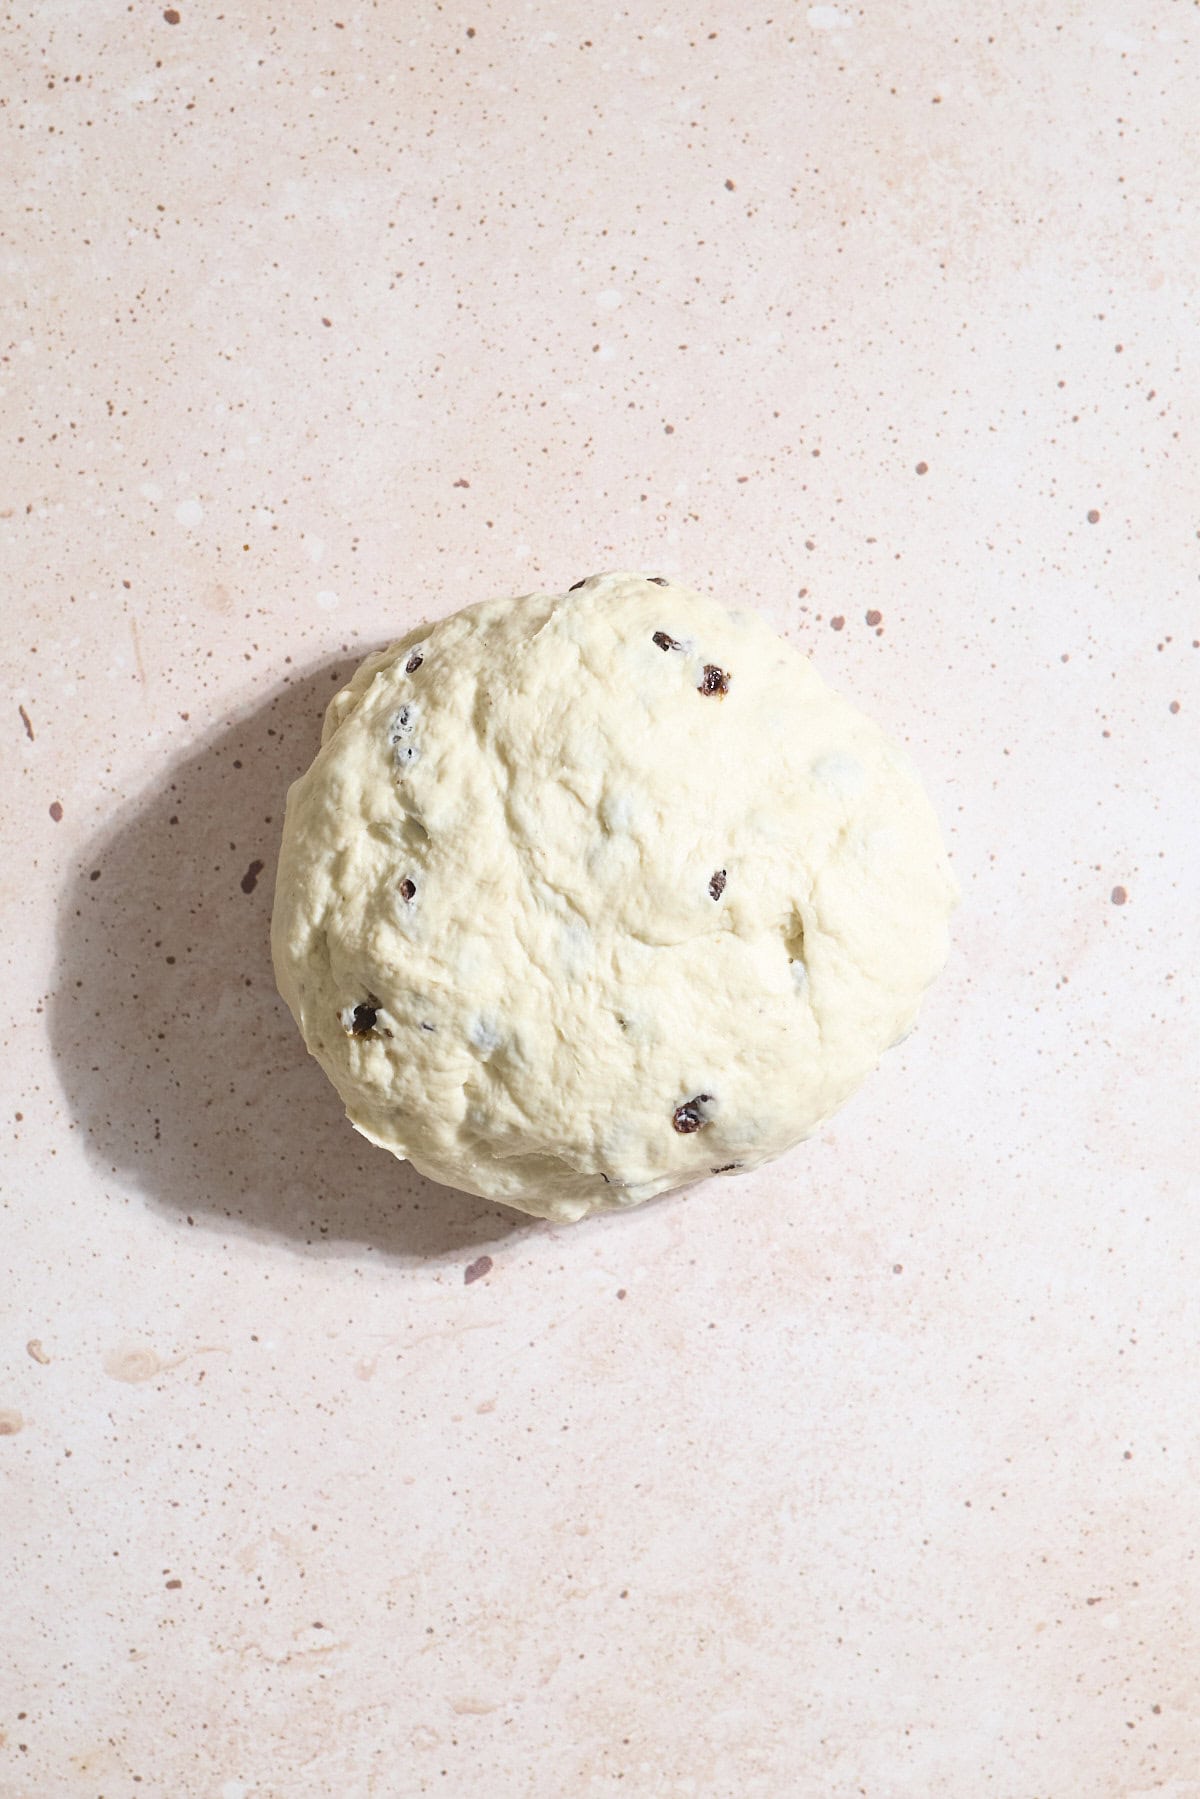
- Step 3: Knead the dough until smooth. Transfer to a large, oiled bowl and cover. Let rise for 1 ½-2 hours, until doubled in size.
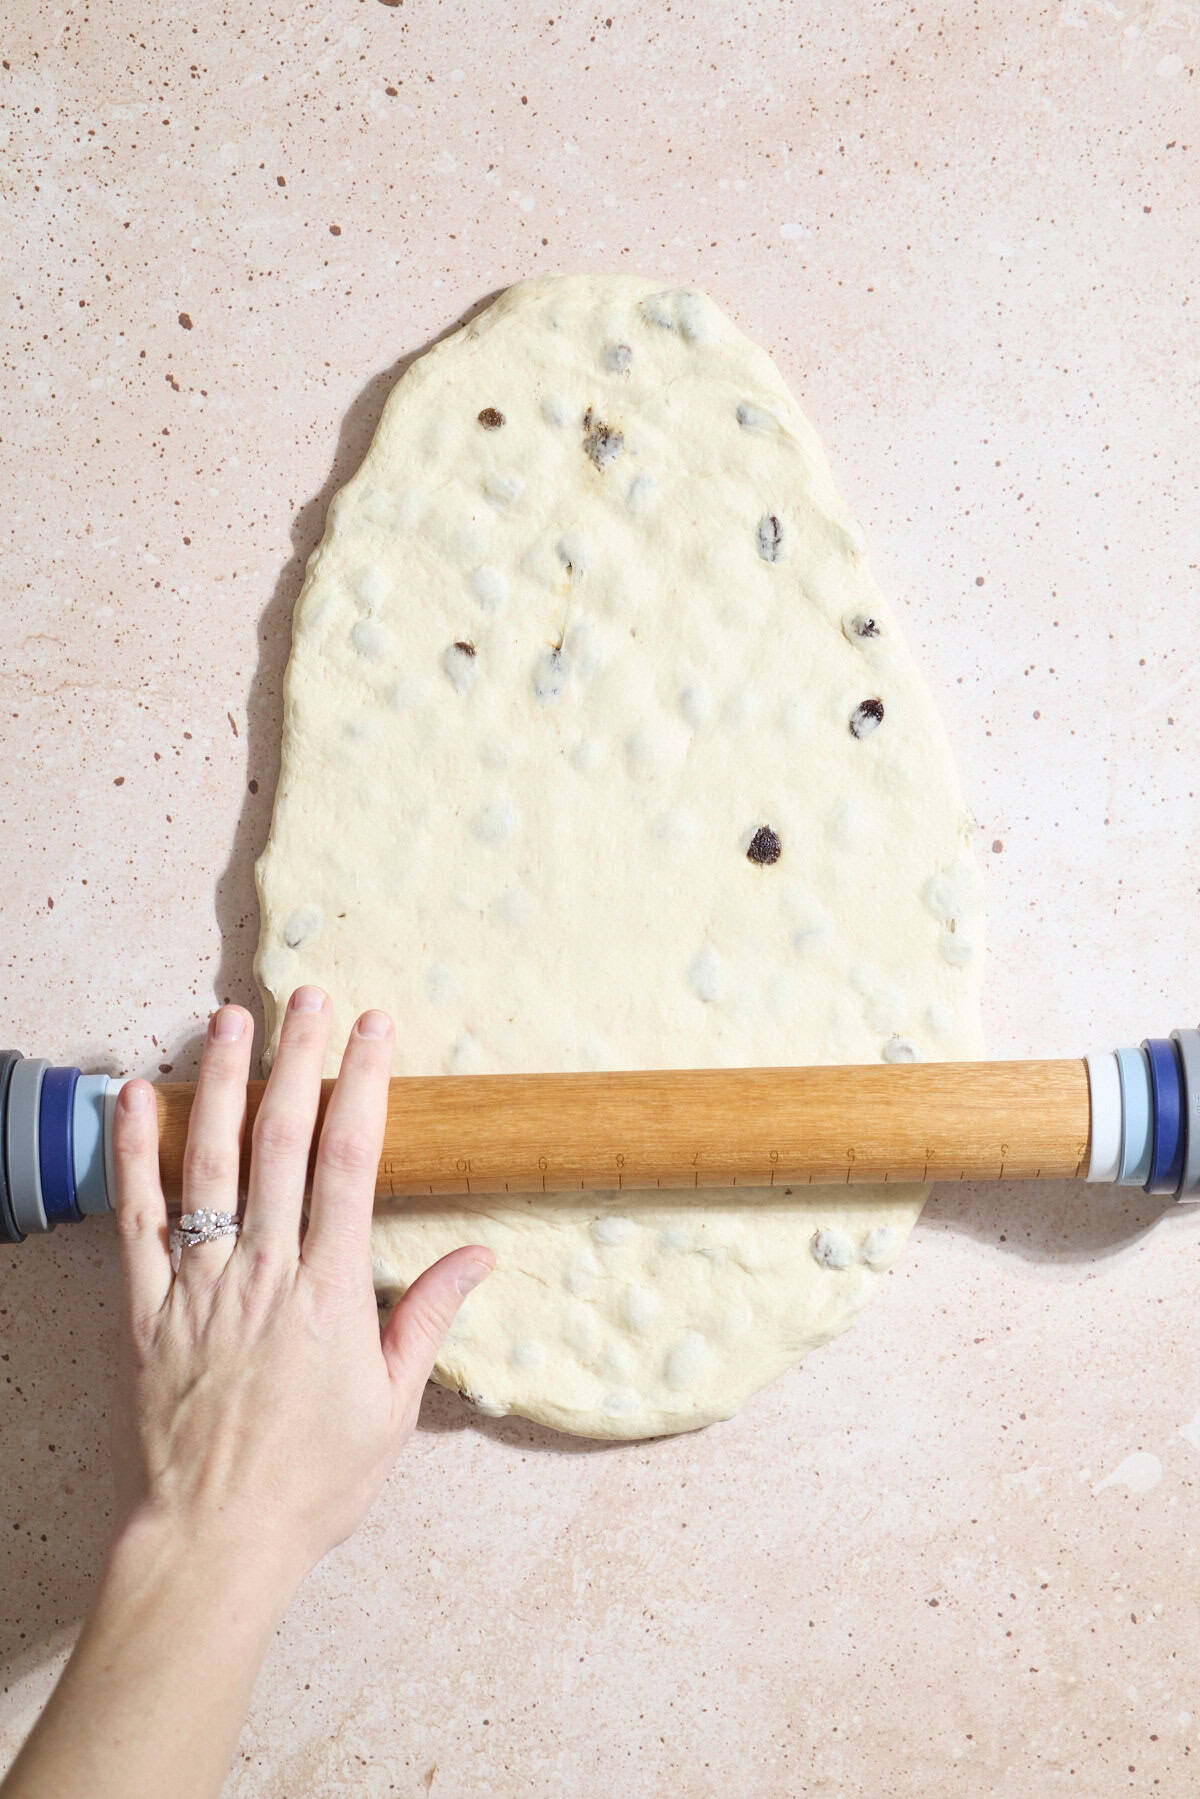
- Step 4: Use a rolling pin to roll the dough into a 9x18-inch rectangle.
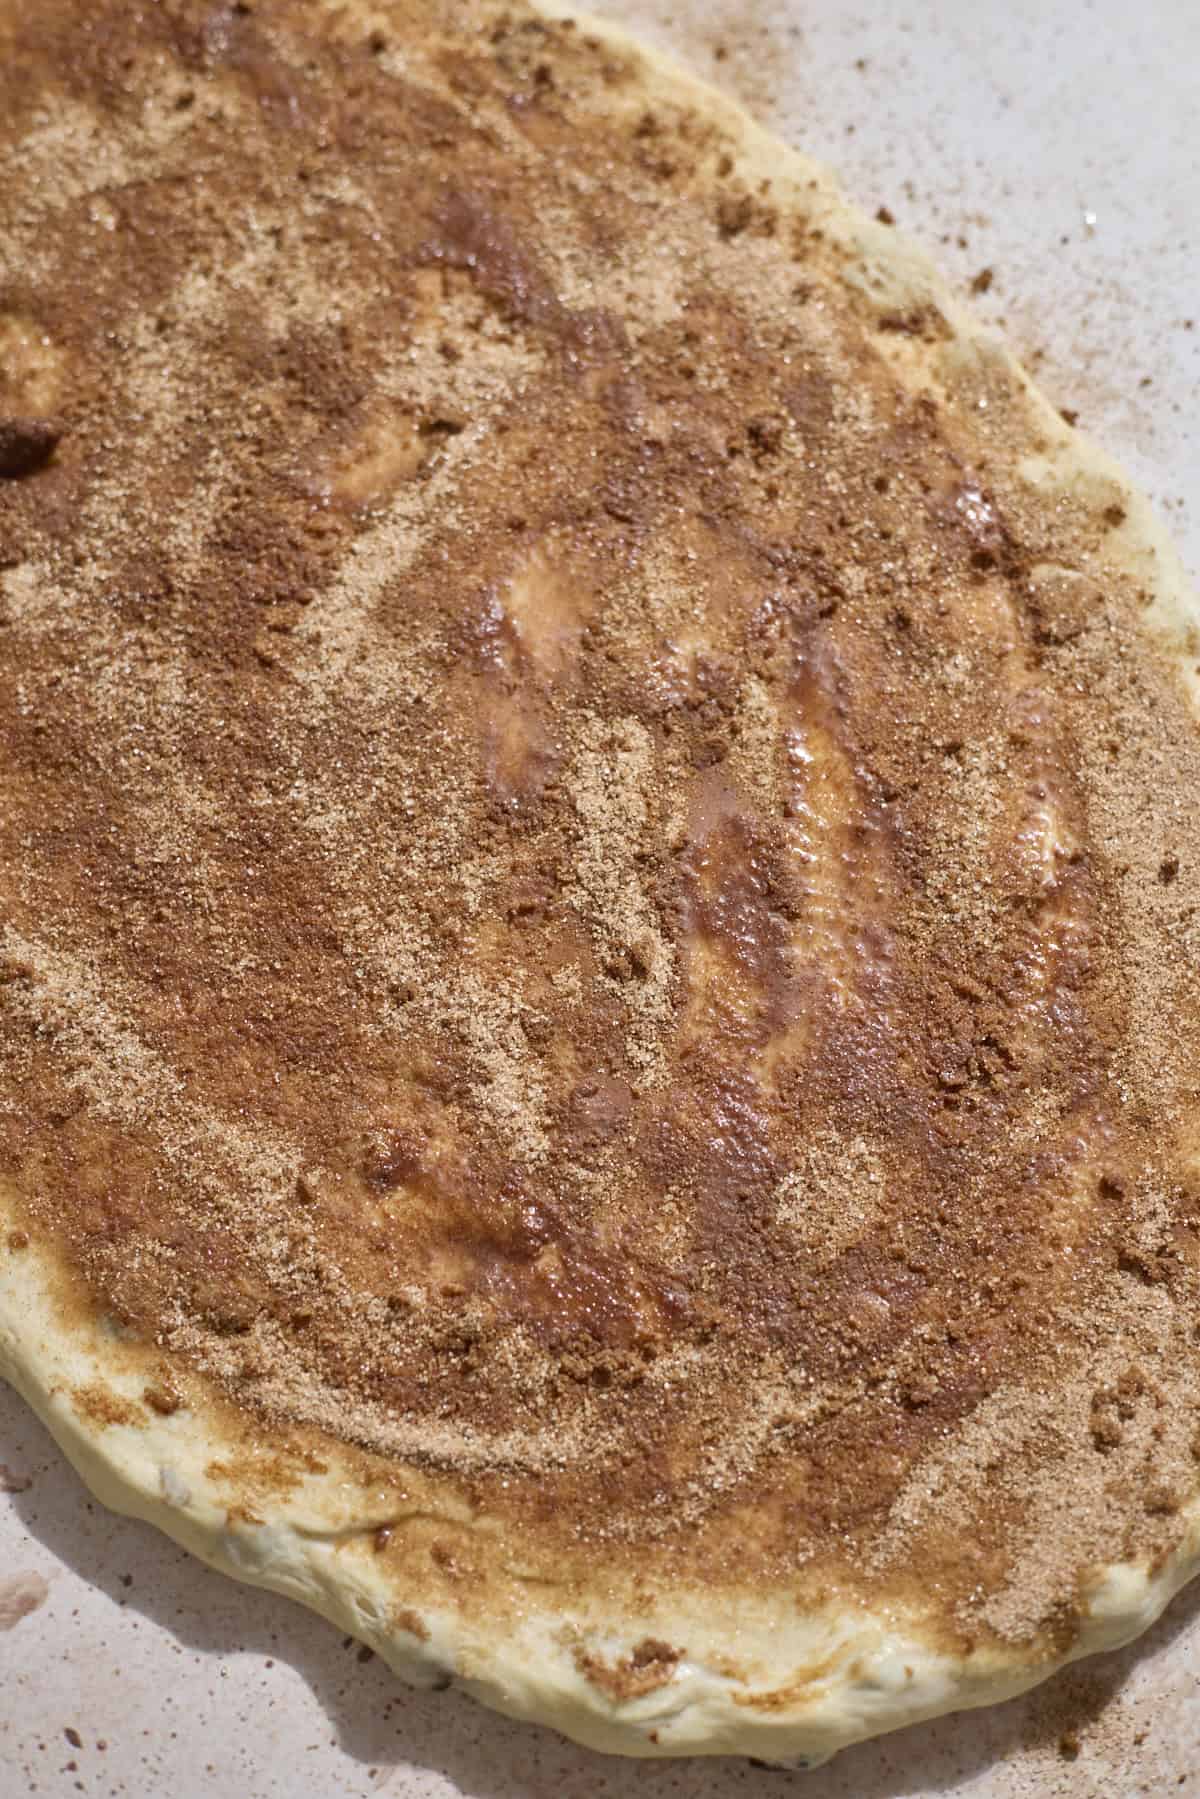
- Step 5: Brush the dough with milk, then sprinkle with the cinnamon sugar mixture and spread evenly.
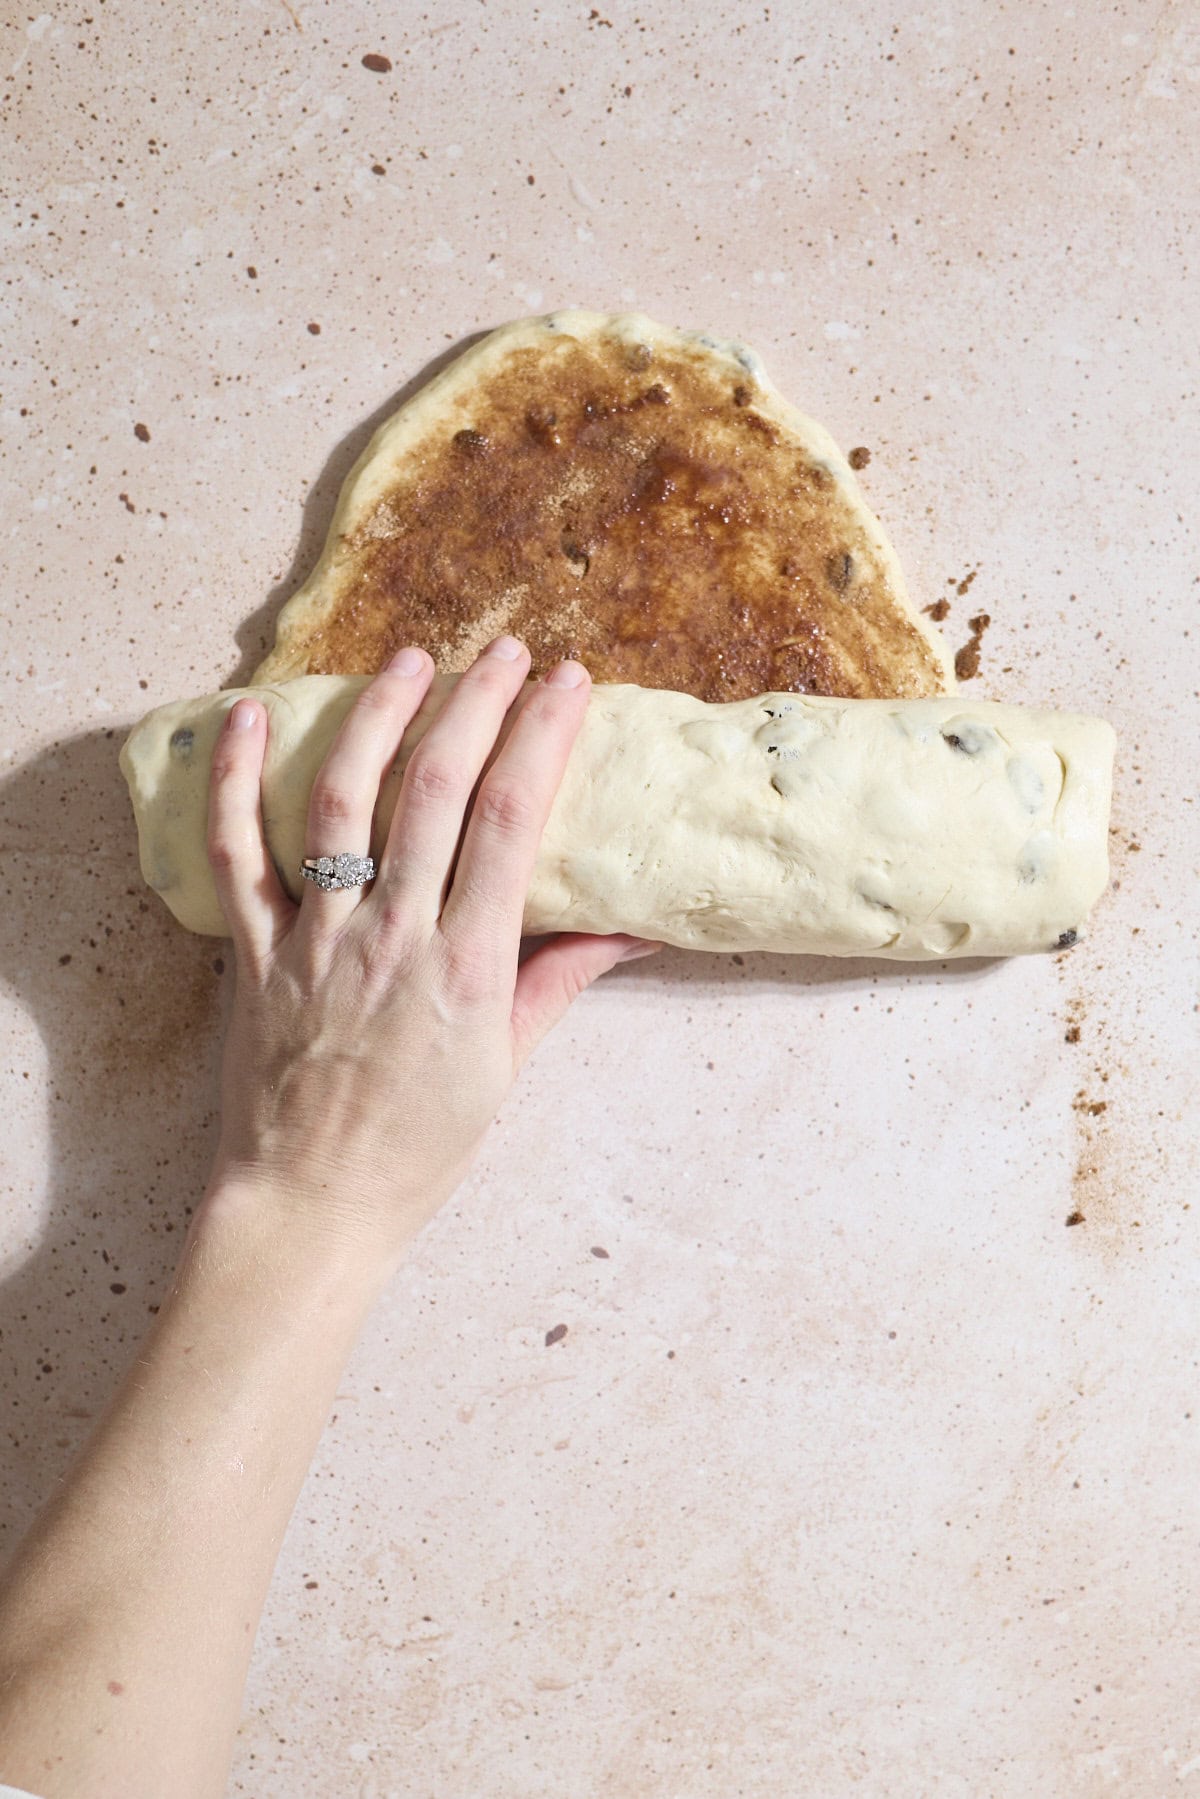
- Step 6: Roll the dough into a log. Pinch the ends and seam shut to keep the filling on the inside.
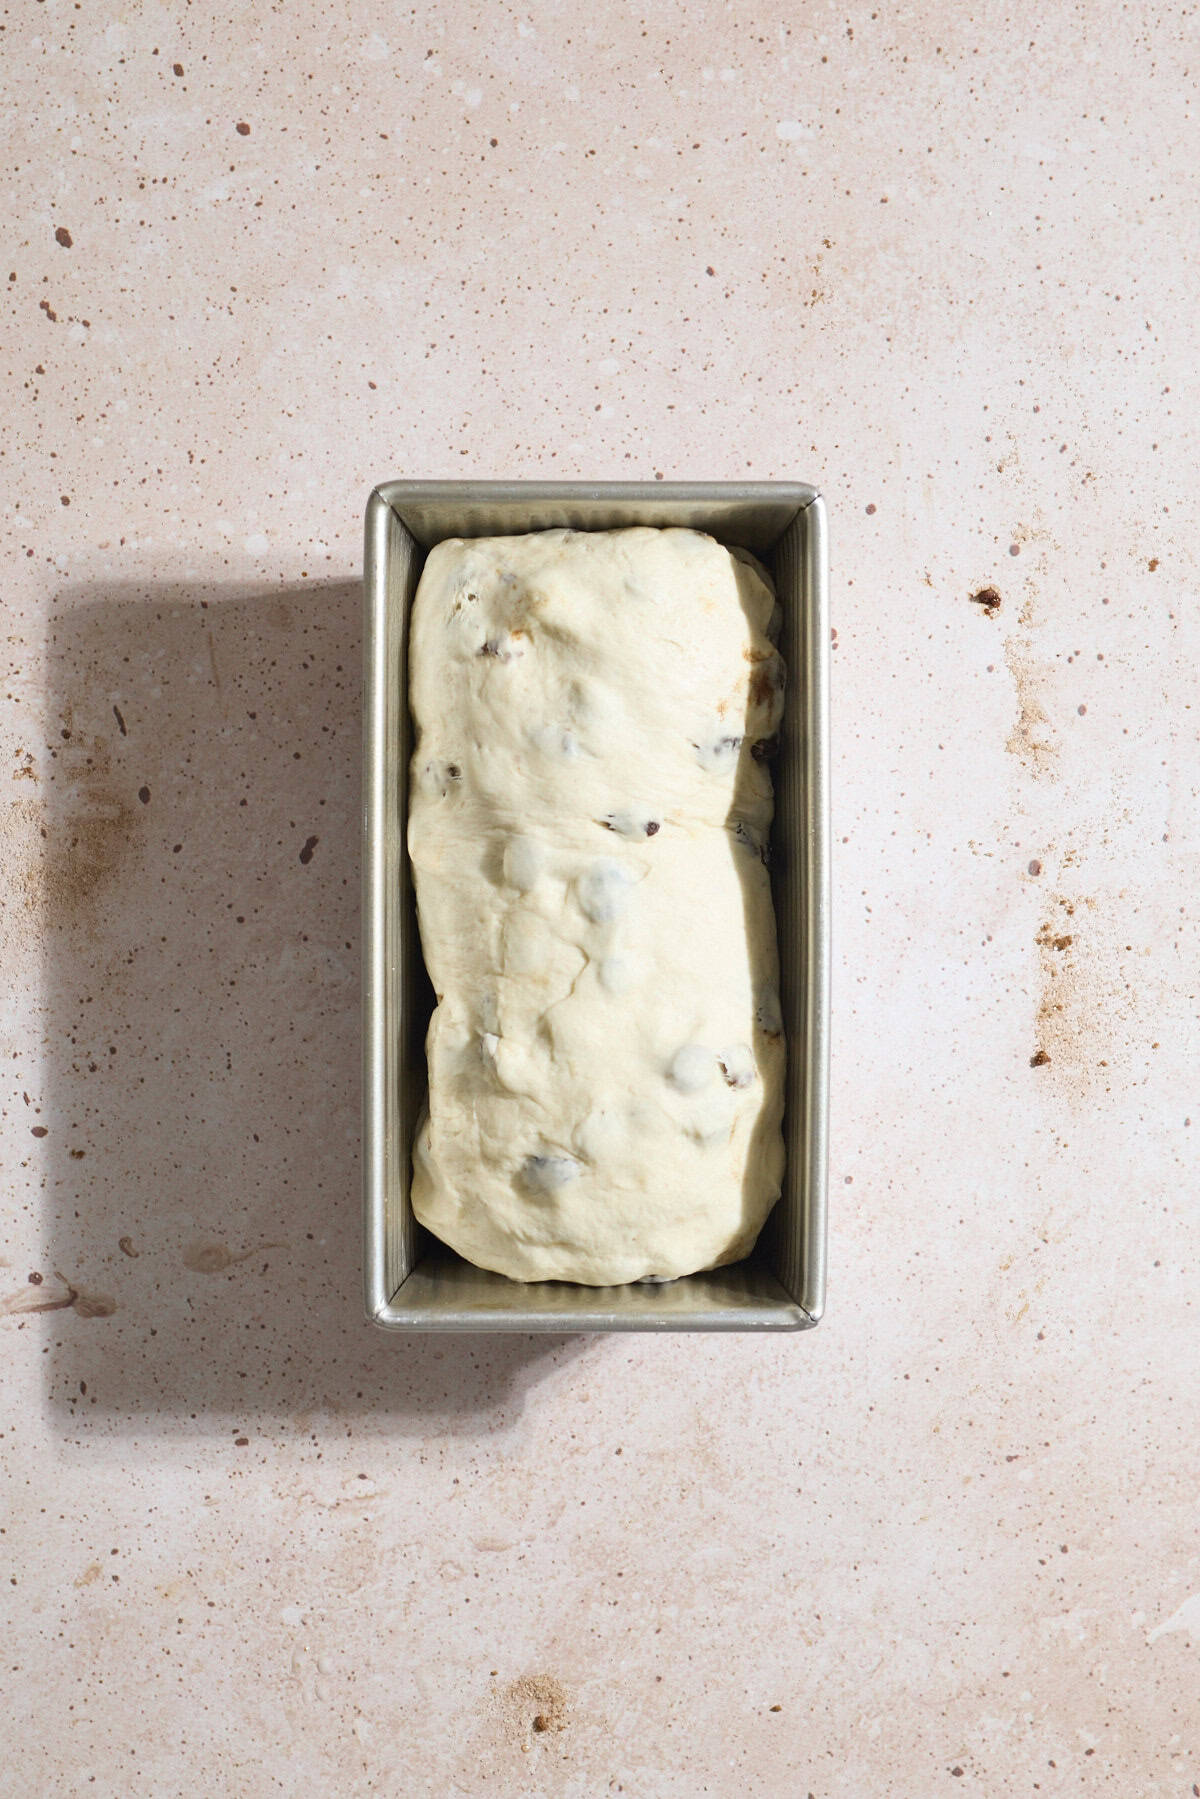
- Step 7: Place the dough seam-side down in the greased baking pan. Lightly cover and let rise for 60-90 minutes.
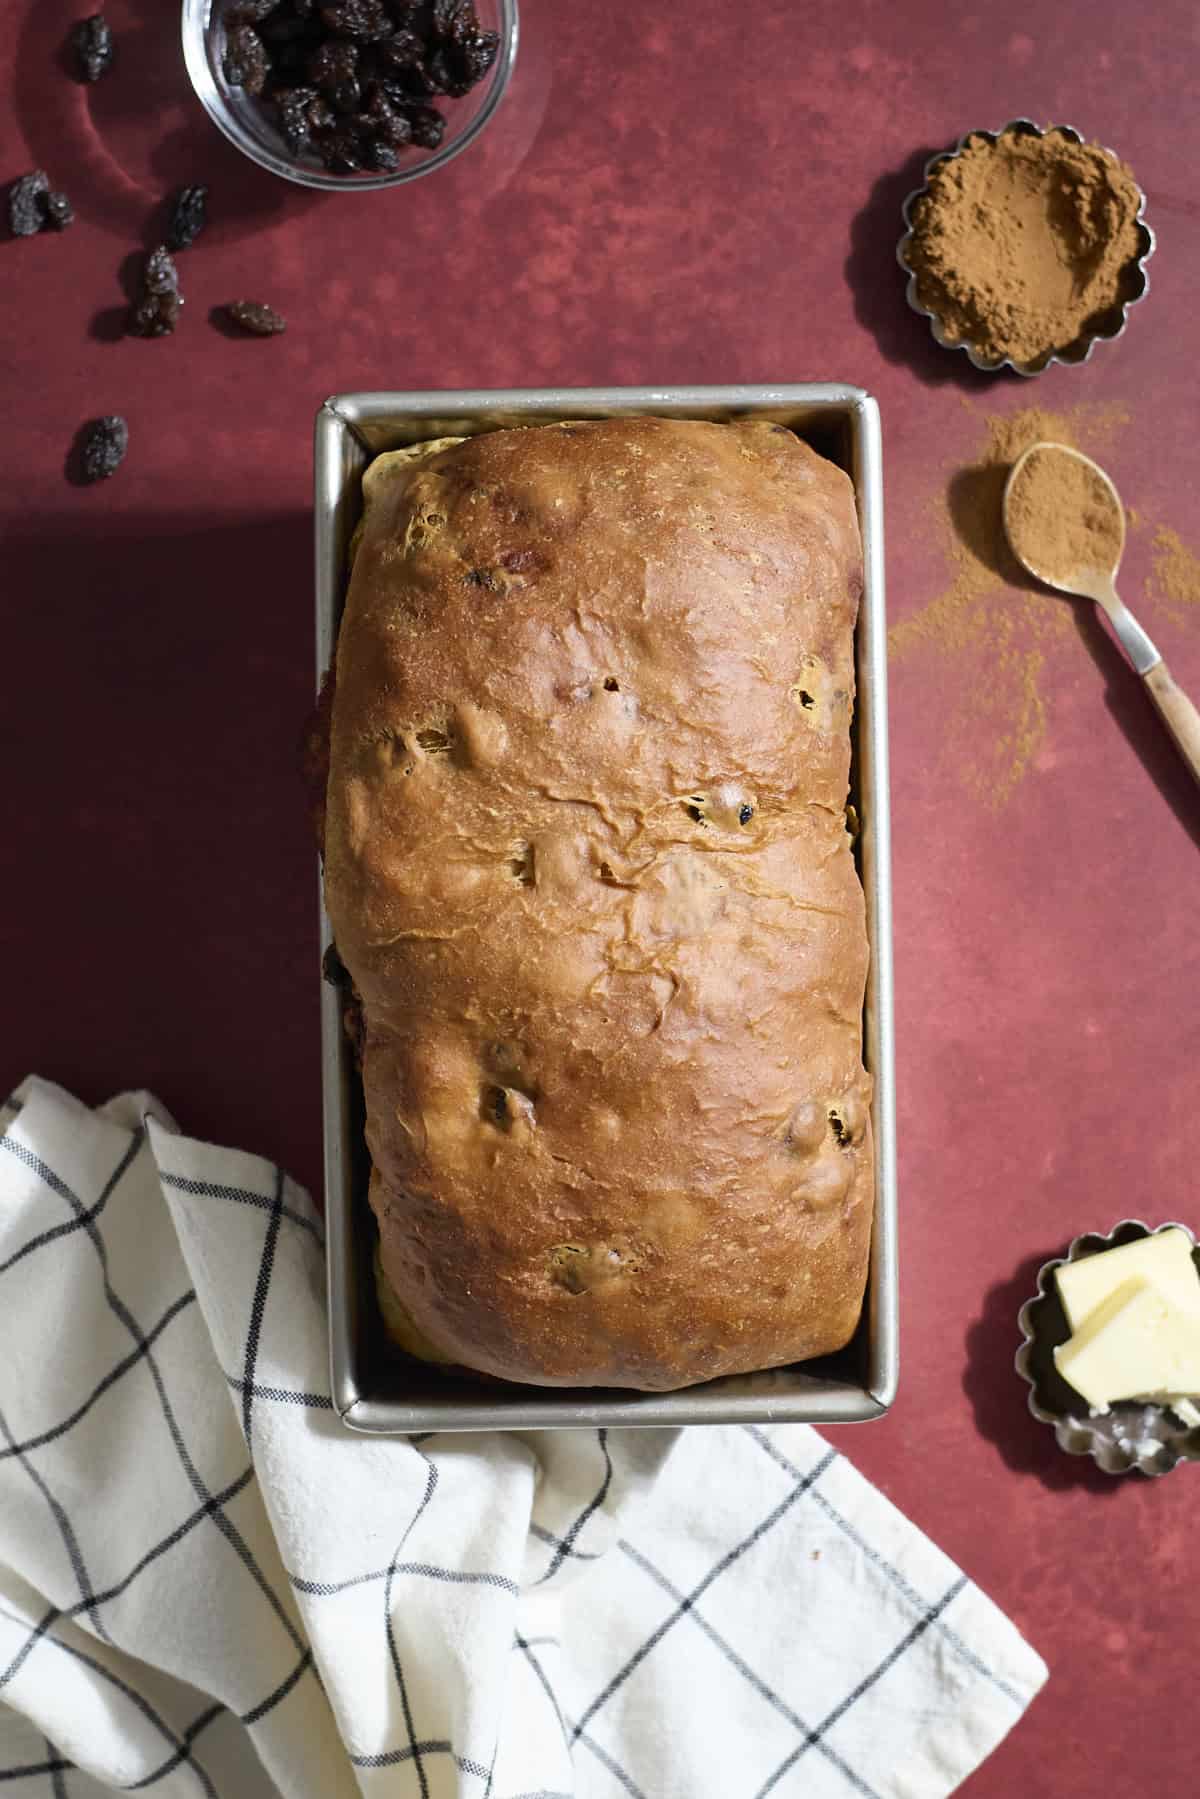
- Step 8: Bake until golden. While the loaf is still warm, spread with melted butter. Let the loaf cool fully before slicing.
Expert Baking Tips
- Use metric measurements, at least for the flour and sourdough discard. These are two ingredients that can vary widely if you're measuring with cups! Metric measurements for at least these two ingredients will set you on the right path!
- Make sure to knead the dough long enough. It's important the dough is completely smooth and soft before the first rise. Really, don't worry about kneading too long. If in doubt, knead a bit more!
- This is also your opportunity to adjust by adding more flour or water if your dough doesn't quite feel like the right consistency!
- When rolling out the dough, make sure it's not wider than the width of your loaf pan. If it's too wide, you'll end up with an unevenly shaped final loaf.
- When shaping the loaf, roll it up like a burrito. You don't need to do anything fancy. It doesn't need to be tight (but you don't want it to be too loose, either). Just make it a solid roll and set it seam-side down in your loaf pan.
- Very loosely cover the loaf for the second rise. You can grease your plastic wrap so it doesn't stick to the dough, but also place it very loosely. You don't want to restrict the dough in any way while it is rising so you get a consistent shape.
- Bake until the internal temperature of the loaf reaches 190 degrees (F). It can be hard to tell from the outside when a loaf is finished. Take the internal temperature with a thermometer, and you'll be certain!
Shaping the Loaf
When it comes to shaping your loaf, we want it to be as even end-to-end as possible. We don't want it to be leaning to one side, big on one side and small on the other, or anything else in between! There are a few things to keep in mind:
- Keep in mind the width of your pan - You don't want to roll your dough to be wider than the width of your pan, otherwise your dough won't easily fit.
- Roll it like a burrito - The dough doesn't need to be tight, but we also don't want it to be too loose. Think about it like rolling a burrito. You want it to be tight enough to keep the fillings in there, but not so tight as to tear your tortilla!
- Place the dough seam-side down - Pinch the ends and seams together to keep the fillings on the inside of the loaf. Place the dough seam-side down in your loaf pan so that you get a nice, smooth top to your loaf.
- Cover loosely for the second rise - Cover the dough loosely with greased plastic wrap (or a kitchen towel). You don't want this to stick to the dough, but you also don't want it to restrict your dough in any way while it's rising. This will help to give you an even final loaf shape after baking!
Storage
Room Temperature Storage: Once the bread has cooled completely, store this sandwich bread in an airtight bag or container at room temperature for up to 3 days.
Freezer Storage: Once the bread has cooled completely, place it in a freezer-safe plastic bag or container and remove as much air as possible. Freeze for up to 2 months. This will work for either the whole loaf, or with individual slices.
- Thawing individual slices: You can let the slices thaw at room temperature until no longer cold, or you can pop them in the toaster to warm them up.
- Thawing the whole loaf: When you're ready, let the bread thaw at room temperature until no longer cold. You can refresh the bread by reheating it in an oven at 350 degrees F until it's warmed through. Slice and serve.
Recipe FAQs
There are a lot of methods to this as well, but I'd recommend visually looking for the dough to have risen about 1 inch over the edge of the loaf pan. Once it reaches that height, it's generally ready to bake. King Athur has a great article with other tips, if you're interested.
There are a lot of different techniques here, but I'd recommend measuring the internal temperature of your loaf with a thermometer. A finished baked loaf should reach an internal temperature of 190 degrees (F). King Arthur Baking also has a great article on other techniques here.
Generally, yes! Add them with the raisins (or in place of the raisins). One thing to keep in mind: if you take this loaf in a very different direction and use inclusions that have moisture (example: cheese or jam), that can impact the final consistency of your loaf, and your baking time. Chopped nuts or other dried fruits would work well with this recipe!
Overall, this is a great recipe for experimenting with inclusions!
More Sourdough Discard Bread Recipes


If you tried this Sourdough Discard Cinnamon Raisin Bread or any other recipe on my website, please leave a ⭐ star rating and let me know how it went in the comments below. I'd love to hear from you! Happy Baking!

Sourdough Discard Cinnamon Raisin Bread
Ingredients
For the Dough
- ½ cup water warmed to 110℉
- ¼ cup + 1 Tablespoon milk (dairy or non-dairy) warmed to 110℉
- 1 Tablespoon granulated sugar
- 1 ¼ teaspoons active dry yeast
- 3 cups + 1 Tablespoon all-purpose flour
- 200 grams (about ¾ cup) sourdough discard unfed, at room temperature
- 1 ½ teaspoons kosher salt
- 4 Tablespoons unsalted butter melted
- 1 ¼ cup raisins soaked
For the Filling
- 1 Tablespoon milk non-dairy or regular dairy
- ¼ cup granulated sugar
- 1 Tablespoon cinnamon
Instructions
- Optional: Soak your raisins in a bowl of hot water for at least 20 minutes.*
- Combine warm water and milk in the bowl of a stand mixer fitted with a dough hook attachment**. Add the granulated sugar, then sprinkle the active dry yeast on top. Let sit for 5 minutes until the yeast is foamy.If the yeast does not foam, the yeast is dead, and you will need to start over with fresh yeast.
- Add the flour, sourdough discard, and salt. With the mixer on low speed, slowly pour in the melted butter, then add the raisins. Mix until a rough dough forms. It should wrap around the dough hook and pull away from the sides of the bowl.
- Transfer the dough to a smooth work surface. Knead for 4-5 minutes until a soft, smooth dough forms. If the dough seems sticky or stiff, add more flour or water (1 Tablespoon at a time) to reach your desired consistency.Place the dough in a large oiled bowl and cover with plastic wrap or a clean kitchen towel. Let rise for 1 ½-2 hours until doubled in size.
- Grease a 9x5-inch loaf pan. Set aside.
- Place the dough on a lightly floured work surface. Use a rolling pin to roll the dough into a 9x18-inch rectangle. It's important that this is only as wide as the width of your loaf pan (example: 9 inches wide for a 9x5-inch loaf pan).In a small bowl, combine the cinnamon and sugar. Brush the dough with milk, then sprinkle with the cinnamon sugar mixture, spreading evenly across the dough.
- From the short side of the rectangle, roll the dough into a log. Think about this like rolling a burrito. Not too tight, not too loose, and the same thickness all the way across (not bigger on one side, etc.). Pinch the ends of the loaf together and along the seam to help keep the fillings on the inside of the loaf. Transfer the dough log into your prepared baking pan, placing the seam-side down, and tucking the ends of the loaf into the pan as best you can.
- Loosely cover the pan with a greased piece of plastic wrap or a kitchen towel. Let rise 60-90 minutes, until the dough has risen about 1 inch above the edge of the pan. Note: the loaf will rise more as it bakes in the oven.
- Preheat the oven to 350℉. Bake the loaf for 60-70 minutes until golden brown, and the internal temperature of the loaf reaches 190℉.
- While the loaf is still warm, brush the top with 1 Tablespoon melted butter. Let the loaf cool in the pan for about 10 minutes, then transfer to a cooling rack to cool fully (about an hour) before slicing.
Jessica Vogl says
A family favorite! It's so hard to resist slicing in while the loaf is still cooling down!