

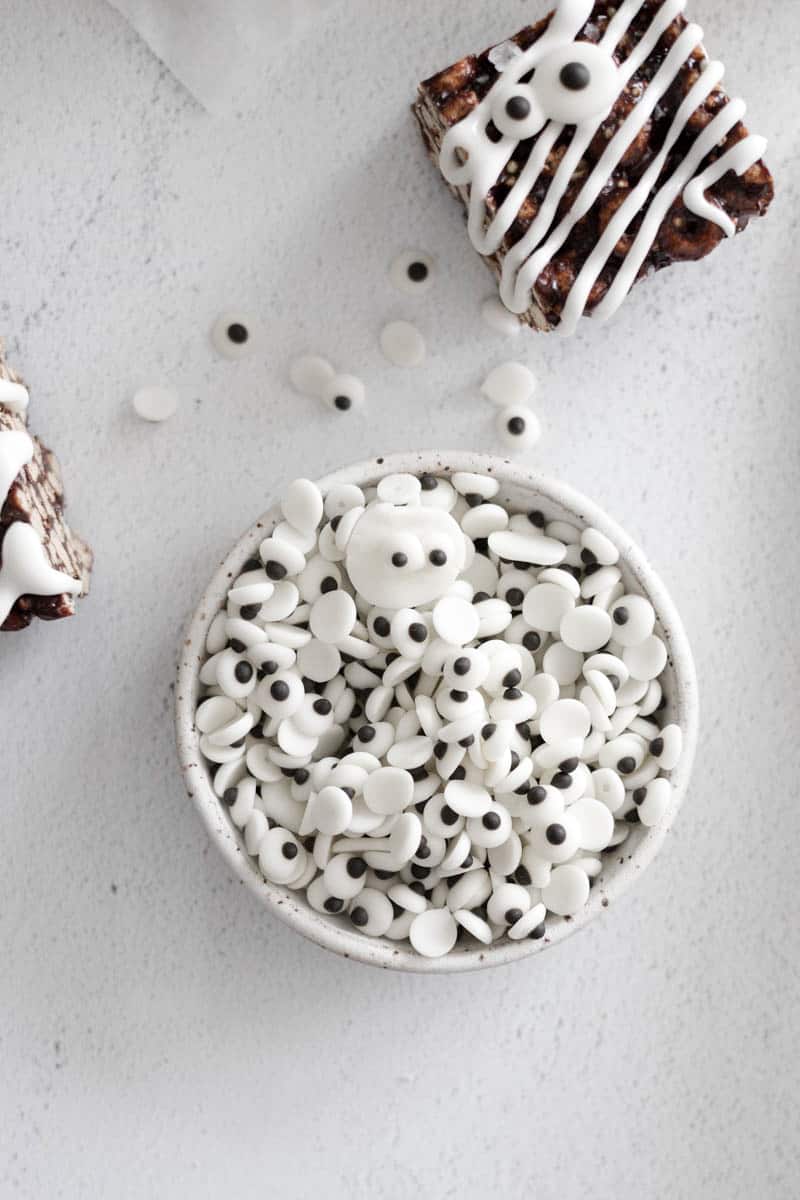
One of my favorite Halloween baking items (and arguably, one of the easiest Halloween baking things you can do!) is to make Edible Candy Eyeballs. They're perfect to pop onto anything to make it instantly festive: a charcuterie board, brownies, cakes, cookies, marshmallows, and more!
If you make one batch, you'll have plenty for all your Halloween baking this year, and even to give to some friends or neighbors!
Why you'll love this recipe
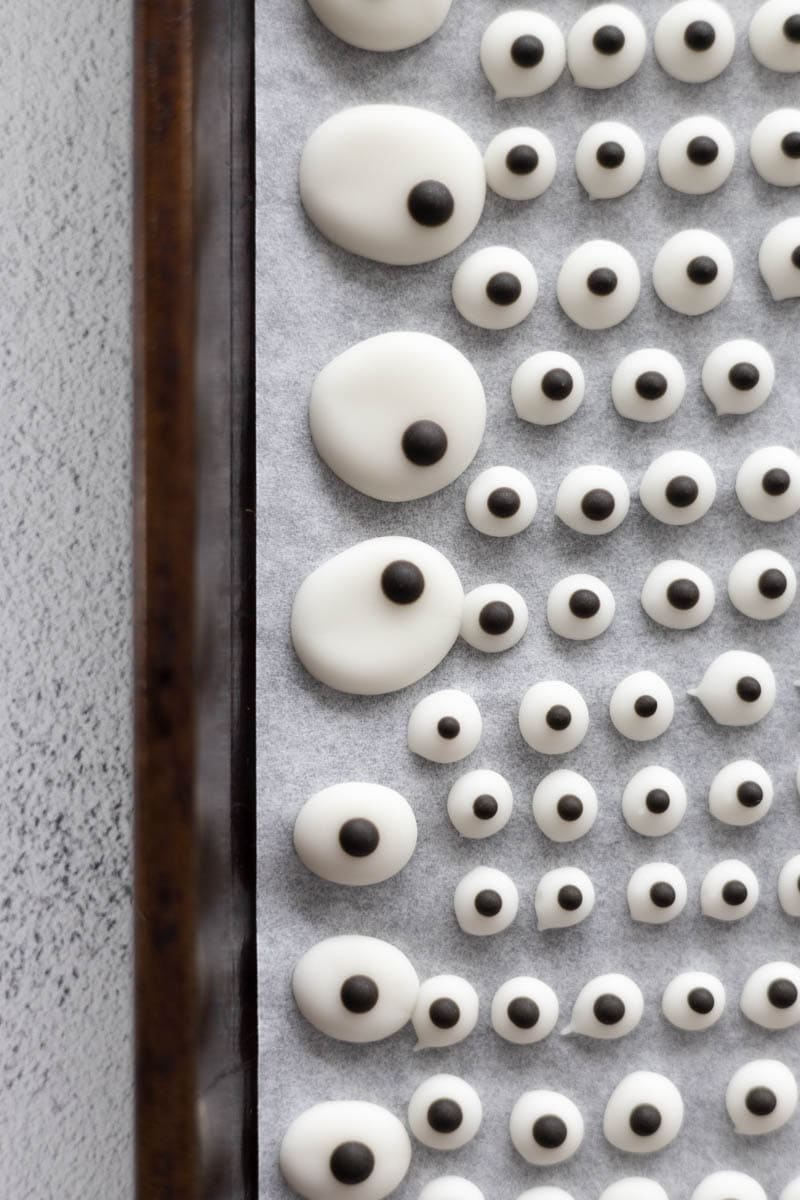
- The irregularity is part of the charm - make some eyes bigger than others, a little off-center, or even stuck together.
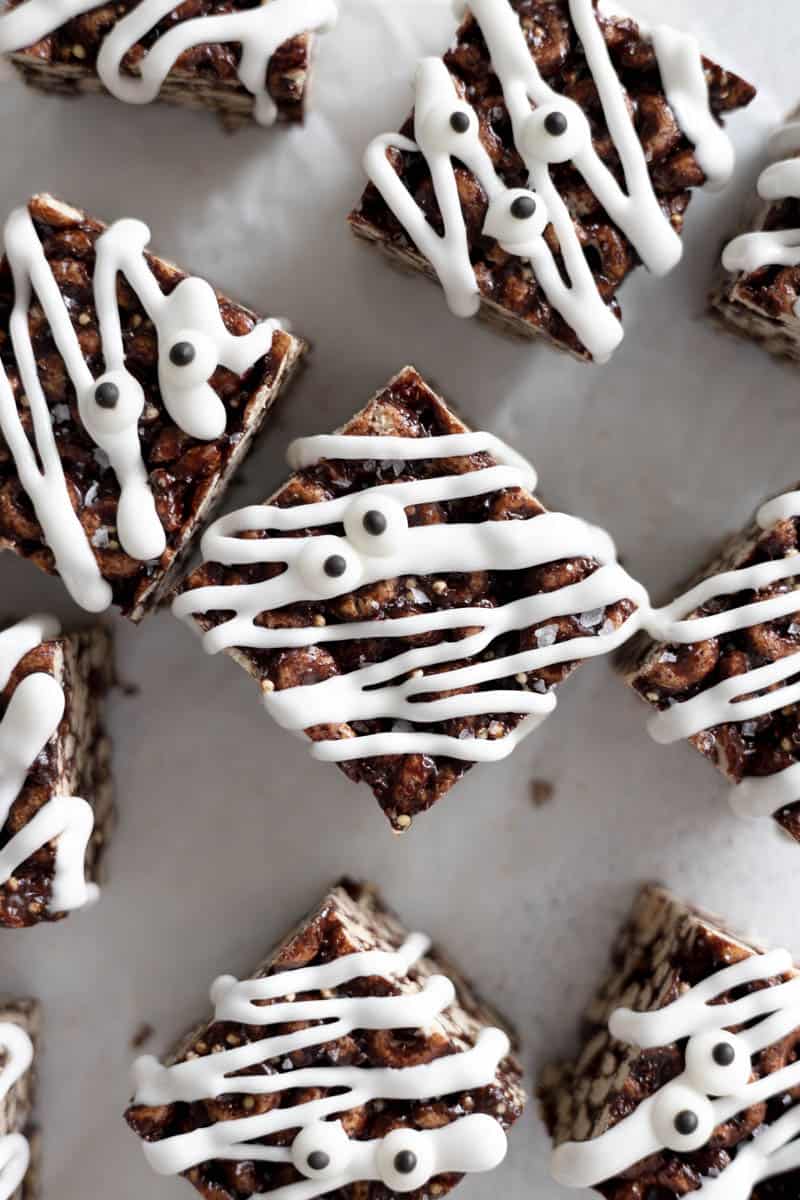
- They're great for making Halloween "monsters" out of any treat, like these Sourdough Discard Halloween Kitchen Sink Cookie Bars!
- These Edible Candy Eyeballs and incredibly easy to make and a fun project to make with kids!
- This recipe makes A LOT of eyeballs - you'll have plenty for all of your Halloween baking, and even some to give to friends or neighbors if you like!
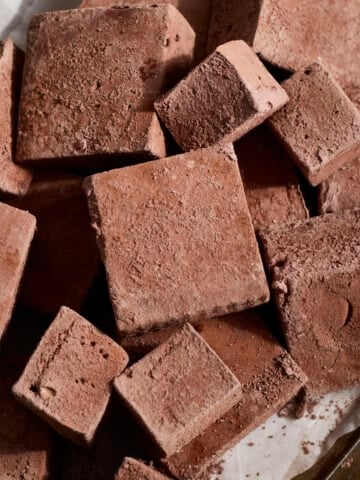
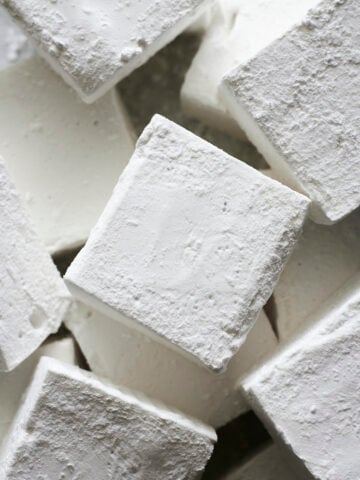
- Try these candy eyeballs on these Sourdough Discard Brownies, Chocolate Marshmallows, or these Biscoff Butter Cookies.
Ingredients
This is an incredibly simple recipe, and you only need a few ingredients to get started.
- Meringue powder: This is an ingredient you may not have unless you work with a lot of icing. You can find this in the baking aisle, or you can order online. And a little goes a long way, so you don't need to get a ton.
- Food coloring: You'll need black food coloring to make the pupils of the eyes, but you can also use any other colors you prefer!
See full recipe below for detailed directions.
Substitutions & Variations
These Edible Candy Eyeballs are very adaptable! Here are a few ideas to make them your own:
- Change the size and shape: Make smaller, or larger, or irregularly shaped eyes. They'll all have a completely different feel.
- Add some color: Change up the color of the eyeball whites, or the pupils! These can be a bit spooky, after all!
I have not tried this recipe with other variations, but if you do, let us know how it turns out in the comments!
How to Make Edible Candy Eyeballs
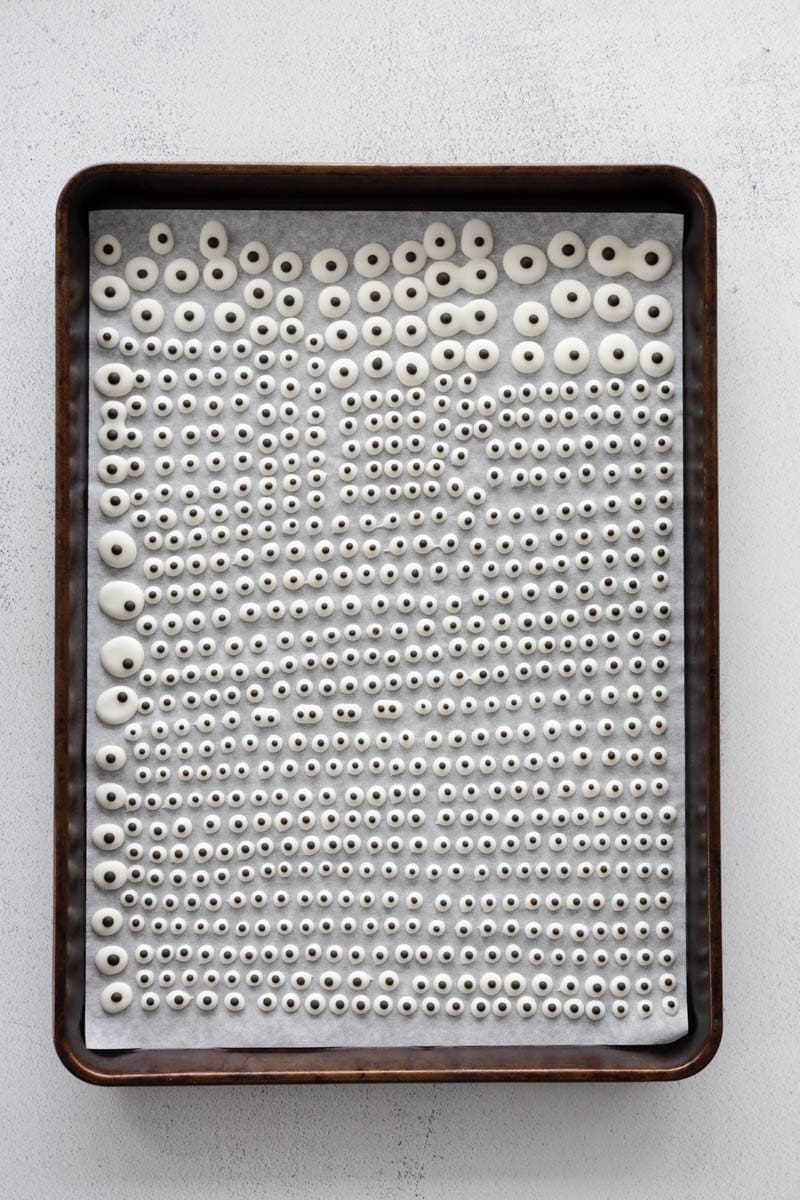
Line a large baking sheet (or two) with parchment paper and set aside.
- Step 1: Combine the powdered sugar and meringue powder in a medium bowl. Add water and stir until smooth, and you've reached your desired consistency. You want the icing to hold its shape, but also not be too thick so that it doesn't create a smooth eye.
- Step 2: Transfer ⅓ of the icing to a smaller bowl. Add 5-6 drops of black food coloring (or another color of your choice) and stir until you reach your desired color. This is to make the pupils of the eyes.
- Step 3: Transfer the icing to two separate piping bags (one for white icing, one for black icing). With the white icing, create small dots on your parchment paper for the eyes in your desired size. Making different sizes and irregular sizes makes for very fun final edible googly eyes!
- Step 4: Let the icing set for a few minutes until it feels firm enough to add the pupils. To each white eyeball, add a small black pupil. Again, the irregularity is fun here! Play with different sizes and placement.
- Step 5: Let the completed eyes sit at room temperature for 12-24 hours until completely firm. They're then ready to use!
Expert Baking Tips
- Make one batch of these at the beginning of the Halloween season, and you'll be covered for any festive bakes! You'll even have extras to give to neighbors and friends, if you like.
- Add the water slowly. You don't want the icing to be too thin, or it won't hold it's shape. You can always add more water; it's much harder to recover an icing that has too much liquid.
- Embrace the irregularity - the odd shapes and off-center pupils are part of the charm!
Storage
Room Temperature Storage: Store these Edible Candy Eyeballs, keep them in an airtight container at room temperature. If stored properly, they will last several weeks.
Recipe FAQs
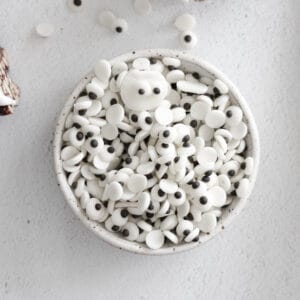
This recipe makes a small bowl full of eyeballs (of course, it depends on the size of eyeballs you make!). It's a lot: remember, you're probably putting two eyeballs on each cookie / brownie, etc. So a little goes a long way! When you're making the icing, you may be thinking that it doesn't look like a lot of icing, but just remember, you're not trying to coat a whole cake here!
Yes, definitely! Have fun with it! White eyes with black pupils is the traditional combination, but it could also be fun to try red pupils, or any other color combination!
More Easy Candy Recipes


If you tried these Edible Candy Eyeballs or any other recipe on my website, please leave a ⭐ star rating and let me know how it went in the comments below. I'd love to hear from you! Happy Baking!
Edible Candy Eyeballs
Ingredients
- 2 cups powdered sugar
- 2 Tablespoons meringue powder
- ¼ cup water
- black food coloring or color of your choice
Instructions
- Line a baking sheet with parchment paper and set aside.
- Combine powdered sugar and meringue powder in a medium bowl. Add ¼ cup water, 1 Tablespoon at a time. You may not need the full ¼ cup: keep in mind you want your eyeballs to retain their shape; they will naturally flatten as they rest, so you don't want to add too much water to make the icing runny. Stir until the icing is smooth and fully combined.
- Transfer ⅓ of the icing to a small bowl. Add 5-6 drops of black food coloring (or color of your choice) to create your pupils. Stir until combined.
- Transfer both bowls of icing into separate piping bags.
- Starting with the white icing, create small dots for eyes on the prepared parchment paper. Make them as big or small as you like, and remember that irregular shapes and sizes work well here!
- Once the whites have set a little bit, repeat with the black icing, adding pupils to each eyeball. Vary sizes and placement as you like!
- Let sit at room temperature for 12-24 hours until the eyeballs are firmed. Larger eyeballs may take more time to set. Remove from the parchment paper and use to decorate your favorite treats!
Dorcas Berthold says
I wanted to make these in varying sizes last year but didn’t get around to I’m looking it up. I’d seen some for sale but I thought they were too expensive and you had to buy the different sizes separately. I’ve printed so many recipes from your site ! Gotta go get started cooking ! Thank you!