

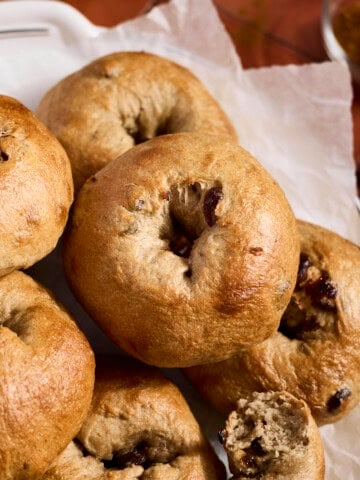
If you are making (or maintaining) a sourdough starter, you likely have a lot of sourdough discard. You can either throw it away (literally, discard it), or you can use it in sourdough discard recipes like these Sourdough Discard Bagels. Homemade bagels are delicious and surprisingly easy to make - these might just become a staple recipe for you!
If you're looking for a version of this recipe that does not use sourdough, try these Homemade Everything Bagels. And if you'd like a high-protein version of this recipe, try these Sourdough Discard Protein Bagels!
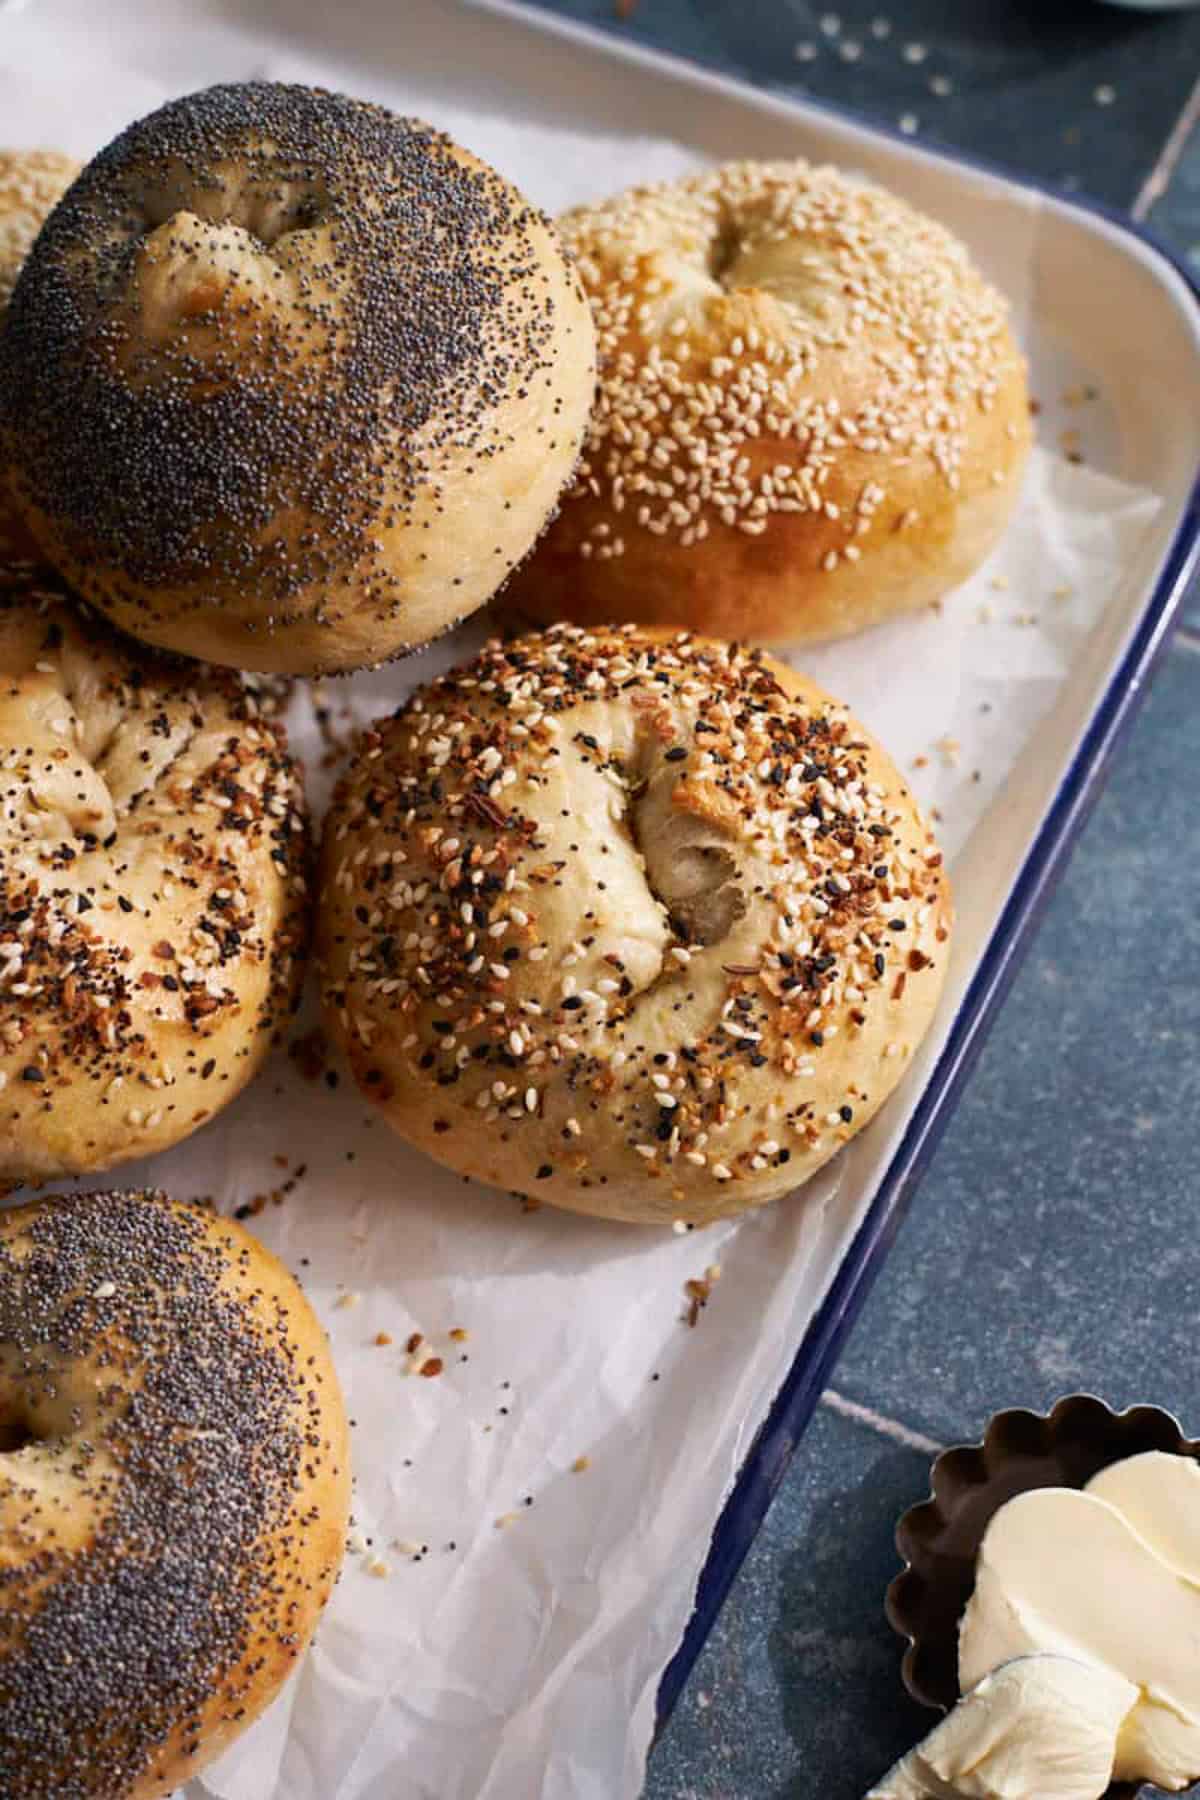
I make these bagels multiple times per week and they are gone within minutes of coming out of the oven!
- Kennedy
Why you'll love this recipe
- Easy weekend bake! Once you make homemade bagels once, you'll realize how easy they are you may never run out to the store for bagels on the weekend again!
- This is a same-day recipe with one rise and you'll have fresh bagels to enjoy in just a few hours.
- You can also make these bagels with active sourdough starter.
- Less than 30 minutes of prep! Most of the time making this recipe is rise time; there is actually less than 30 minutes of prep to make these bagels.
- They freeze well so it's great to make a batch and then freeze the bagels to enjoy throughout the week.
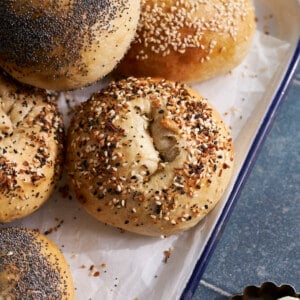
- You can modify the toppings to suit your taste! Try sesame seeds, poppy seeds, everything bagel seasoning, or flaky sea salt! In a savory mood? Try these Sourdough Discard Rosemary Salt Bagels, too!
Jump to:
Ingredients
As long as you have sourdough discard, the other ingredients are pantry staples you likely already have at home.
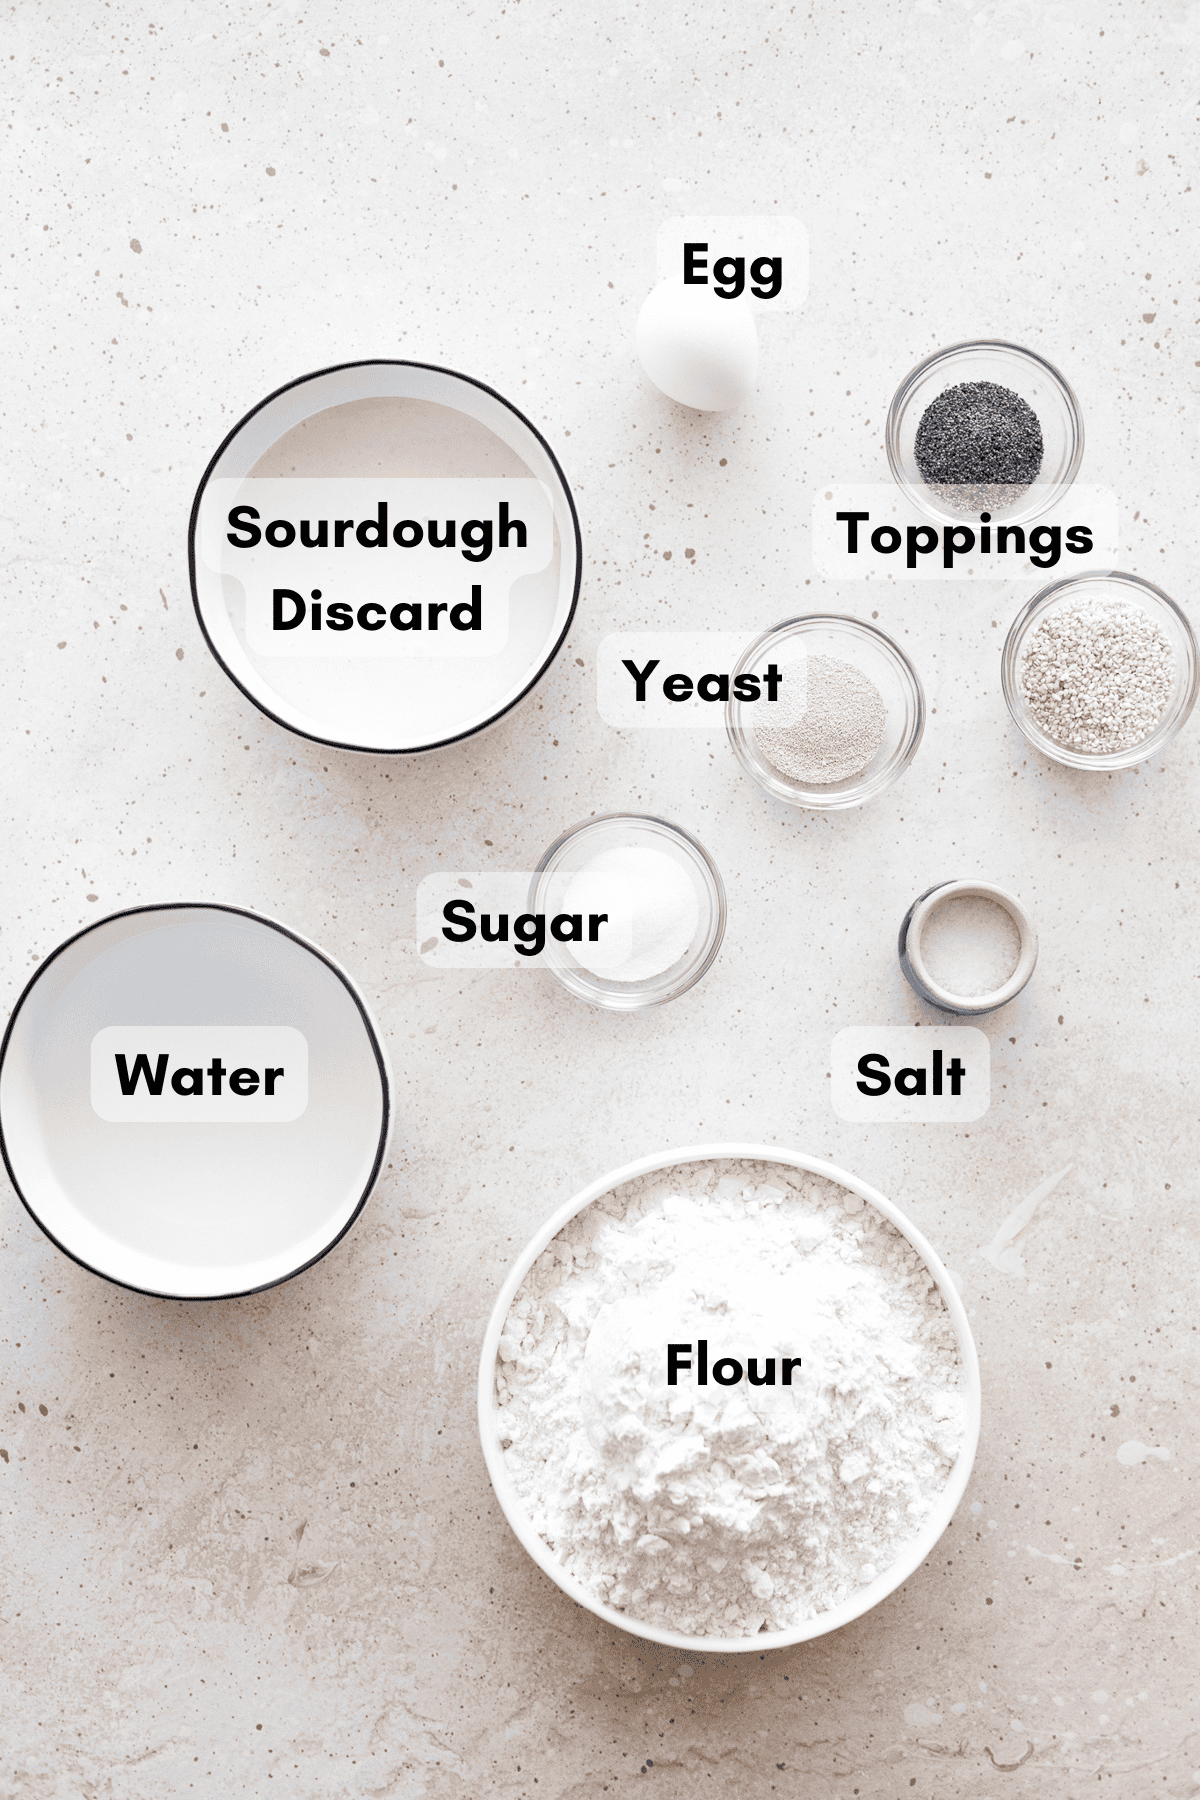
- Sourdough discard: The sourdough discard should be unfed and at room temperature for this recipe. This recipe is designed for discard with a 1:1 ratio (when you feed your starter, it's with 1 part flour and 1 part water). If your starter uses a different ratio, you may need to adjust some of the ingredients in this recipe.
- Learn more about making a homemade sourdough starter.
- Interested in making a loaf of bread with your sourdough discard? Try this easy Sourdough Discard Bread recipe!
- Toppings: These are optional, but you can top your bagel with anything you like. Sesame seeds, poppy seeds, and everything bagel seasoning are all great options!
See full recipe below for detailed instructions.
Substitutions & Variations
This is a very adaptable recipe and below are a few easy substitutions and variations you can try.
- Use active sourdough starter: If you'd like to use active sourdough starter to make sourdough bagels, you can! To do so, omit the yeast and replace the sourdough discard with active sourdough starter (200g). You will also need to adjust the rise times.
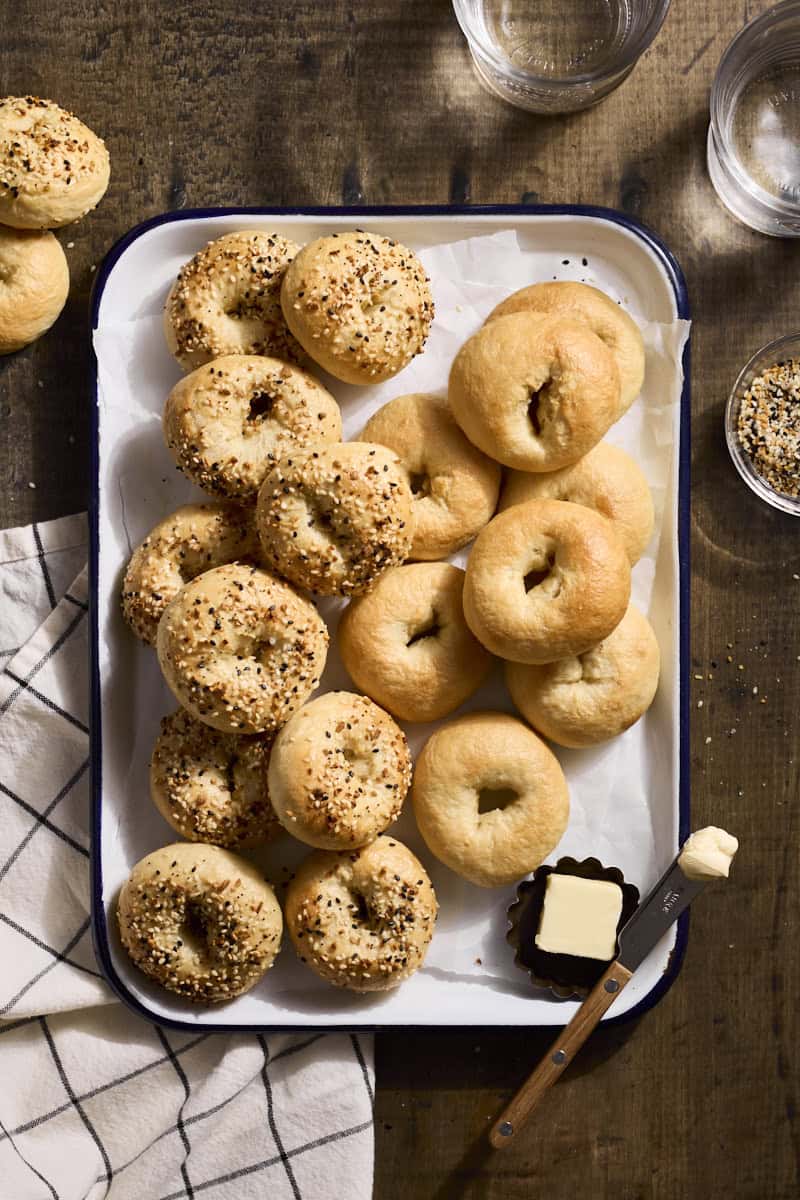
- Make mini bagels: Perfect for little hands or a cute appetizer or snack, you can make these into mini bagels! To do so, divide the dough into 24 equal-sized pieces (instead of only 8 full-size bagels). For me, that was about 46g per bagel. Continue with the directions as written.
- Change up the toppings: You can easily make these bagels different by changing your choice of toppings. These bagels are great with sesame seeds, poppy seeds, everything bagel seasoning, flaky sea salt, and more!
- Make stuffed bagels: Try these Sourdough Discard Stuffed Bagels, too!
- If you're in the mood for a Fall flavor, try these Sourdough Discard Pumpkin Bagels.
How to Make Sourdough Discard Bagels
These Sourdough Discard Bagels only need one rise, and the recipe is pretty forgiving. The full recipe with detailed directions is at the bottom of this post.
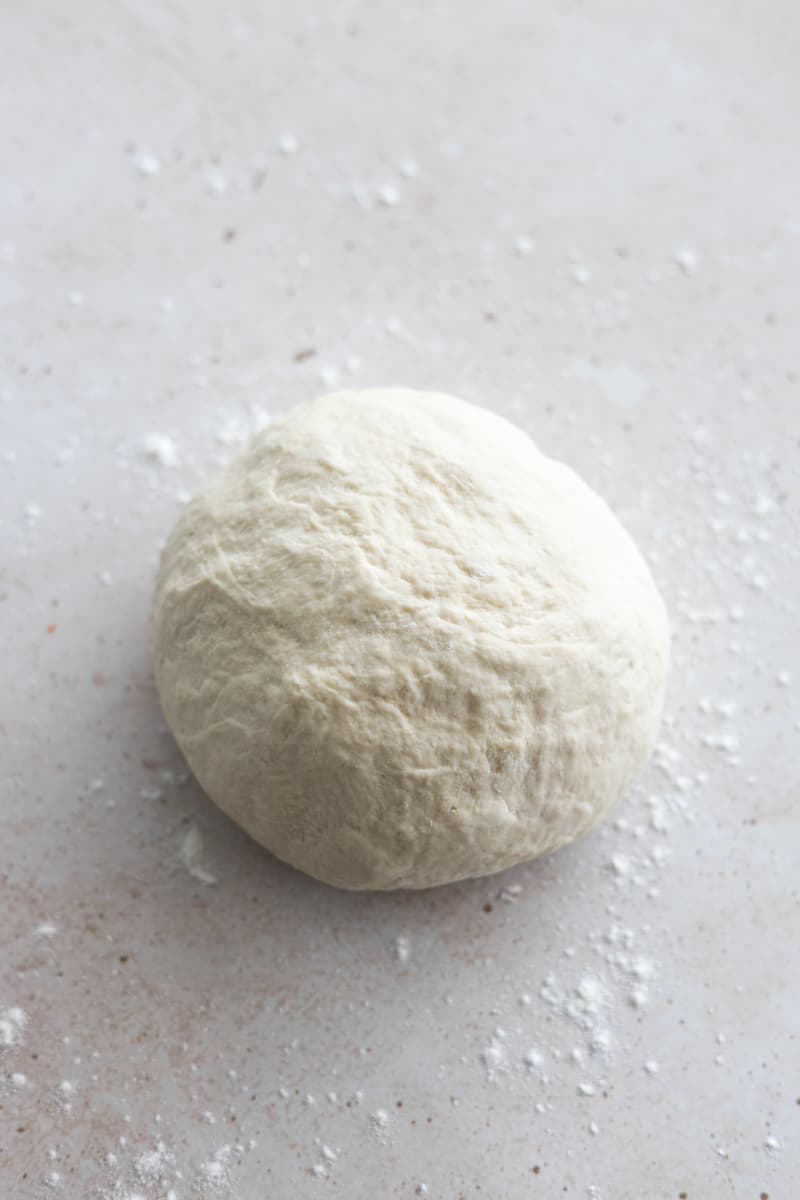
- Step 1: Combine all ingredients in a stand mixer fitted with a dough hook. Mix until a smooth ball forms, kneading on a work surface if needed. Transfer to an oiled bowl and cover with plastic wrap to rise for 90 minutes.
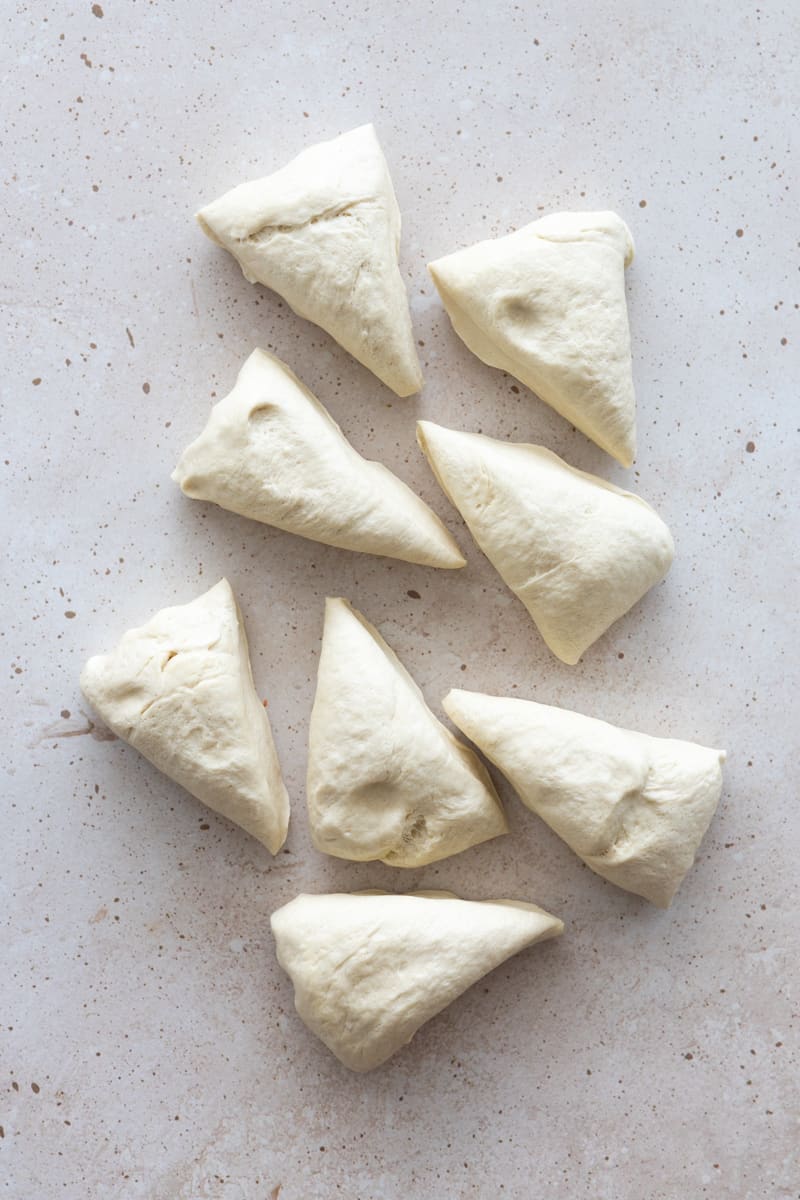
- Step 2: After the dough rises, turn it out onto a flat surface and divide it into 8-10 equal pieces. 8 pieces will give you larger bagels compared to 10 pieces.
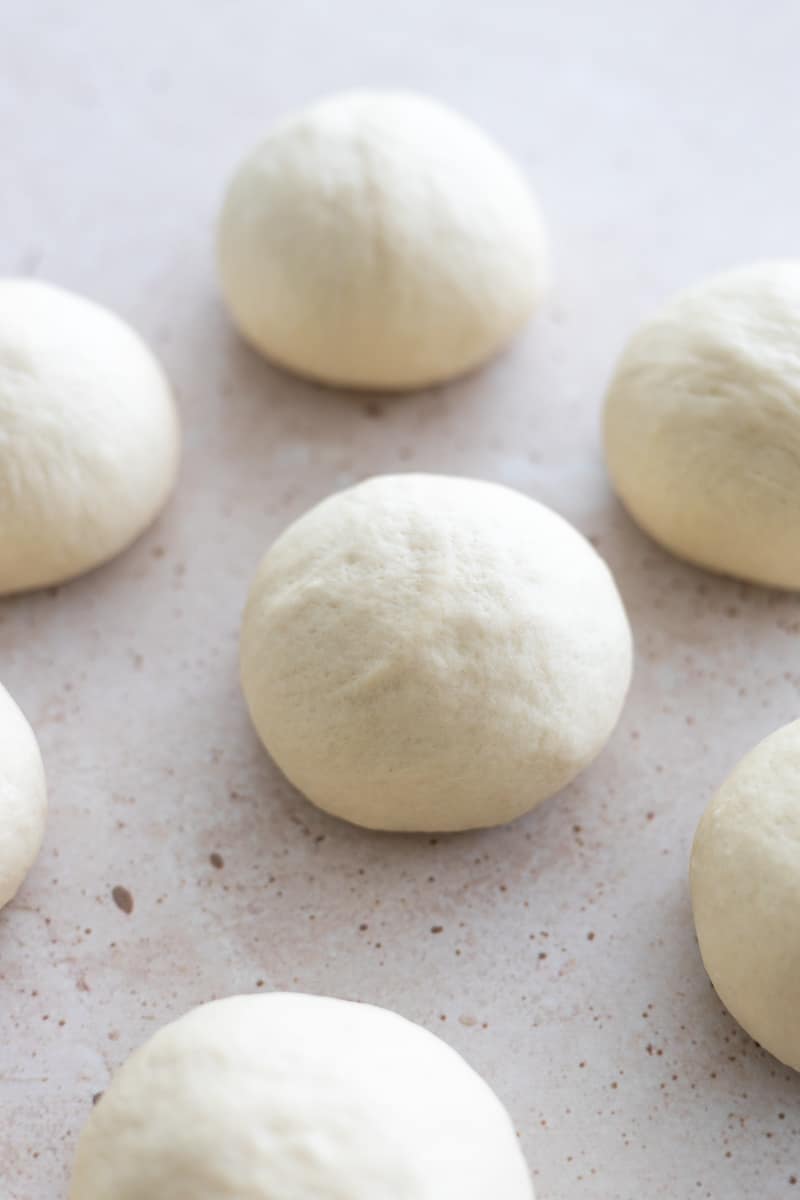
- Step 3: Roll each piece into a ball using the base of your palm to create friction and form the seal of the dough (this will be the bottom, "ugly" side of the bagel).
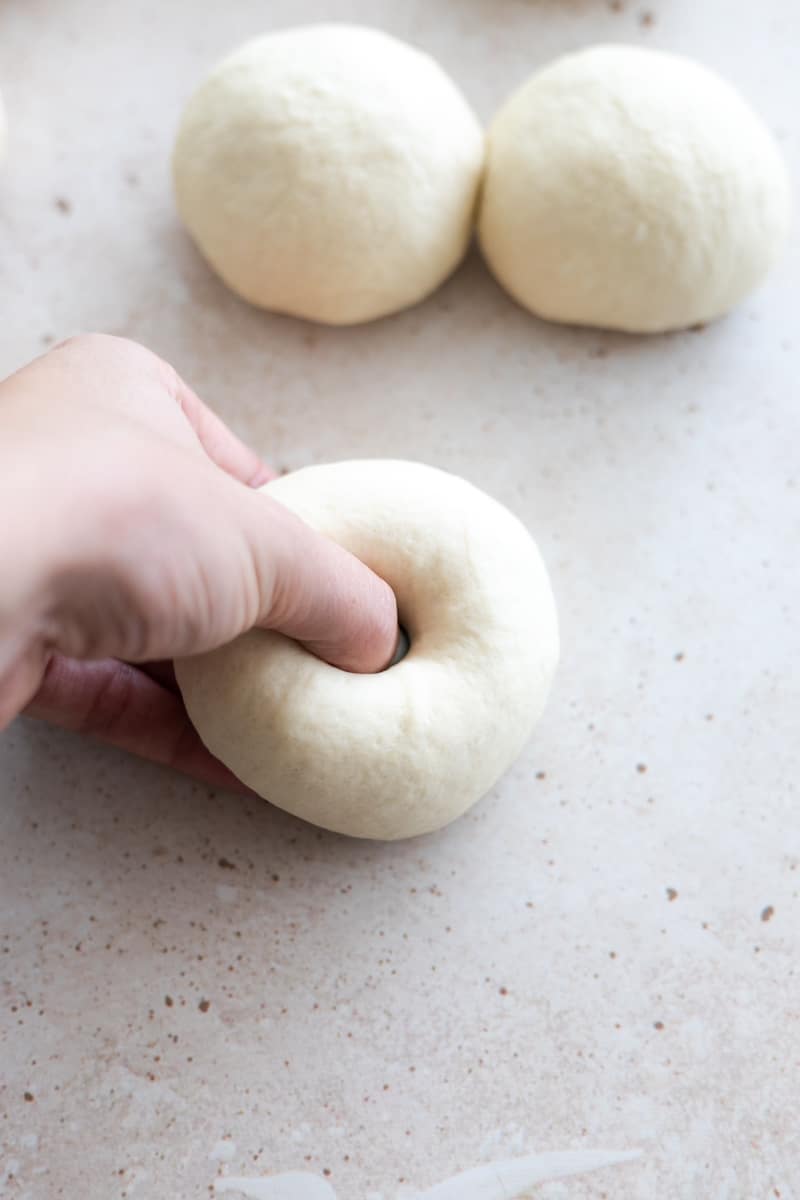
- Step 4: Push your thumb through the center of each ball and stretch the hole to form your bagel shape. Cover the bagels with a clean kitchen towel and let rest for 20 minutes.
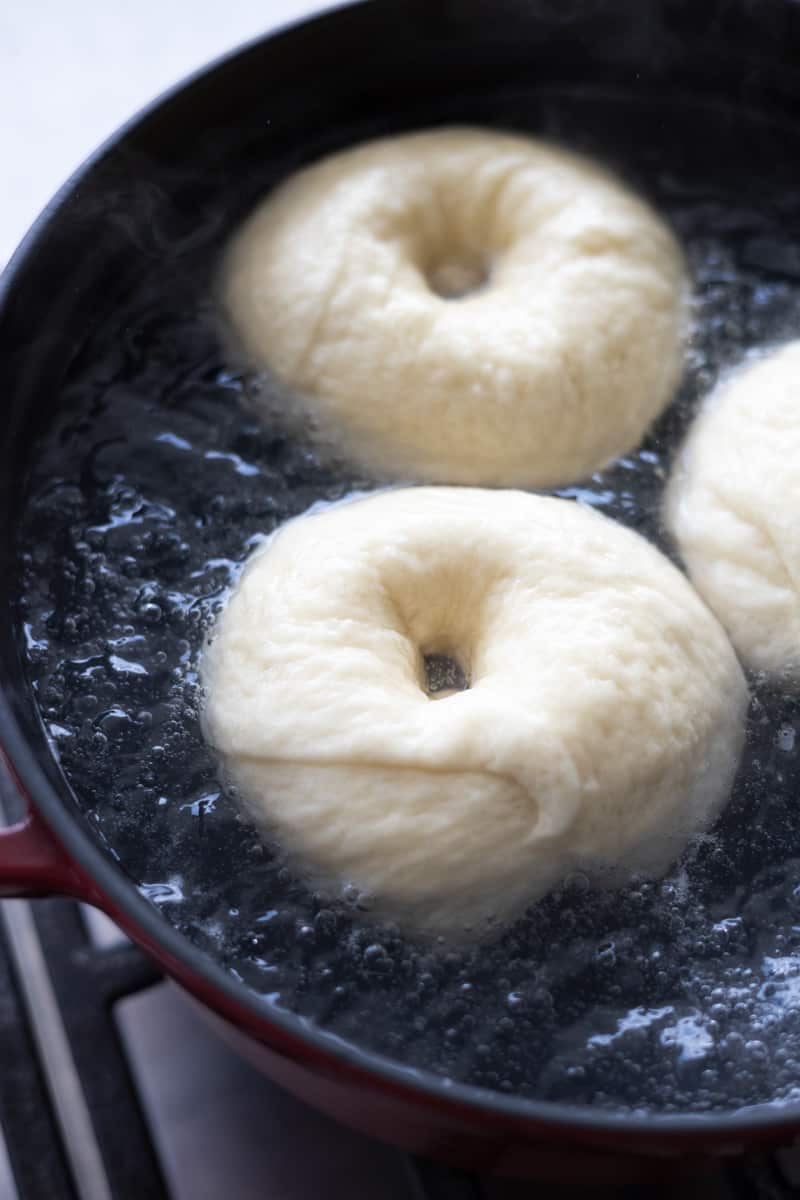
- Step 5: Boil each bagel for 15-30 seconds on each side. Use a slotted spoon to transfer the bagels to the prepared baking sheet.
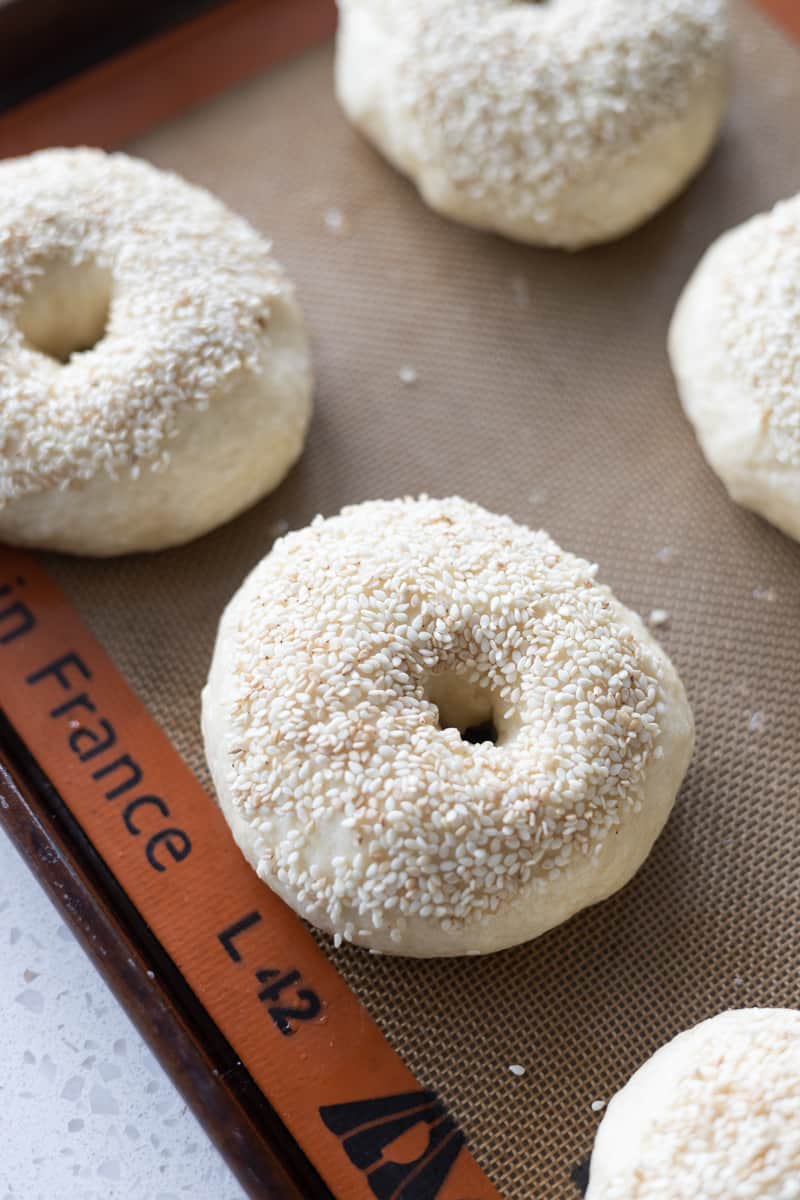
- Step 6: Brush each bagel with egg wash, then dip or sprinkle with your desired toppings (optional).
- Step 7: Bake the bagels until they are golden brown. Let cool, then slice and serve!
Expert Baking Tips
- Make sure to knead the dough long enough. The dough should be completely smooth, not shaggy.
- Once kneaded, the dough will be smooth and soft, and should not be sticky as it goes into the first rise.
- Every sourdough starter (and therefore every sourdough discard) is different. You may need to add some additional flour or water to reach the desired dough consistency. If your dough seems too dry, add more water, 1 Tablespoon at a time. If your dough seems too sticky (wet), add more flour, 1 Tablespoon at a time.
- Make your bagels more or less chewy to suit your taste by boiling them for a shorter or longer amount of time. Boiling for less time will create a less chewy crust. Boiling for longer will create a chewier crust. I like to boil mine for about 30 seconds on each side for a thinner crust.
- Change up the toppings! This is a great base bagel recipe that you can top with your favorite toppings like everything bagel seasoning, poppy seeds, sesame seeds, cinnamon sugar and more!
- Looking for more sourdough discard breakfast recipes? Try these Sourdough Discard Cinnamon Rolls and Sourdough Discard Scones.
What is "passing the float test"?
When you put your bagels in the boiling water, they should float (which is called "passing the float test." This is the same process you would use if you were making Sourdough Discard Pretzels.
I recommend doing this with one test bagel first, so you can adjust if needed. If the bagel floats, it has passed the float test! And if the bagel does not float, then they're not yet ready to boil and need to take a bit more time to rise.
If the bagels float: This indicates that the dough has risen enough and the bagels will be light and airy once they're baked. Go ahead and boil and bake the bagels as directed!
- A bagel is considered "passing the float test" if it floats right away, or even if it sinks to the bottom, then slowly floats back up to the top. Both of these options pass!
If the bagels do not float: This indicates that the dough is too dense. If you boil and bake them now, your final bagels will be too dense and chewy. Cover the unboiled bagels with a clean kitchen towel again, and let sit for 10 more minutes to let the dough rise more. Then, try again.
Storage
Room Temperature Storage: Homemade bagels are best fresh, of course! Once cooled, they can be stored in a sealed plastic bag at room temperature for up to three days. Reheat the bagels in the microwave for about 30 seconds to make them warm and soft again.
Freezer Storage: These bagels freeze well! Once fully cooled, transfer the bagels to a freezer-safe plastic bag or container and freeze for up to 3 months. I like to freeze them in individual plastic bags so I can reheat just one bagel whenever I like. Reheat frozen bagels in the microwave for about 60 seconds until warm and soft again.
Recipe FAQs
There are a few things that could cause this. First, make sure to shake off the excess water after boiling the bagels. Excess water can make the bagels sticky.
If you have excess egg wash pooling beneath the bagels, this can also make them sticky. You only need to use enough egg wash for the toppings to stick to the bagels.
Check the type of parchment paper you're using. Some are not designed for higher baking temperatures (and we're baking at a high temperature for this recipe!). I recommend using this parchment paper or a silicone baking mat (such as a Silpat mat).
Lastly, some ovens (like mine) heat unevenly and are hotter on the top or the bottom. Make sure to flip and rotate your pans (top to bottom and front to back) while baking so the bagels on each pan bake evenly!
More Sourdough Discard Bagel Recipes
If you tried these Sourdough Discard Bagels or any other recipe on my website, please leave a ⭐ star rating and let me know how it went in the comments below. I'd love to hear from you! Happy Baking!
Sourdough Discard Bagels
Ingredients
For the Bagels
- 4 cups bread flour
- 3 Tablespoons granulated sugar divided
- 1 teaspoon instant yeast
- 2 teaspoons kosher salt
- 200 grams (about ¾ cup) sourdough discard unfed, at room temperature
- 1 ¼ cups warm water
For Topping
- 1 egg white for egg wash
- 1 Tablespoon water for egg wash
- Toppings (optional)
Instructions
- Combine flour, 1 Tablespoon granulated sugar, instant yeast and salt in the bowl of a stand mixer fitted with the dough hook attachment. Mix to combine. On low speed, add the sourdough discard and water until combined. Increase speed to medium and knead for 4-5 minutes until a smooth ball forms*. This will be a fairly sturdy dough and should not be sticky. You may need to add more water or more flour (1 Tablespoon at a time), depending on your sourdough discard, to reach the right dough consistency.
- Grease a large bowl, transfer the dough to the bowl, and cover with plastic wrap. Let the dough rise for 90 minutes or until doubled in size.
- Turn the dough out onto a smooth surface and divide into 8-10 equal pieces. 8 pieces will give you 8 large bagels; 10 pieces will give you 10 smaller bagels. Roll each piece in your palm to form a smooth ball, then use your thumb to press through the center of each ball, stretching the hole to form your bagel. Cover the bagels with a clean kitchen towel and let rest for 20 minutes while you prepare the next step.
- Preheat oven to 425°F. Prepare 2 baking sheets lined with parchment paper or a silicone baking mat and set aside. Bring a pot with 2 quarts of water and 2 Tablespoons granulated sugar to boil.
- Place your bagels in the boiling water for 15-30 seconds on each side**. The bagels should float (if not, see notes below). You can likely fit 2-3 bagels in the pot at a time, just make sure there is enough room for them to float openly as they will expand. Remove from the boiling water using a slotted spoon and transfer to the prepared baking sheets. If needed, you can reshape the bagels a little after they've cooled.
- Whisk together the egg white 1 Tablespoon water to create the egg wash. Lightly brush the bagels with egg wash, then sprinkle with your chosen toppings, if using (such as sesame seeds, poppy seeds, or everything bagel seasoning). You can also dip the bagels into the toppings if you prefer.
- Bake for 18-22 minutes or until golden brown. Let cool fully before slicing and serving.
Gayle says
I made this yesterday and the bagels are amazing!! I didnt have bread flour so used AP and they were so yummy!!!! Made onion and everything ones. I'm going to double recipe next time and make bigger ones and will add garlic to the bunch! Thank you!!!
Kassie says
Easy to follow recipe and my bagels turned out AMAZING! Very happy with the results and will certainly make again - my husband said well never need to buy bagels again for being my first time making them, and a bagel loverrrr, I’m very very pleased with the outcome! We made 3 everything, 3 sesame, 1 salt and 1 plain.
Chisun Chun says
Do you have a recipe for making pumpernickel rye bagels? Would greatly appreciate!!
Jessica Vogl says
I don’t at the moment! Maybe someday!
Sharon Loney says
I should’ve read all the comments before making. I only had regular yeast and didn’t let it bloom so we’ll see how it turns out! Oy!
Alexa B says
My go to recipe! Make them all the time and freeze them 🙂 They have been so consistent and every batch has came out amazing! Even when I forgot to divide the sugar the first time ♀️
ojaiannie says
Great and easy recipe. Used for my first try at making bagels and was very successful recipe. Thank you!
Jaimie Hoffman says
Really, really good. I made 10 and they are plenty big. We made sandwiches shortly after they came out and cooled a little definitely easy recipe
Shannon says
First attempt with this recipe. Super easy! Delicious results! So glad I've discovered your discard recipes as I'm new to the sourdough baking world.
Amanda says
Hello! This recipe is AMAZING! We loved them. I want to make them for brunch and was thinking of starting them the night before through boiling them. Then letting them cool and refrigerate overnight to bake fresh the next morning. Do you think that would work? Thanks so much for the amazing recipe!
Jessica Vogl says
Glad you love them! If you wanted to make the night before, I would shape the bagels, then cover and refrigerate. Then boil and bake the next morning. But Botha ways would probably work!
Wendy Zulick says
Made these today, My boys loved them. Followed the recipe for everything except I added honey to the water instead of sugar. The are really yummy. Thank you!!
Max says
LOVE THIS RECIPE! Can I sub some of the bread flour for whole wheat flour or whole white wheat flour? Would I need to change any of the mixing times/kneading times if I do so?
Jessica Vogl says
Amazing! So glad you love it! You should be able to make that substitution with no issues!
Erin says
Best bagel recipe out there. I’ve had more than a few different people say this is the best bagel they’ve ever had.
Side note, do you have calorie information on these?
Jessica Vogl says
That's amazing, thank you so much! Unfortunately I don't have calorie information at the moment.
Amanda says
Just made these today and they are delicious! My 10year old daughter eats store bought bagels for breakfast everyday, and she approved of these!
Colleen says
I’m an experienced baker, including with bagels (I worked in a bagel shop for years) and I struggled a bit with this. Not with the dough - that was very simple, and the dough itself seemed perfect. My trouble started after I’d shaped the bagels and left them to rest while heating the oven and boiling the water. In other recipes I’ve used I’ve never had to grease or otherwise prepare the surface on which the formed bagels would be resting, so I didn’t. The result was proofed bagels which stuck like glue to the parchment they were resting on. I ended up having to scrape them off with a kitchen knife, which resulted in the dough getting kind of misshapen. Then, when baked, they puffed up to the point that they look more like bread softballs than bagels. That may have been because of how I had to manhandle them, or it may have been my discard (I’ve never used sourdough starter for bagels, and I notice in your pictures they’re also pretty puffy - maybe that’s normal?). They smell great, and I’m sure they’ll be delicious, but I wanted to share my experience in case anyone experiences anything g similar.
Jessica Vogl says
Thanks for your feedback!
Colleen says
In the end they were delicious - just looked a little funny! I’ll be using the recipe again ☺️
Megan says
I’ve made this 5 times and it’s by far my favorite recipe!! This is the first time I’m making it with active dry yeast instead of instant. How much do you think I should use of the active in correlation with instant? The same amount?
Jessica Vogl says
Love to hear it!
You can use the same amount of active dry yeast (1:1 substitute), but you'll need to let the yeast bloom on top of the warm water for a few minutes (until foamy) before adding it to the dough mixture. If you don't let the yeast bloom, it won't activate correctly.